Showing posts with label gift. Show all posts

Tuesday, November 4, 2014

Clutter-Free Holiday Season


As you may know, we're going to have a baby this holiday season.

As if that weren't excited and life changing enough, we also decided in the 11th hour to buy a new house. Yes, we're going to move somewhere around my 36th week of pregnancy. I'm trying to look on the bright side-- I won't get the inevitable day-after-moving aches because I won't be able to lift all the much.

With all of this going on, it is no wonder money is top of mind right now. Specifically, not spending all of it.

So I have a plan. I am going to try my hardest to do my holiday decorating and gift wrapping only with things I already have. No trips to Michael's for craft supplies. No picking up new gift wrap impulsively at Target or online (even if it is really beautiful) My goal is to clear out the closet of gift wrapping odds and ends (half rolls of paper, and carefully folded pieces I rescued from gifts I've received), use art supplies I already have on hand (sticky letters, felt, and glitter galore), and get creative with alternative wrapping materials.

I think it will be a fun challenge. Are you with me? I'll be sharing my attempts on Instagram. If you'd like to join in (and provide me with inspiration too!), use the hashtag #clutterfreeholiday when you share your decorating and gift wrapping ideas. Gifts count too! At the end, I'll share some of the ideas we've come up with. Sound good?

Let's do this!

Monday, January 6, 2014

Top 5 Projects of 2013

Happy 2014, everybody!

Last year was a pretty good one, don't ya think? This year is starting off with a lot of sniffles and sneezes (ugh!) in our house, but I know it's gonna get better from here!

In 2013, B and I had a few big adventures (like France and Spain!) and did some projects around the house (though you'd never know it since I haven't shared updates on our kitchen and bedroom...coming soon, I swear!), but I think the little DIY decor and craft projects were the most fun to share. And I guess you think so too, but they were some of my most popular posts!


Here were the top 5 projects of 2013:


Number 5


DIY Leather Strap Hurricane: this was the easiest project of all! A few inexpensive belts, cut and buckled, gave a new look to a plain vase.

Number 4


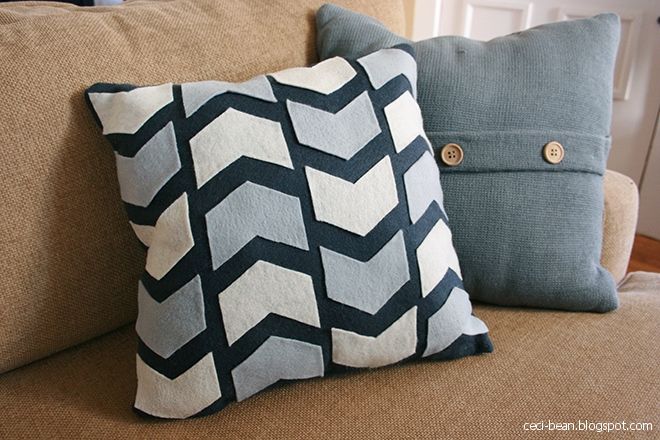
Super Easy Felt Pillow: wrapping up the year with a project which would make a great addition to your home, or a great gift for someone else (and as usual, I made it without a sewing machine!)

Number 3


DIY Captain's Mirror: this project proudly hangs on our bedroom wall, and I really do love it. I think even B has come around on this one. :)

Number 2


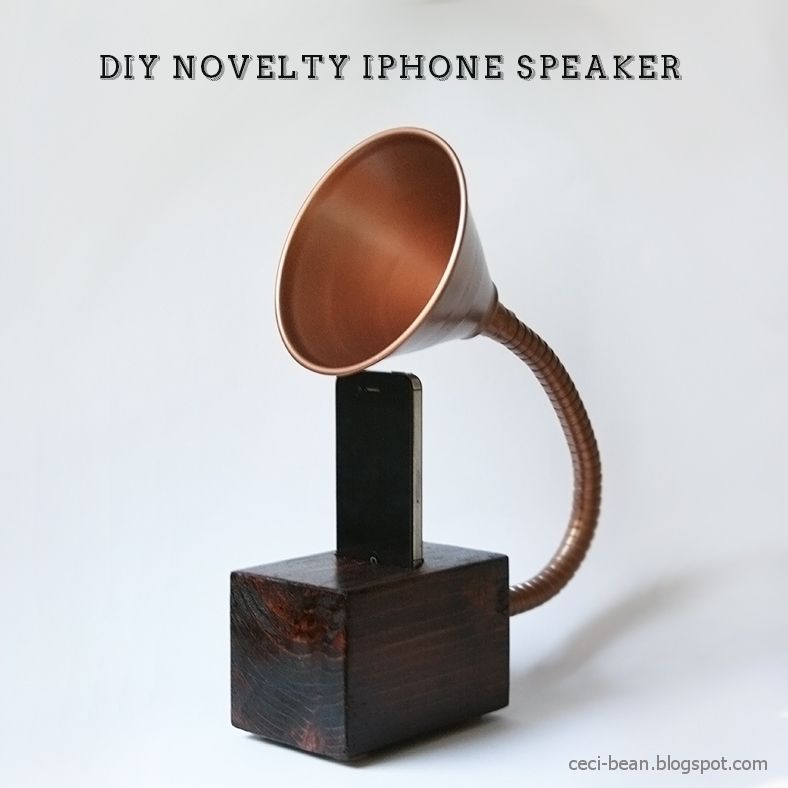
DIY Gramophone iPhone Speaker: B and I came up with this novelty speaker for a Christmas gift, and it turned out so cute!

Number 1


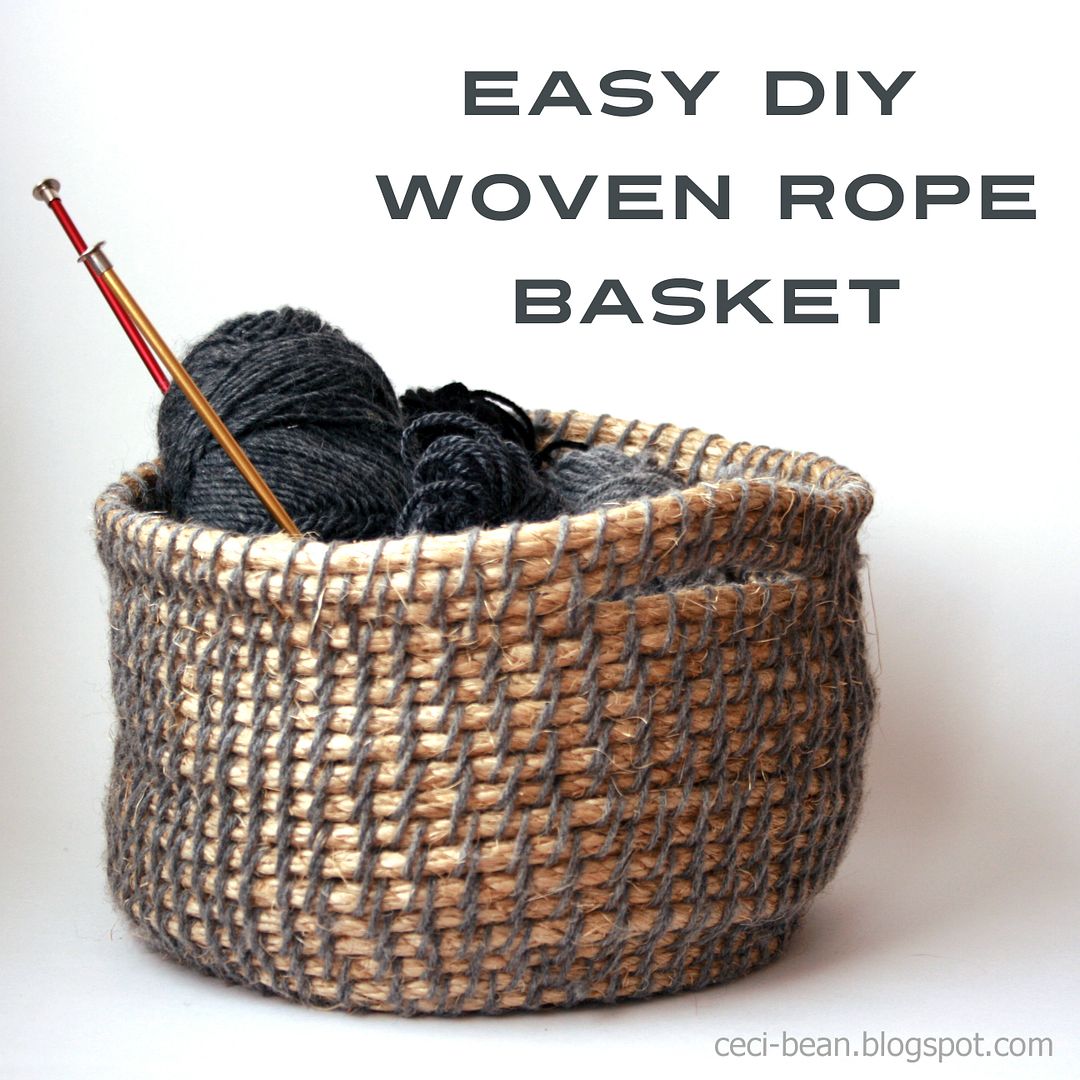
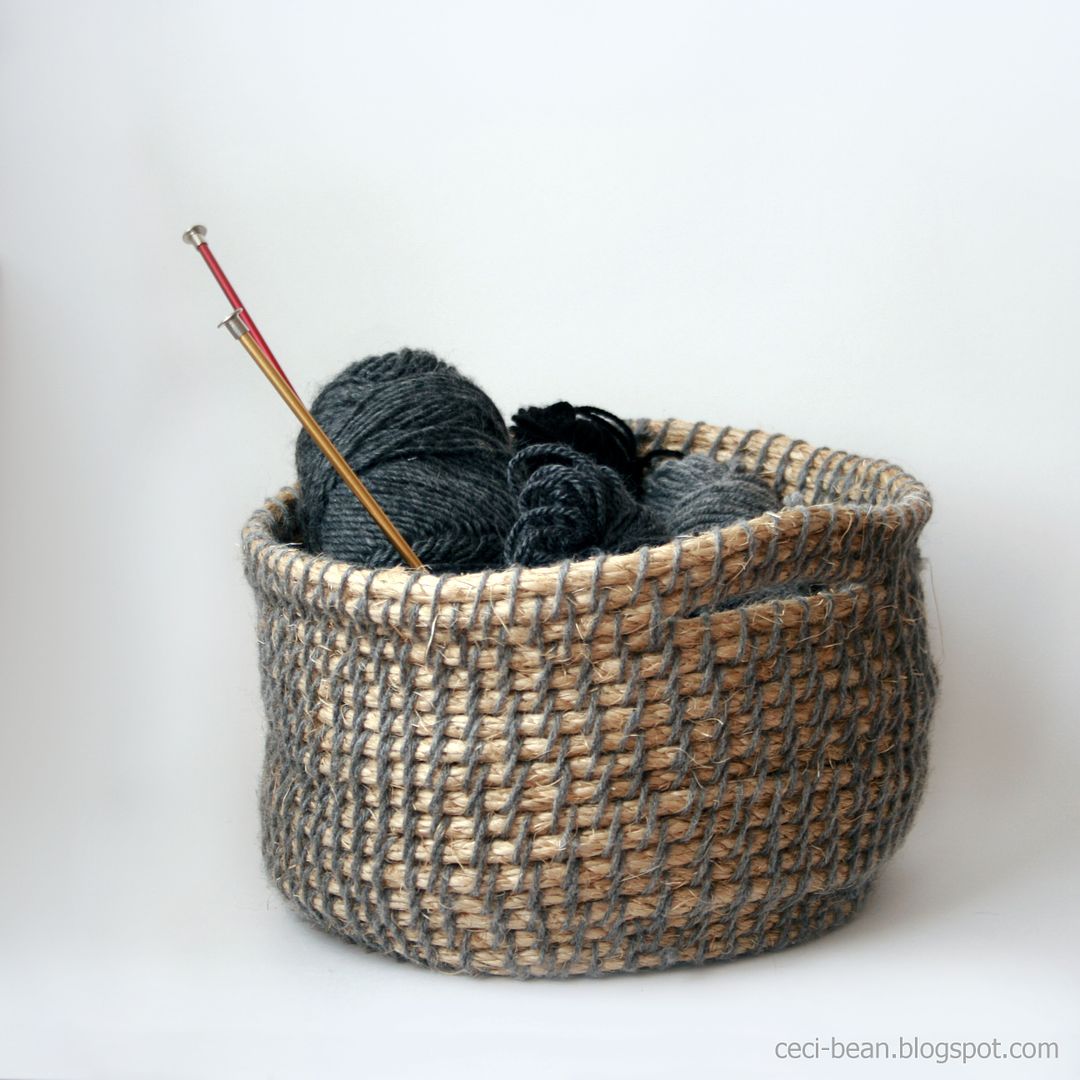
DIY Woven Rope Basket: this project was by far, the most popular one I shared this year (and likely the reason you're reading this now!). I've loved seeing other crafters and bloggers try their hand it it too!

Thanks to every single one of you who stopped by to check out my blog. I can't wait to share new projects with you in the coming year. And with that said, I have some exciting news to share...

I (along with fifteen other rad ladies) am going to be a contributor on Remodelaholic this year! I'm honored to be among some really great bloggers, and I hope I can bring some fun and inspiring ideas with my home decor and gardening roundups!

Monday, December 9, 2013

Super Easy Felt Pillow


I am not even going to call this a tutorial. Because who needs one anyway?

1. Cut felt into 2 pieces slightly bigger than a pillow. (Hot tip: Use a pillow case for reference!)
2. Sew Glue felt on three sides. (Hot tip: use fabric glue if you can't sew or are too lazy to sew!)
3. Turn inside out. (Hot tip: cut down the corners at a diagonal to reduce bunching when you turn it inside out!)
4. Cut out smaller pieces of felt. (Hot tip: pin felt to paper in the shape you want before you cut!)
4. Sew Glue other pieces of felt to your big piece of felt. (Hot tip:... I got nothin'. Make it pretty.)
5. Stuff big felt with pillow stuffing. (Hot tip: I've heard you can use plastic bags for this, but I've never tried!)
6. Sew Glue closed the felt pillow. (Hot tip: use lots of pins to help hold it closed while your glue dries!)

Let's just call this post a friendly reminder of an easy crafty project that would make a nice gift for someone.


Linking up to Dare to DIY.

Sunday, December 8, 2013

DIY Gramophone iPhone Speaker


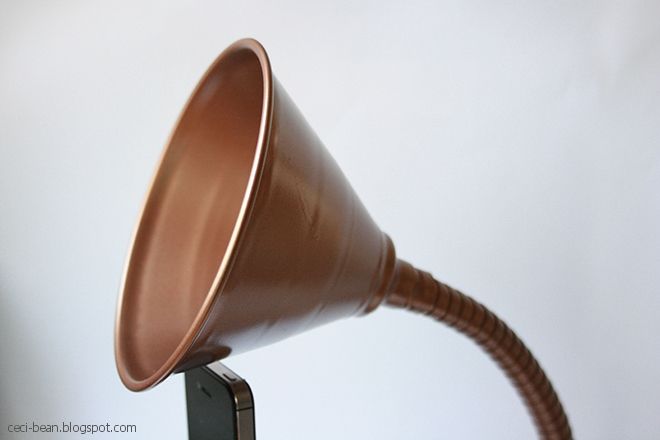
Have you seen those gramophone speakers for iPhones at places like Restoration Hardware and Pottery Barn? I think they are just the coolest things. Super sculptural and they actually work! I really wanted to recreate one, but I could not figure out where to find a horn that was a reasonable price.

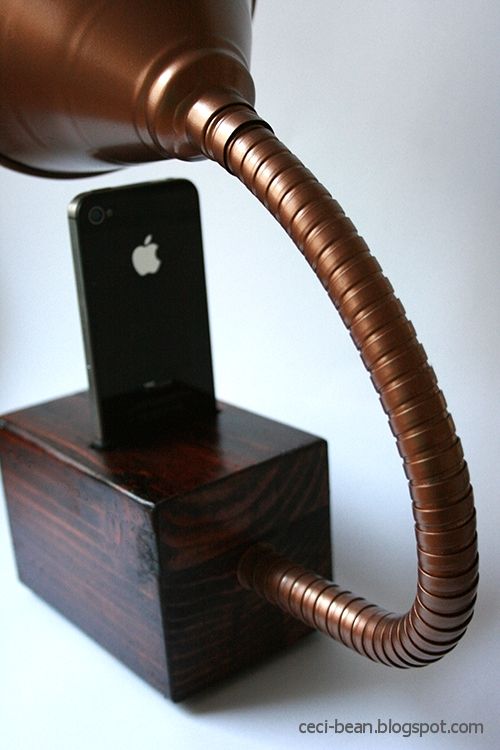
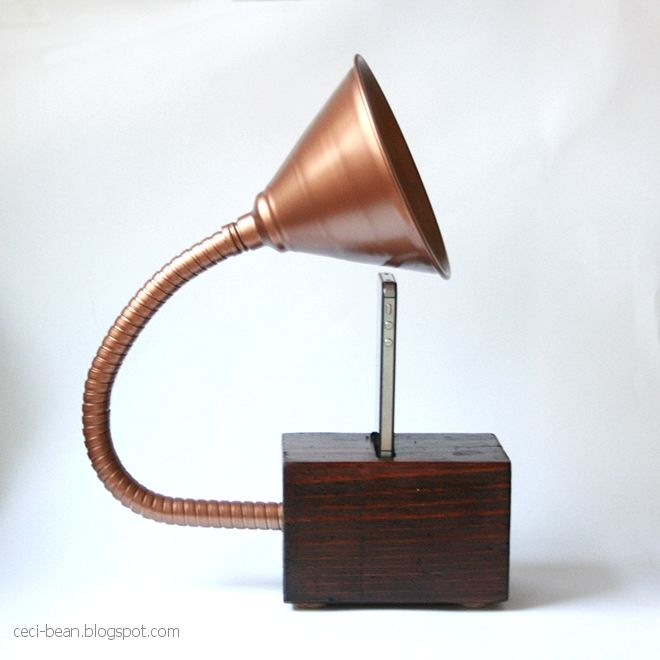
So I started thinking about what else I could use to recreate this. And then I realized, a funnel might do the trick! I picked up a galvanized steel funnel with a flexible tube (like this one) at my local automotive shop. I sprayed the funnel with a bronze spray paint to fancy it up a little.

While the paint was drying, I explained to B how I imagined the base would need to be drilled. He went out to the garage and 10 minutes later he had a "prototype" ready to go.

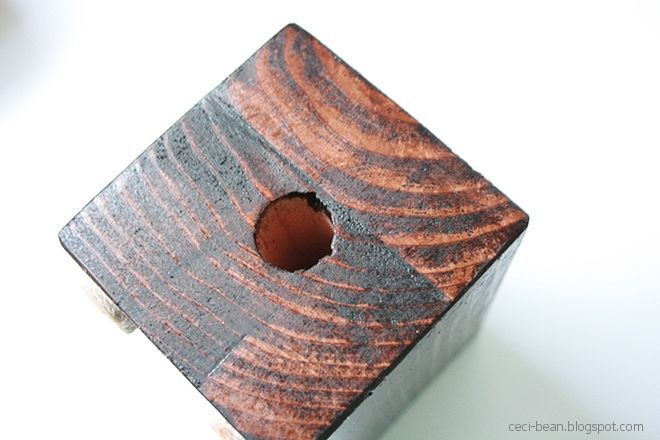
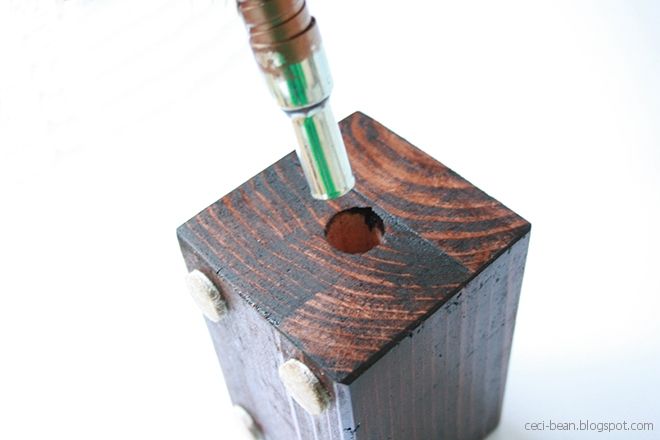
Basically, he used his dremel with a 3/4" spade bit to bore a hole into the back of the base (a piece of Redwood 4x4, approximately 6" long), about half the depth of the base.


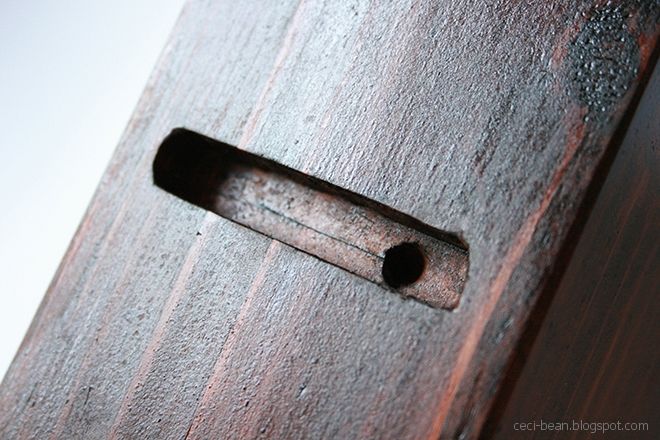
Then, he marked out on the top of the base where the iPhone would sit. (It should be situated over the end of the hole you just made for the funnel)


Using a drill with a 1/4" drillbit, B started at the right edge of the marked out area and drilled down at a diagonal to meet the other hole.

Then using the dremel with a router bit, he cut away the section where the iphone would sit, which positioned the opening under the iphone speaker.

We sanded and stained the base (Mission Oak stain).


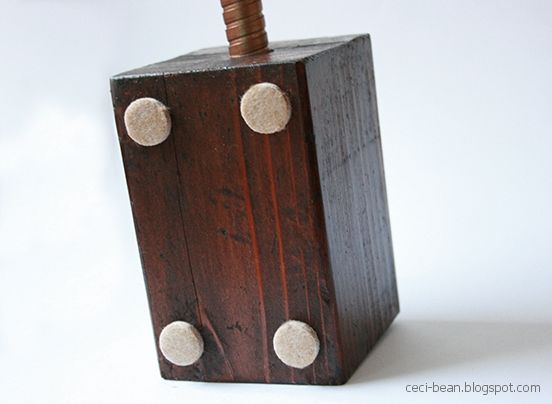
As a last step, we added little felt feet to the base and put the funnel tube into the hole.


Ta-da! A gramophone inspired passive speaker for the iphone!


We popped the phone in the base, turned on iTunes, and the sounds started coming out of the funnel!
It was pretty cool. Ultimately, the sound was not as amplified as much as I'd hoped, which is why I named this a "novelty" speaker. I mean, it won't replace your Bose sound system or anything, but you can bend the funnel to project the sound in different directions.


I think this could be a great Christmas gift for a music-loving friend. The materials are under $10 bucks (wood, funnel) and you can paint or stain with whatever you've got on hand!

So that's it. Pretty and pretty unique. Do you have anyone on your list who you'd make this for?

Linking up to Dare to DIY.

Thursday, October 31, 2013

DIY Leather Strap Hurricane for Fall Console

Happy Halloween, everybody. In case you missed it, I shared our costumes and Halloween mantel previously.

I jumped right into the Halloween decor, but now I'm easing my way into some general autumnal adornment. (I really wanted to say "autumness" but I'm told that's not a real word.)


It is pretty simple, but I was trying to use what I had, for the most part. The leather strap hurricane was a super easy DIY project that cost me $3, plus tax. Not too shabby considering other ones I've seen at Front Gate and One Kings Lane (which inspired this in the first place) were priced at $60 to $469 bucks!


I had a vase on hand and only had to purchase 2 pleather belts at Daiso. If you aren't familiar, Daiso is similar to a dollar store, only everything is $1.50 and Japanese. (Note: the link is not to the exact style belts I bought because they don't appear to be available online.)

I cut each belt so it would fit snugly (the material gives a little, so make it as tight as possible.) and poked a hole with the tip of a knife. The curved the ends, although they aren't really visible. Then I cut the remainder of the belt straps in half, giving me four pieces to tuck in diagonally. I snipped the ends at an angle once I knew how long they needed to be. That's pretty much it. I didn't use glue or special hardware or anything.


I like that I can remove the belt pieces if I choose to use the vase in other ways throughout the year.


Other pieces I used for this display included these shuttles (part of an antique loom) that belonged to my grandfather, who worked in textiles.


I also made this little flower arrangement with some hydrangeas, feathers, and dried seed pods.


Anyone else out there moving onto post-Halloween decorating already?


Monday, September 30, 2013

Graphic Mosaic Monogram Art


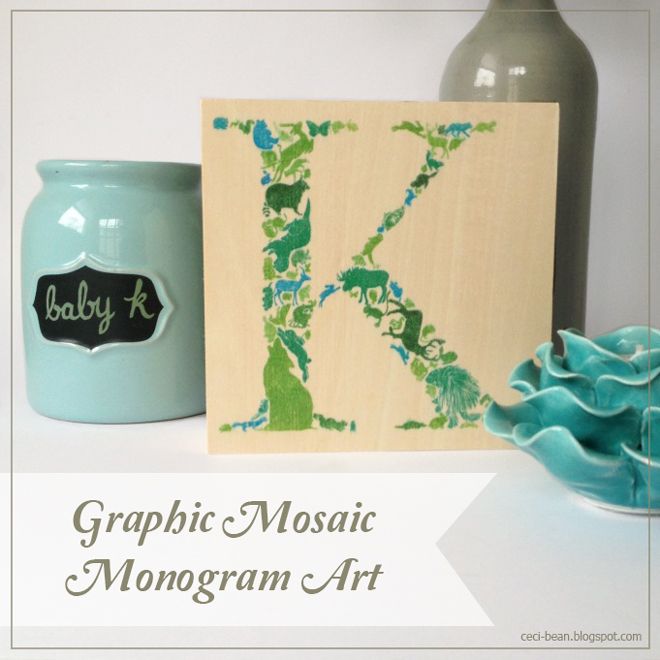
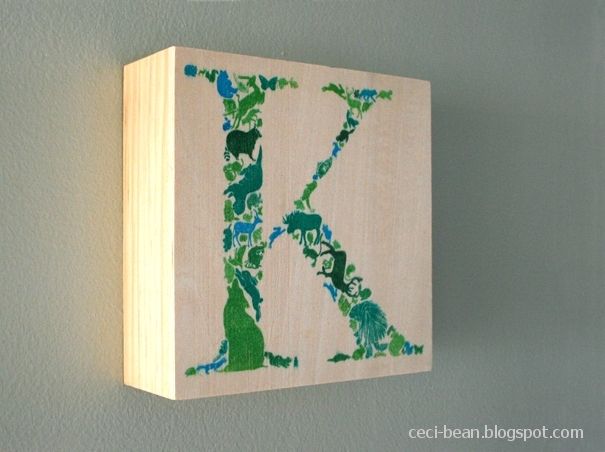
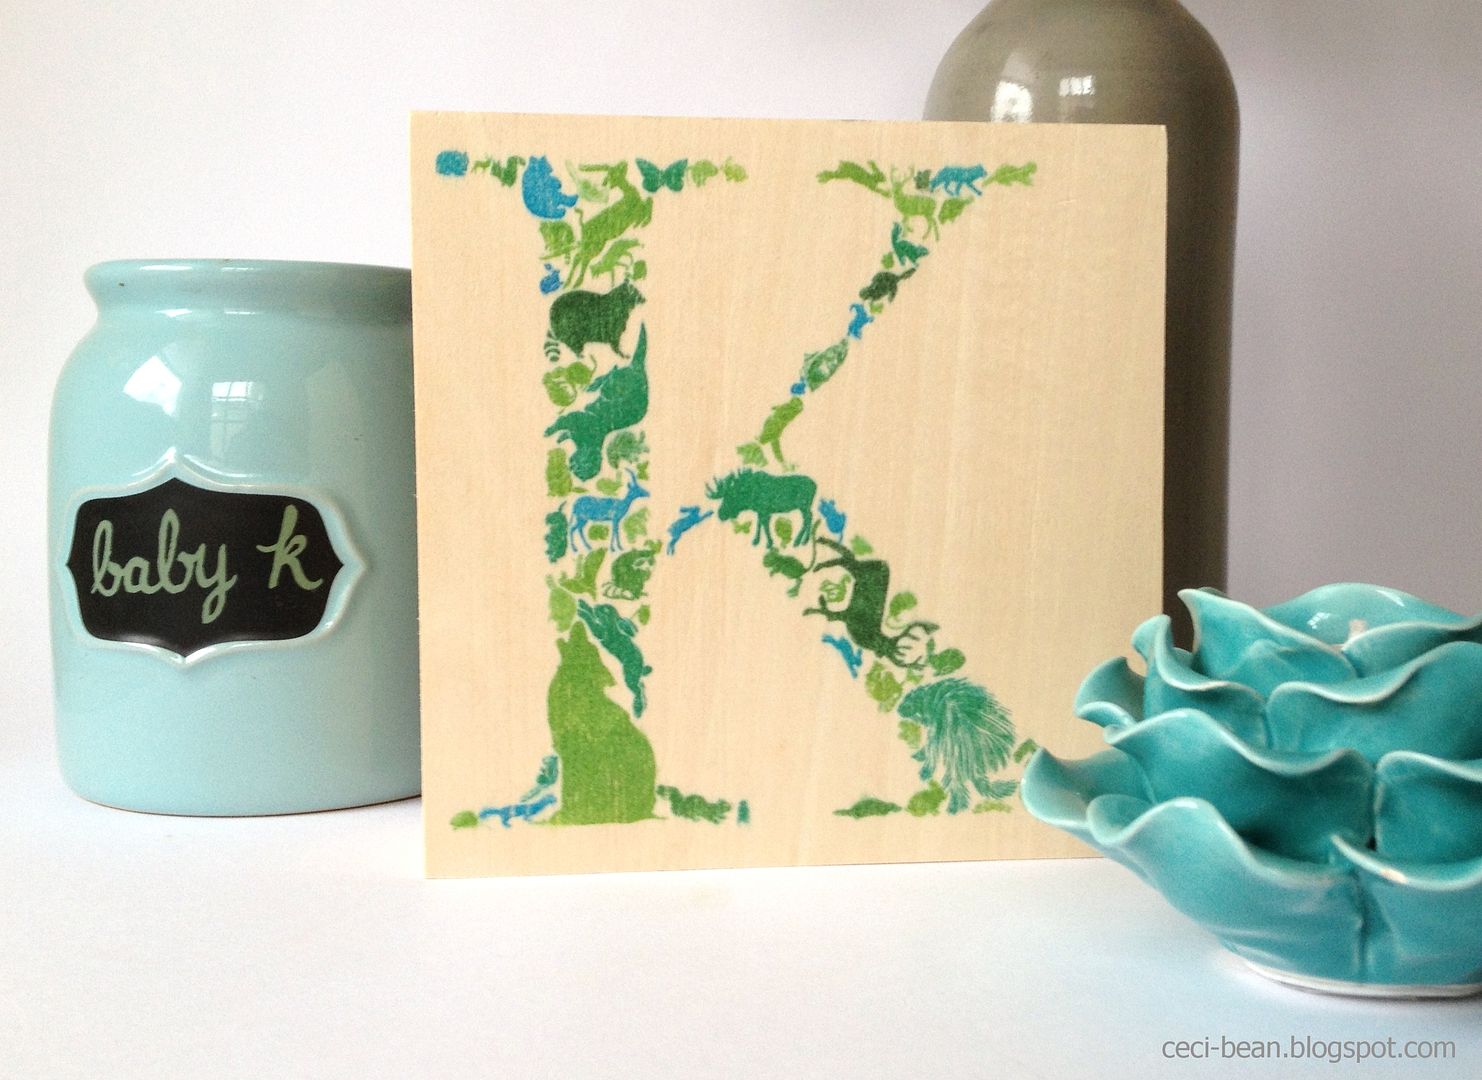
I know, I know, it should be all fall leaves and spiderwebs around here right now. But my cousin's daughter is coming up on her first birthday and I wanted to make her something special.

I began by creating the monogram in Illustrator. I believe you could use the layout program of your choosing, but I think a vector based program would work best. If you're not comfortable with (or don't have access to) these programs, you could use a typeface that achieves a similar result like this one, for a fall leaf effect. Hey, what d'ya know, it brought this project back to Autumn!

1. Find dingbat fonts that include lots of different shapes in the "theme" you like. For baby K, her bedroom has a "forest friends" theme, so I collected a few different sets I could work with. I would also recommend finding solid shapes rather than line drawings, if you choose to transfer the image.

2. Make one large letter in a size that fills your page. I knew my final piece would be 6 x 6, so I made sure my letter was just a bit smaller than that.

3. Type your "alphabets" out, so you have a palette to work with on screen.

4. Mix and match pieces until you come up with a design you like!

5. Once you've designed it the way you'd like, you can print as-is and frame it up! I wanted to create something a little more special, so I continued with these steps:

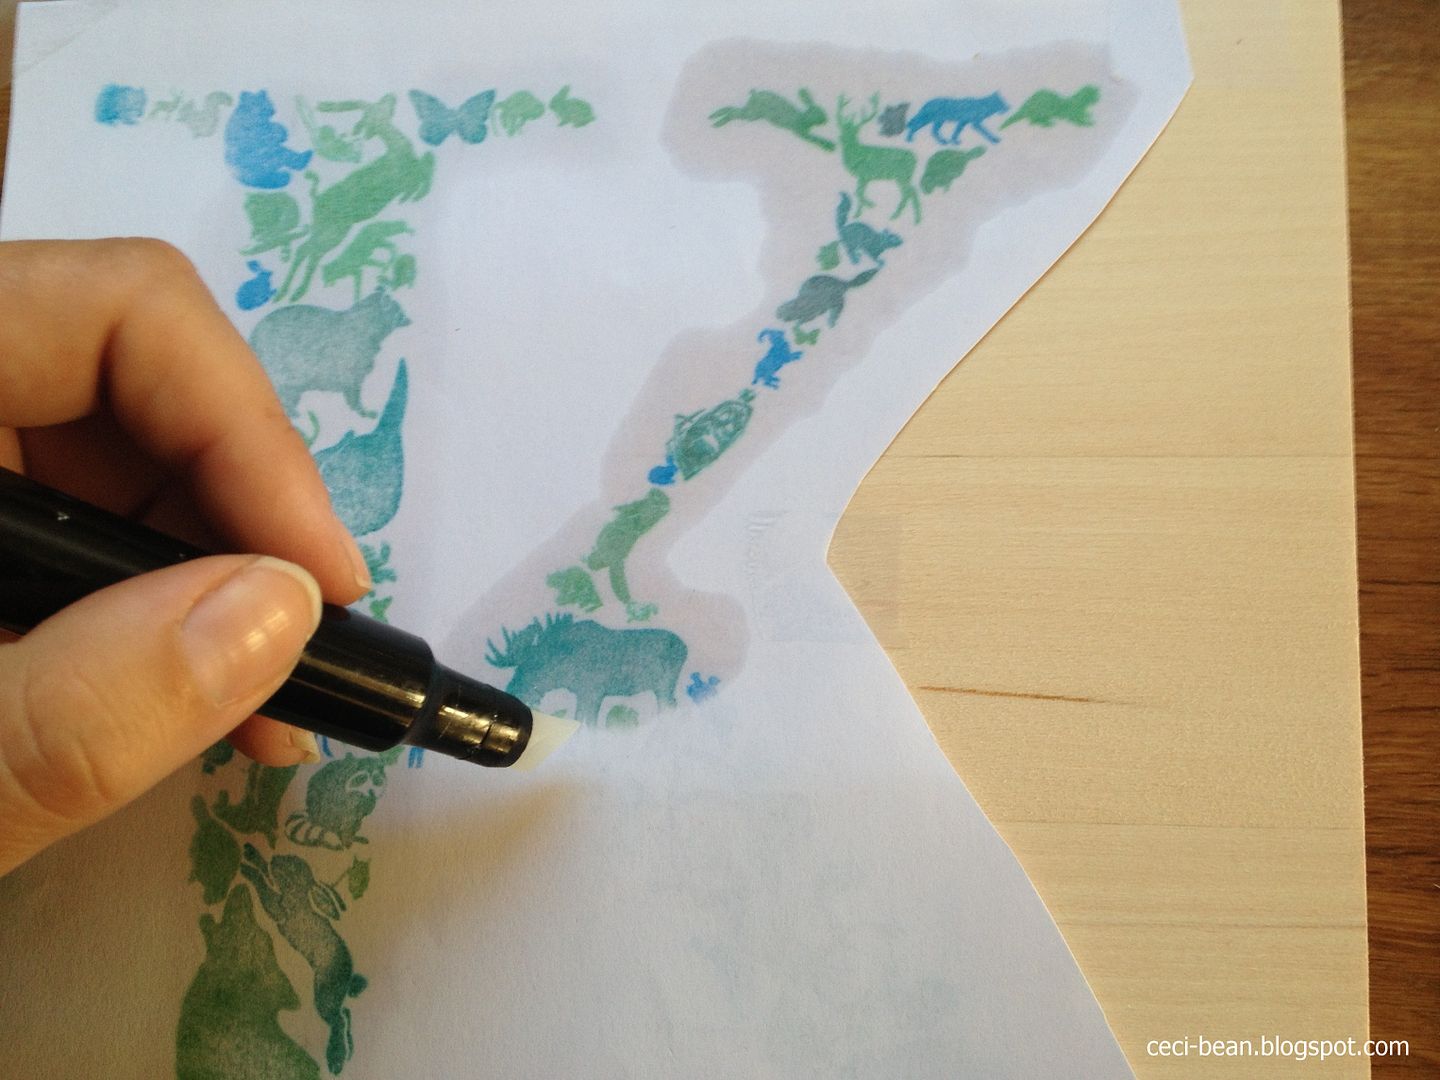
6. Print it on a laser printer, as a mirror image.

I went back and forth about whether I should try the transfer method I've seen used most commonly on other blogs. It involves gel medium, and a day of drying. I think it was impatience that won out, so I used the method I learned in art school -- the mighty blender pen.

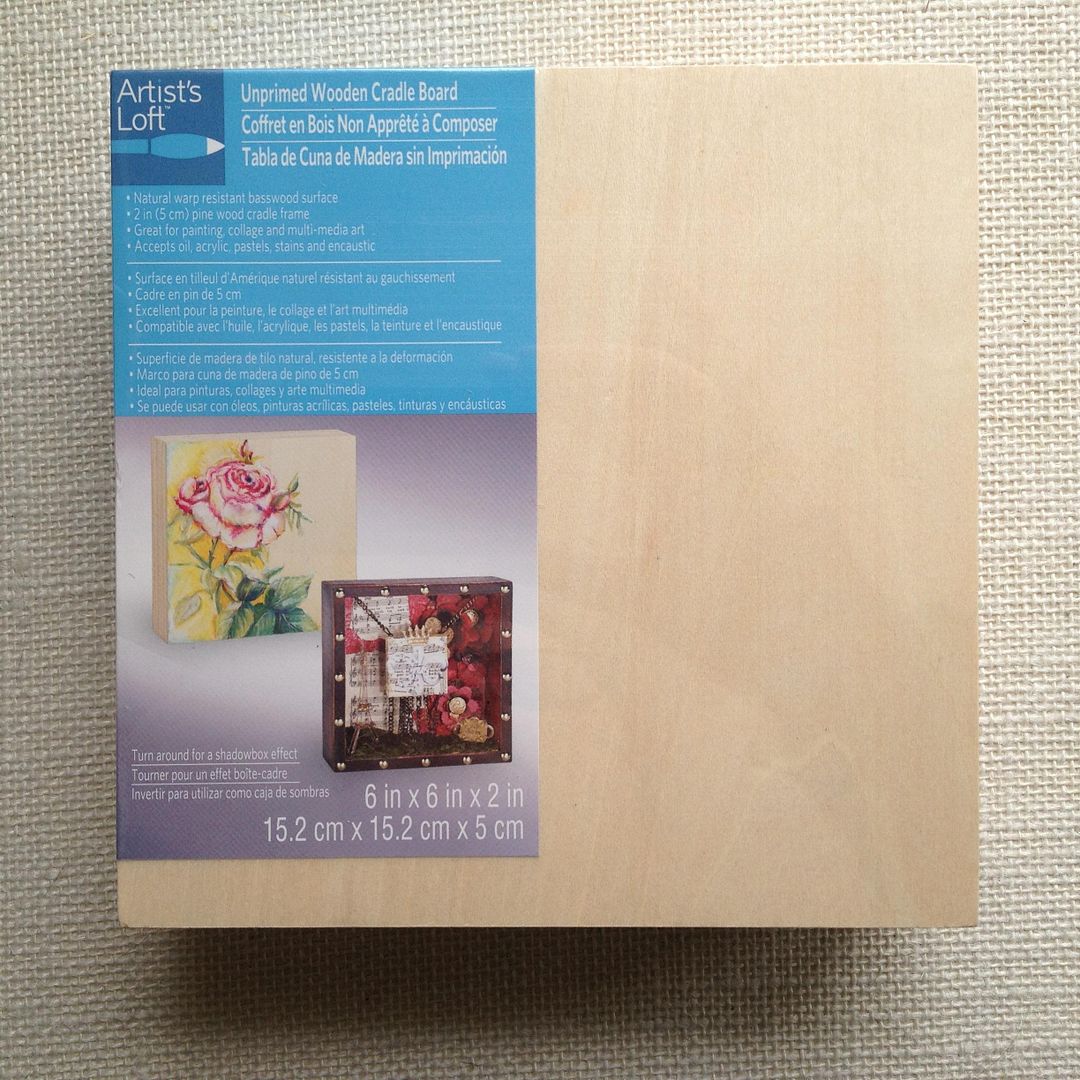
6. Cut it out and tape it into place on the surface you're transferring to. I chose a wooden cradle board.


7. Apply the blender pen quickly to a small area (maybe an inch at a time) and run your fingernail or a tool over that area to transfer to image more completely. Be careful not too wet the paper too much or the image will bleed.


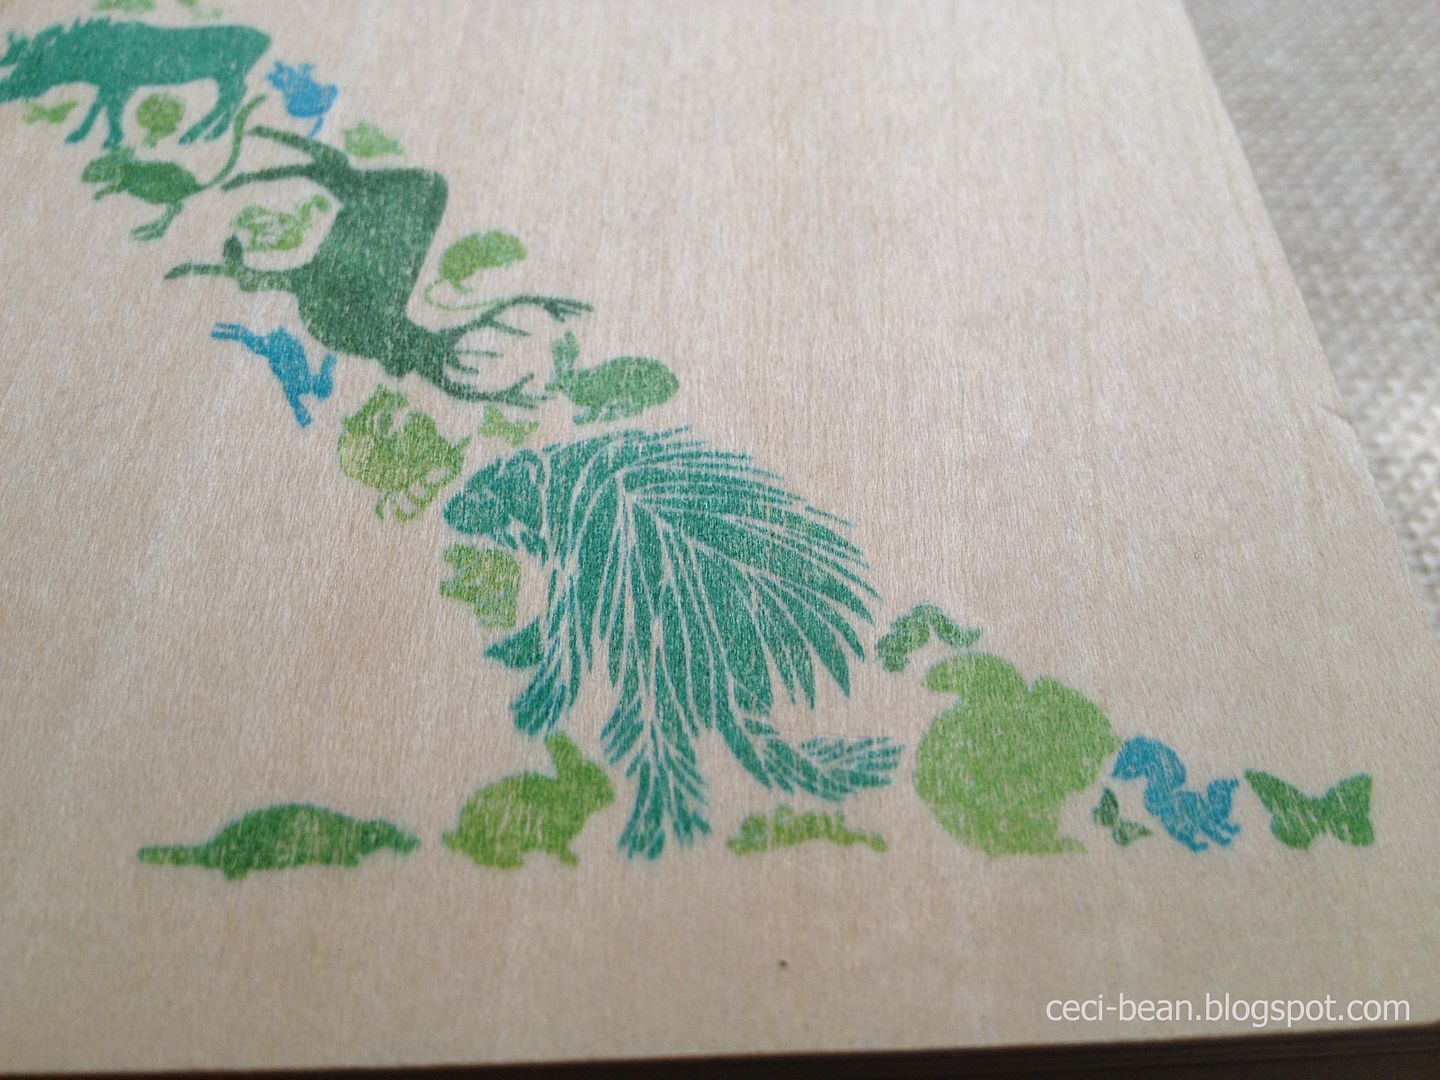
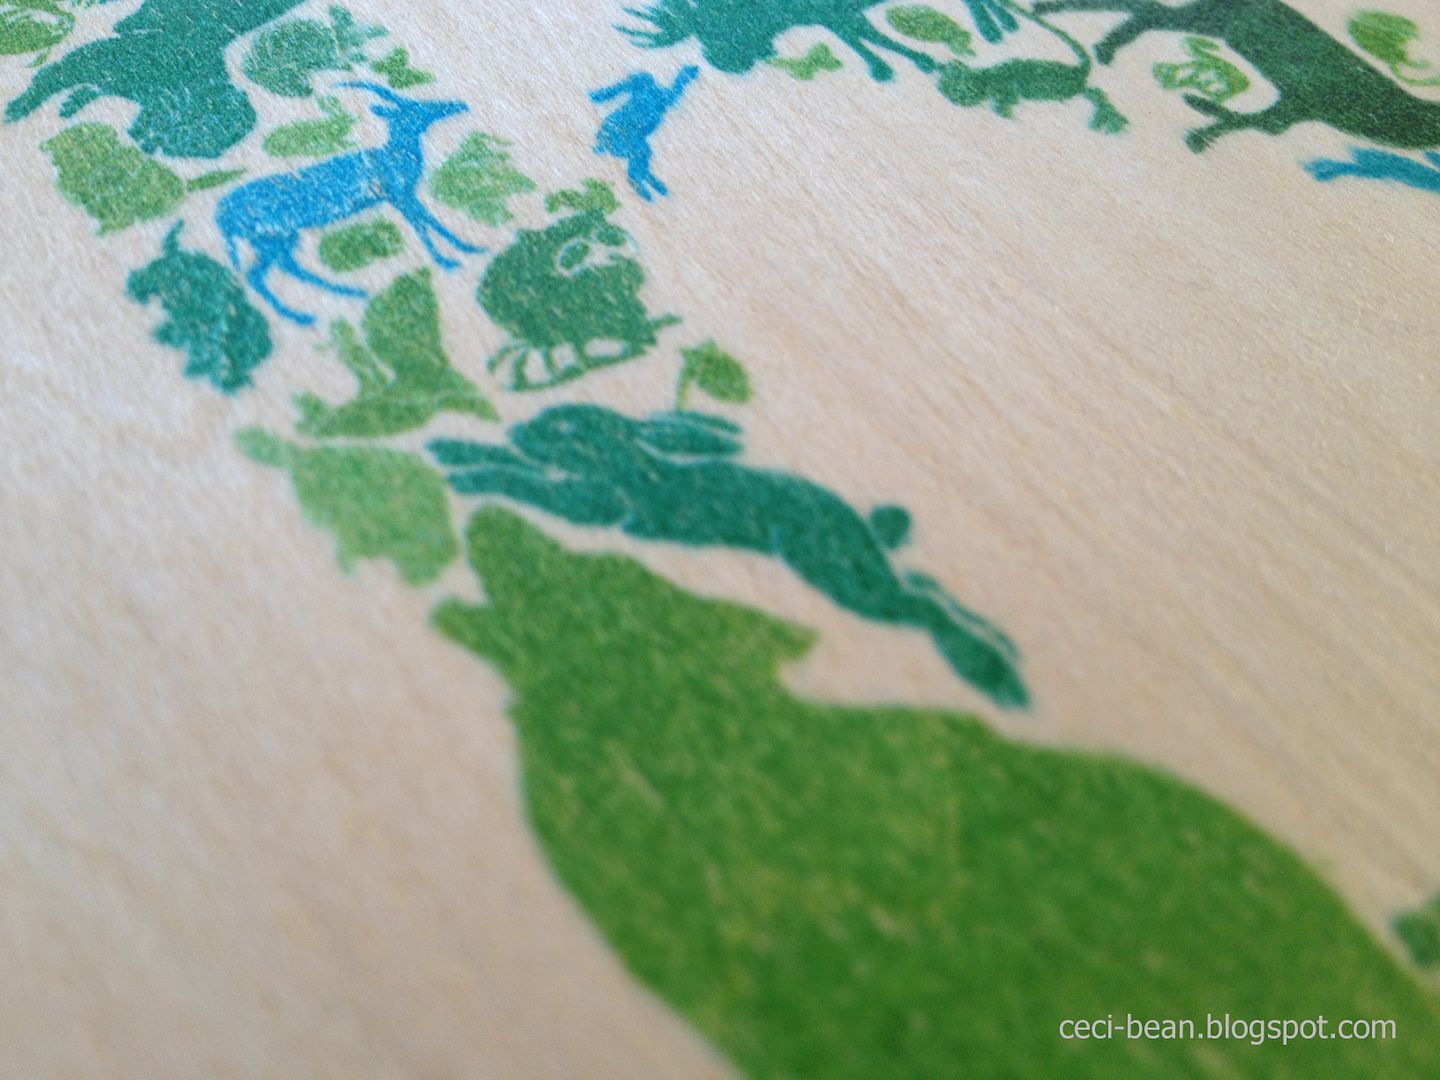
8. Just a few minutes later, and you have a finished piece!


There were a few animals that were probably too small to transfer properly, but overall I think it was a success!


I think it will be a nice additional to baby K's nursery.

What theme would you try?

Friday, September 13, 2013

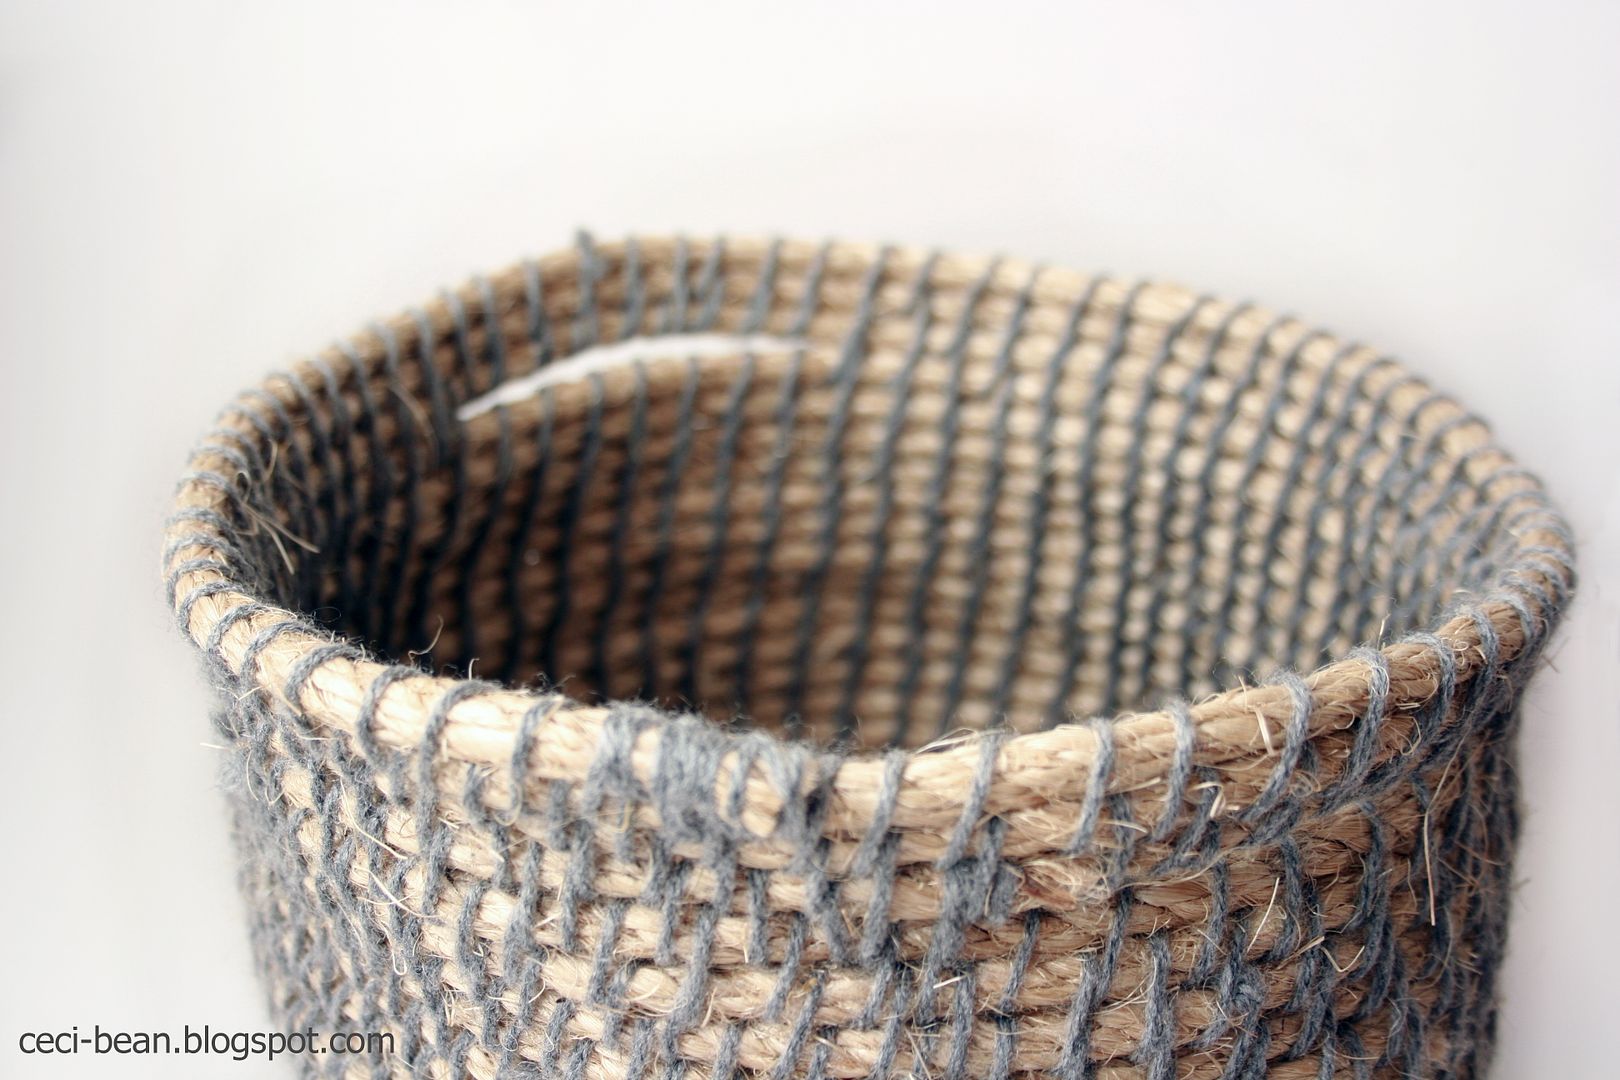
DIY Woven Rope Basket


I'm not sure why I got so set on making a rope basket. I've never made one before.

I blame Pinterest and its plethora of cool Autumn-friendly crafts which tricked my brain into thinking it was scarf-knitting time (which is ridiculous, because it was hotter last weekend than it has been all summer in the Bay Area) so I settled on a woven basket which seemed practical and not reliant on weather to use.

After a bit of research, I realized that most people are going the easy smart route and simply gluing rope to existing containers. And while I think those look quite cool, I knew that type of project would not really satiate my need to knit something.

Upon further investigation, I realized that rope baskets aren't knit, but crocheted... a skill I do not have. Whatevs! I decided to wing it!

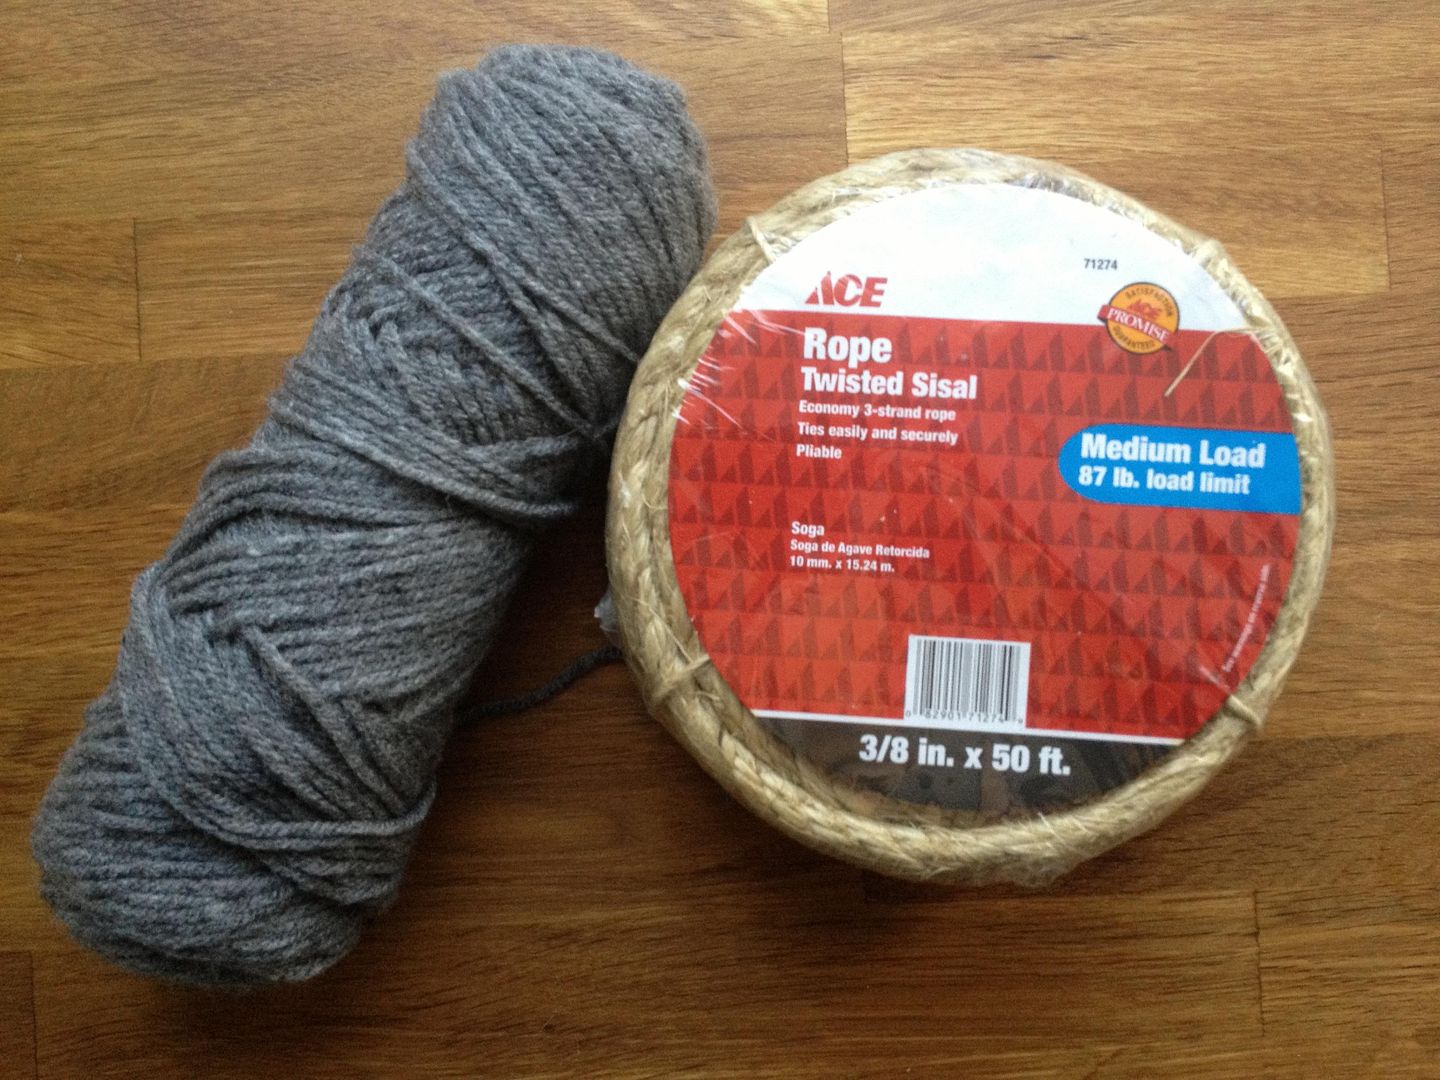
I bought some sisal rope at my local Ace and found some yarn in my personal stash.


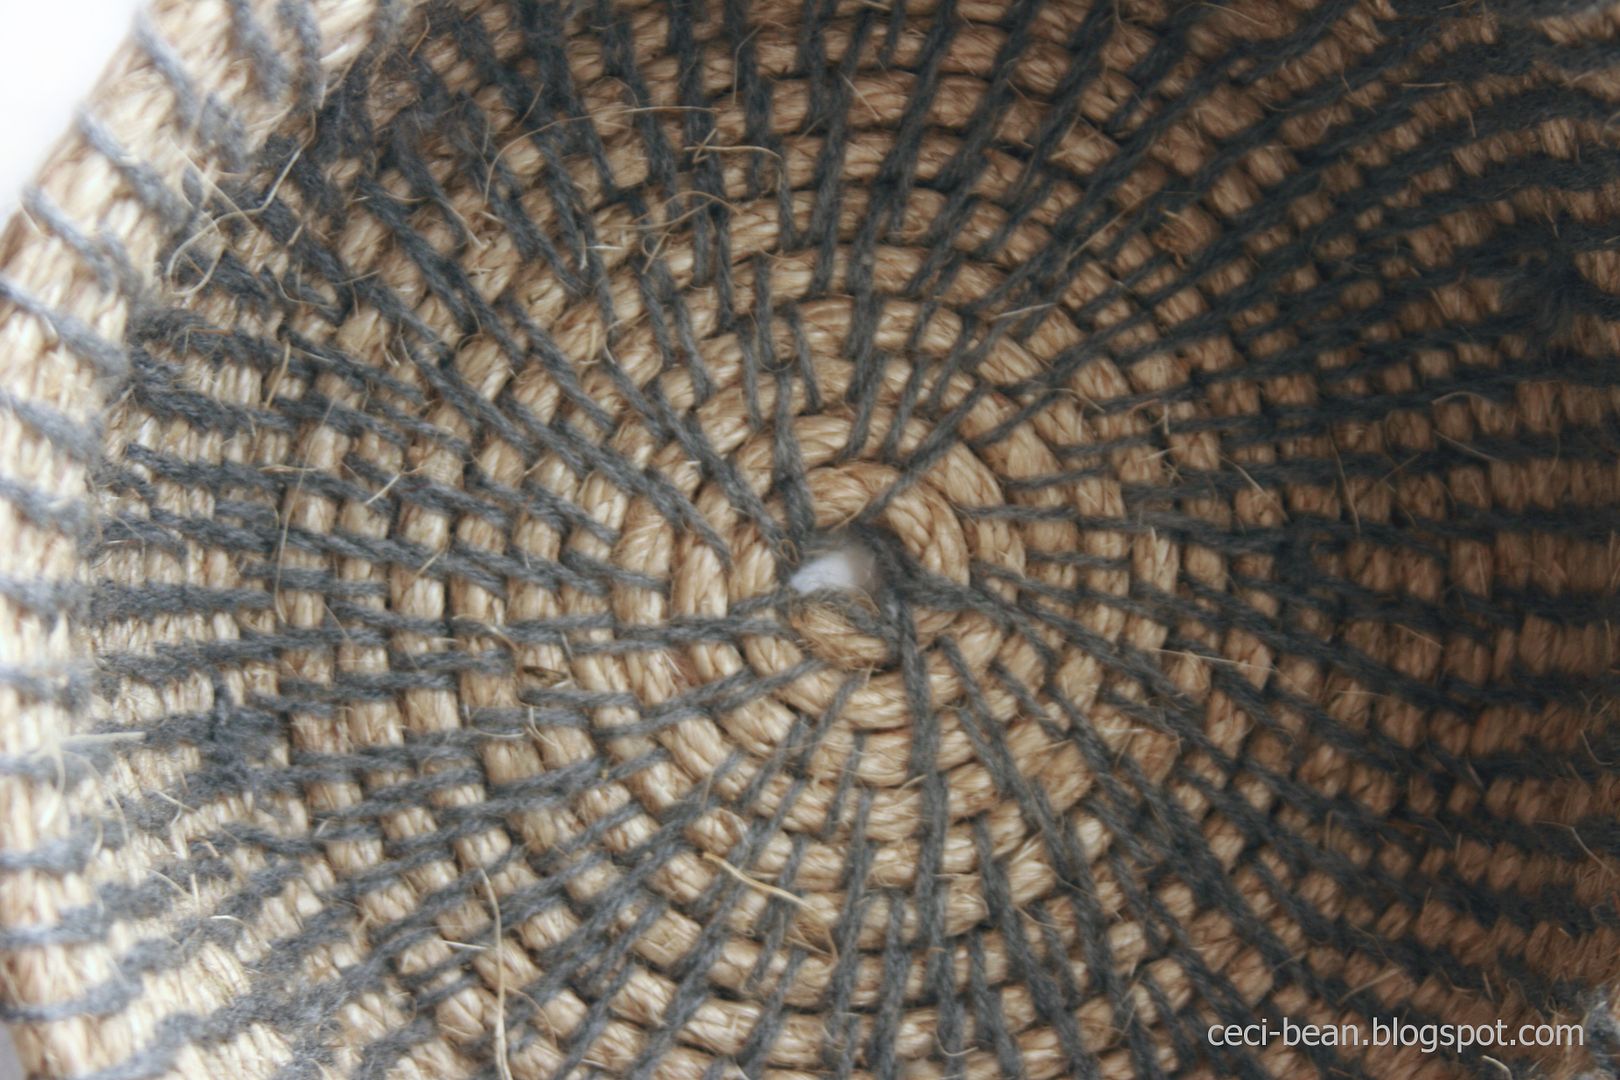
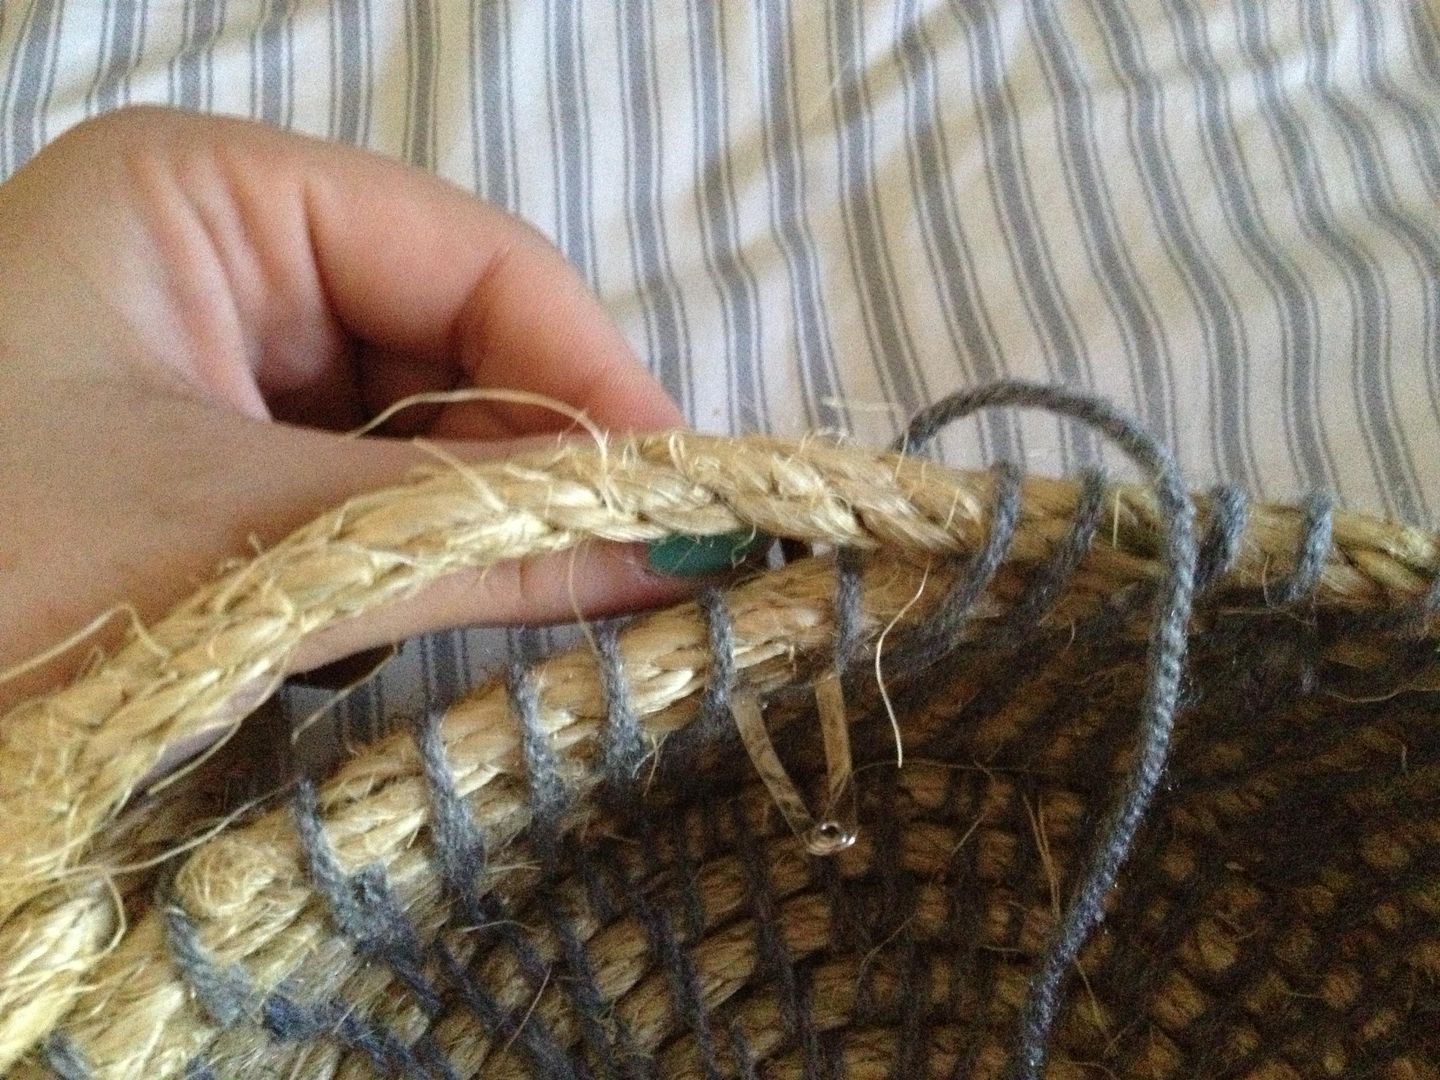
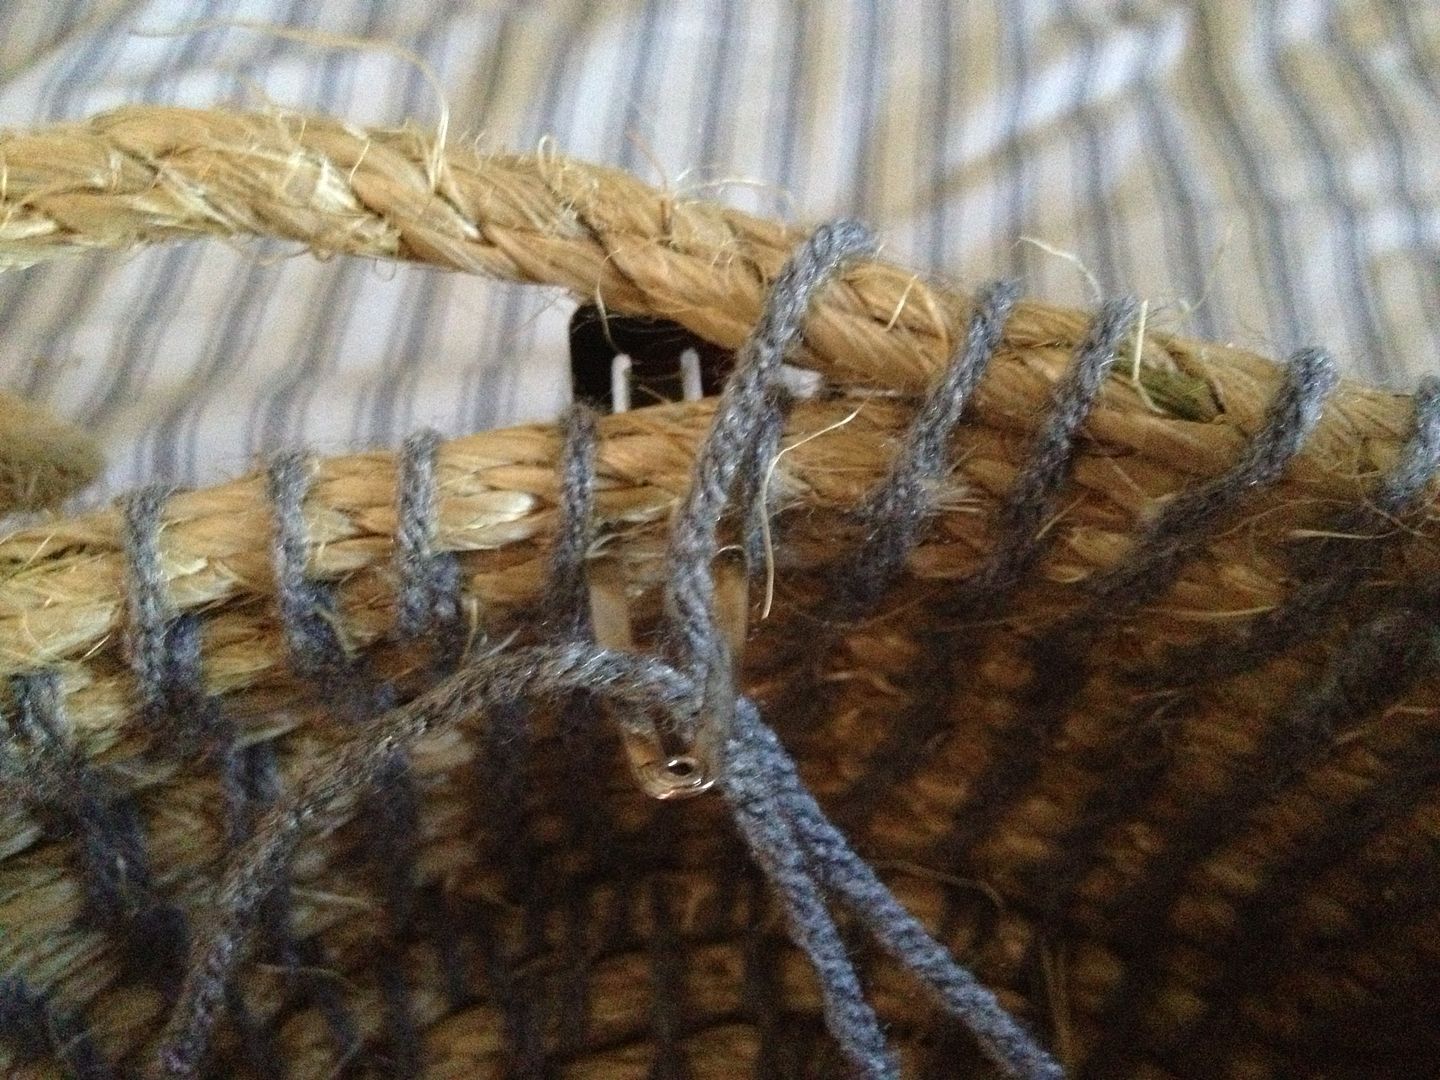
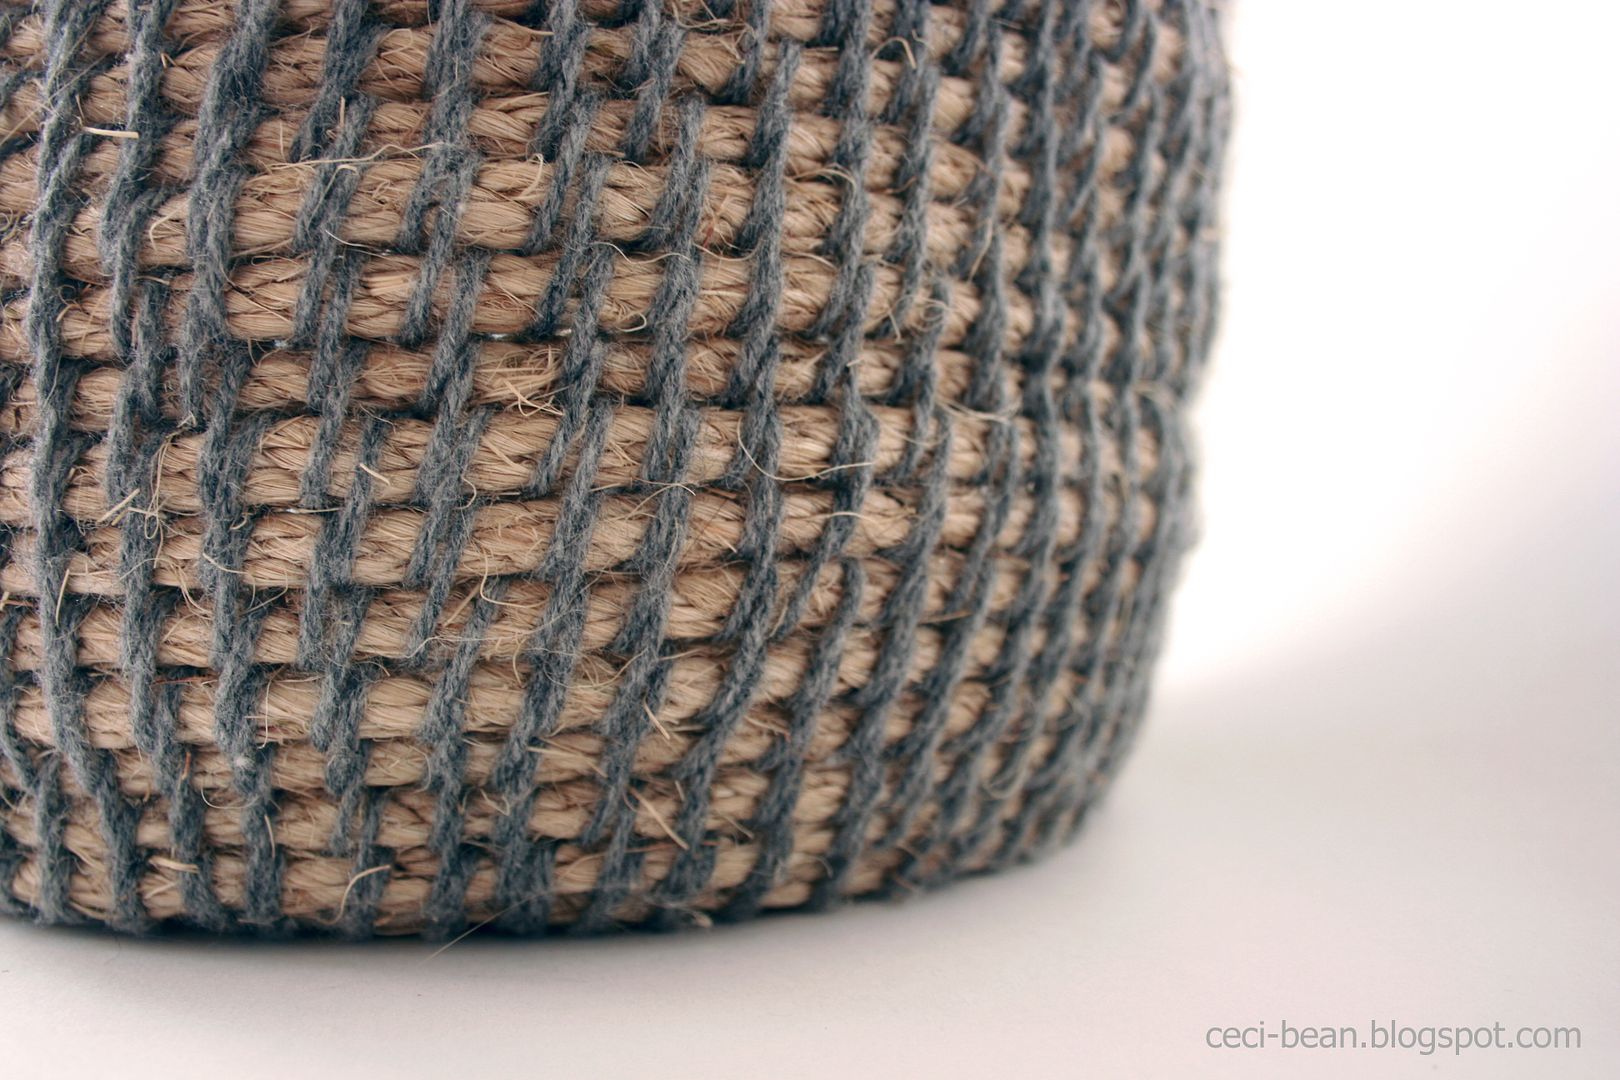
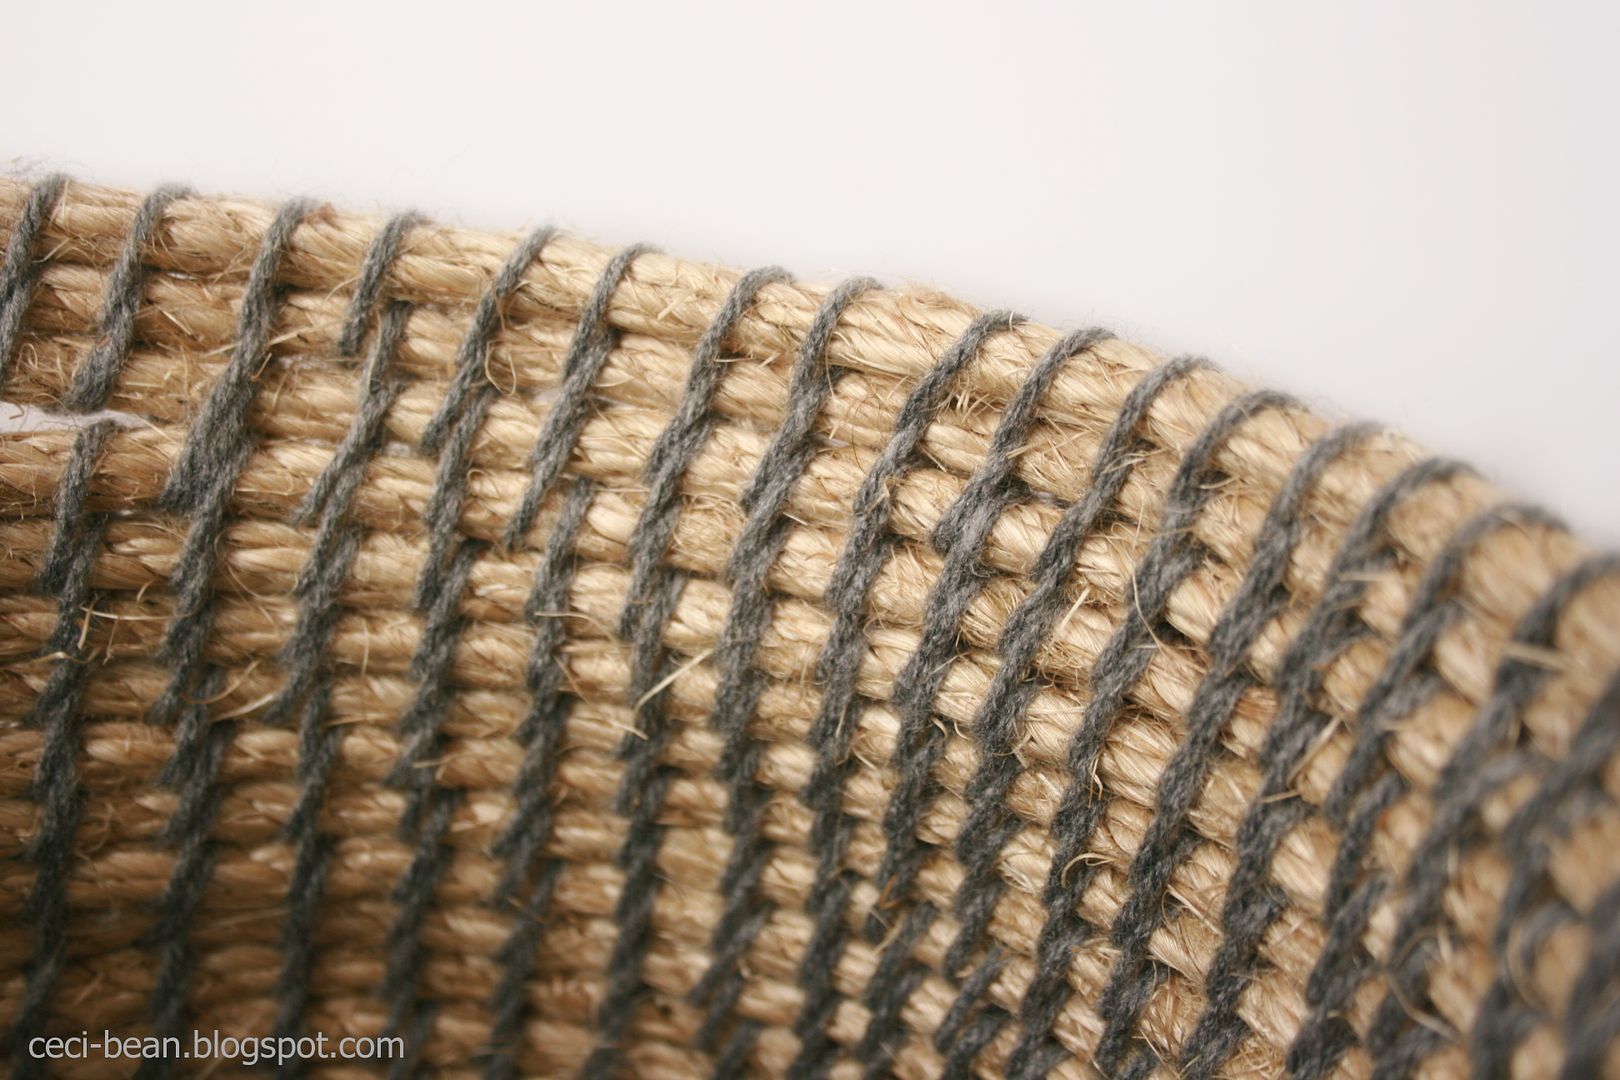
 My approach was pretty simple: wrap yarn around rope, two layers at a time. Repeat, repeat, repeat.


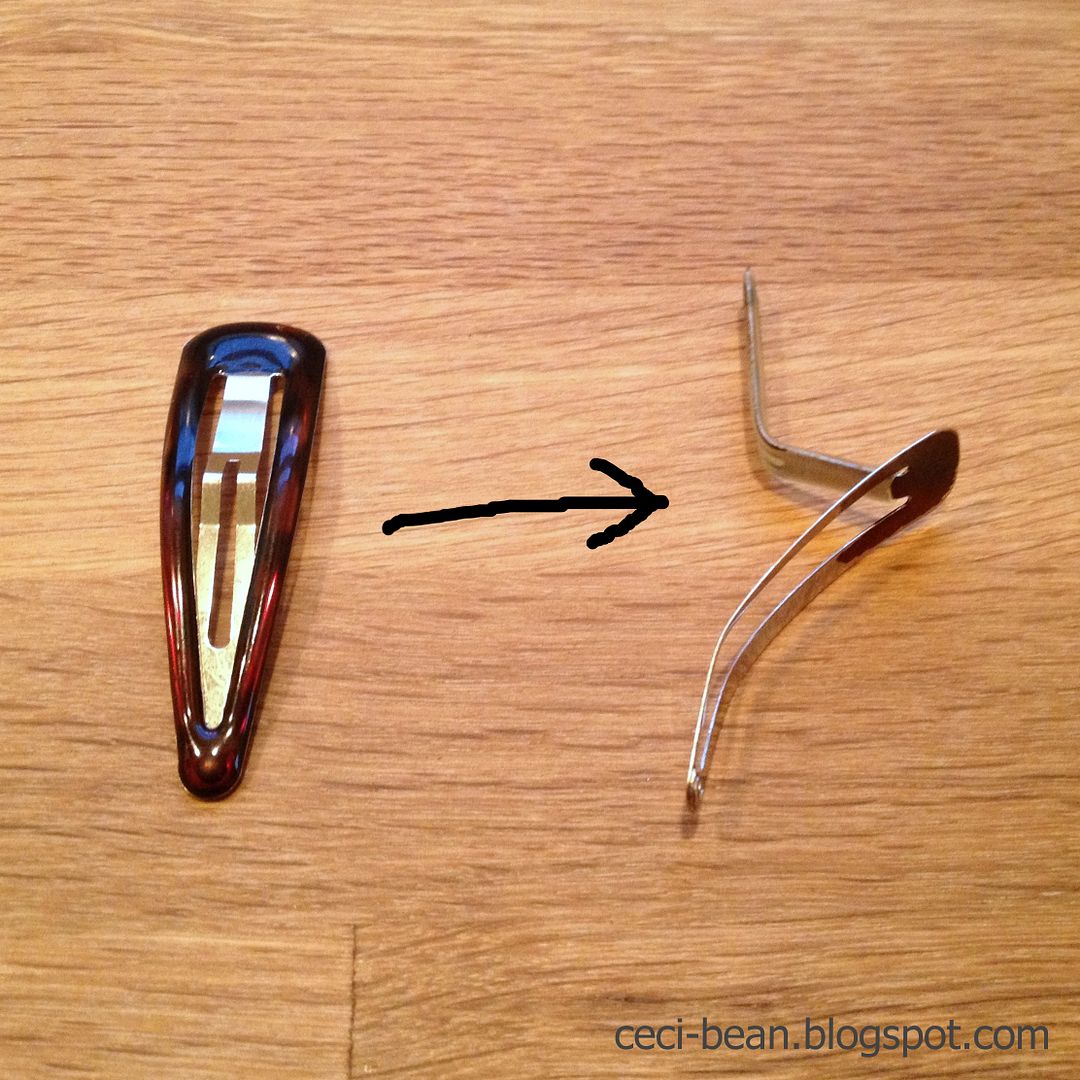
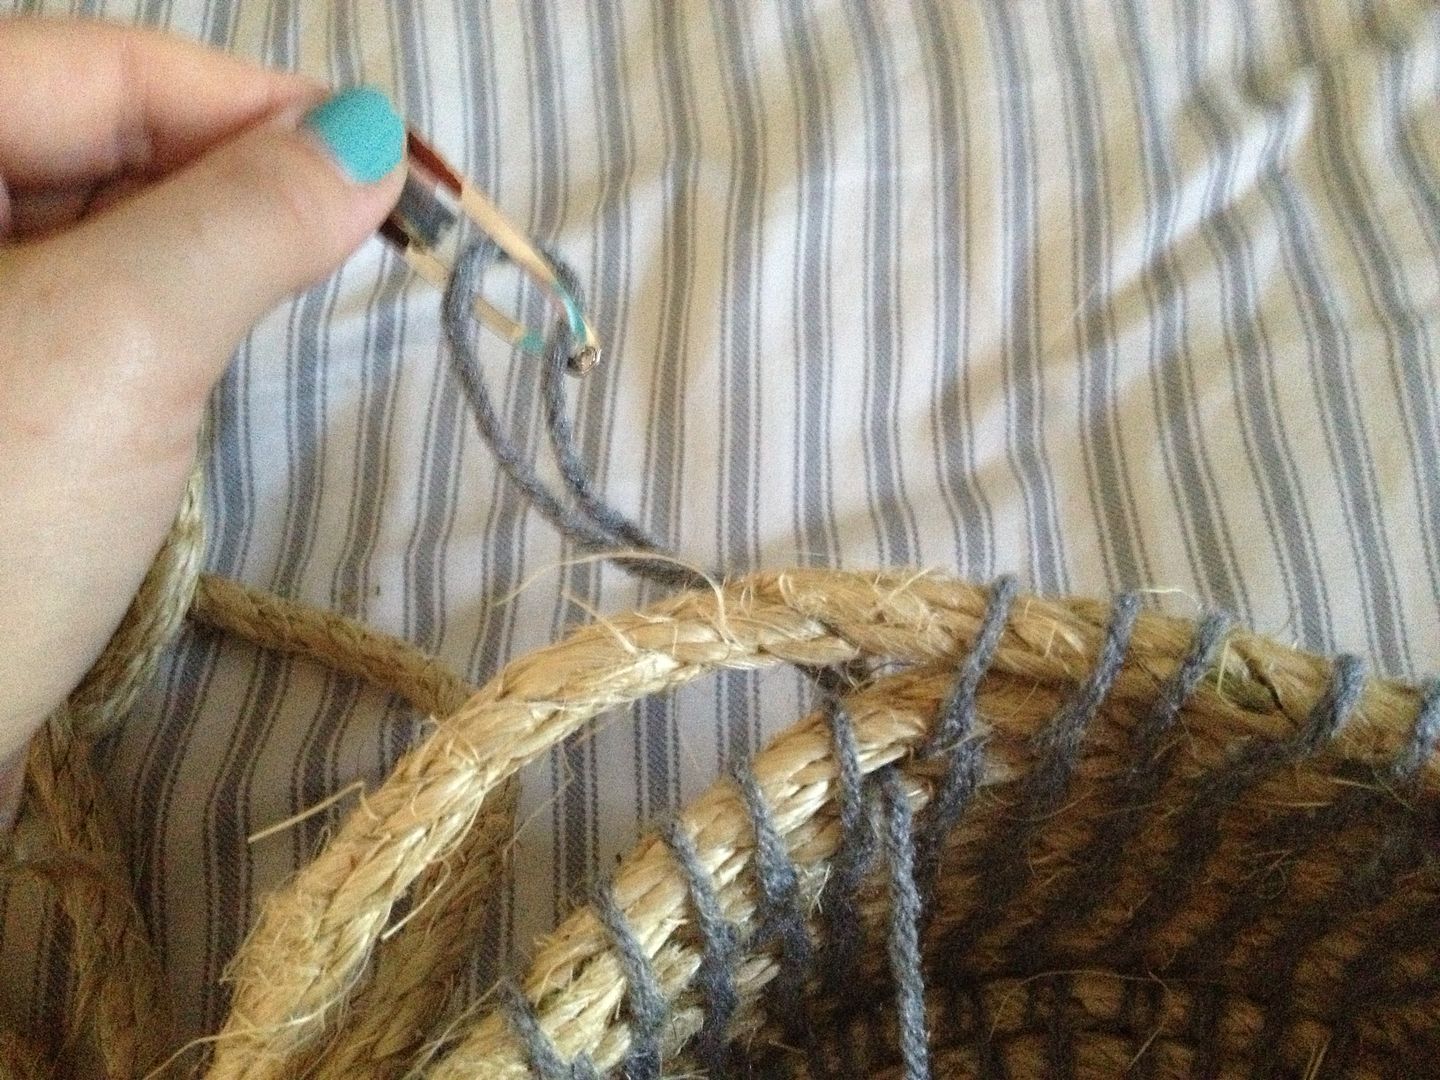
It didn't take long before I realized the wrapping of the yarn around the inner (or lower) length of rope was hard to do without some sort of tool. I considered the fact that a crochet hook was probably the tool I needed, but I wasn't interested in buying one just for this project. So I scanned the room for something that could work, and found a hair clip.

It won't be much help in the hair department anymore, but now it's a basket-weaving champ!

Can I just say that this sacrificed hair clip was the perfect tool for basket weaving??


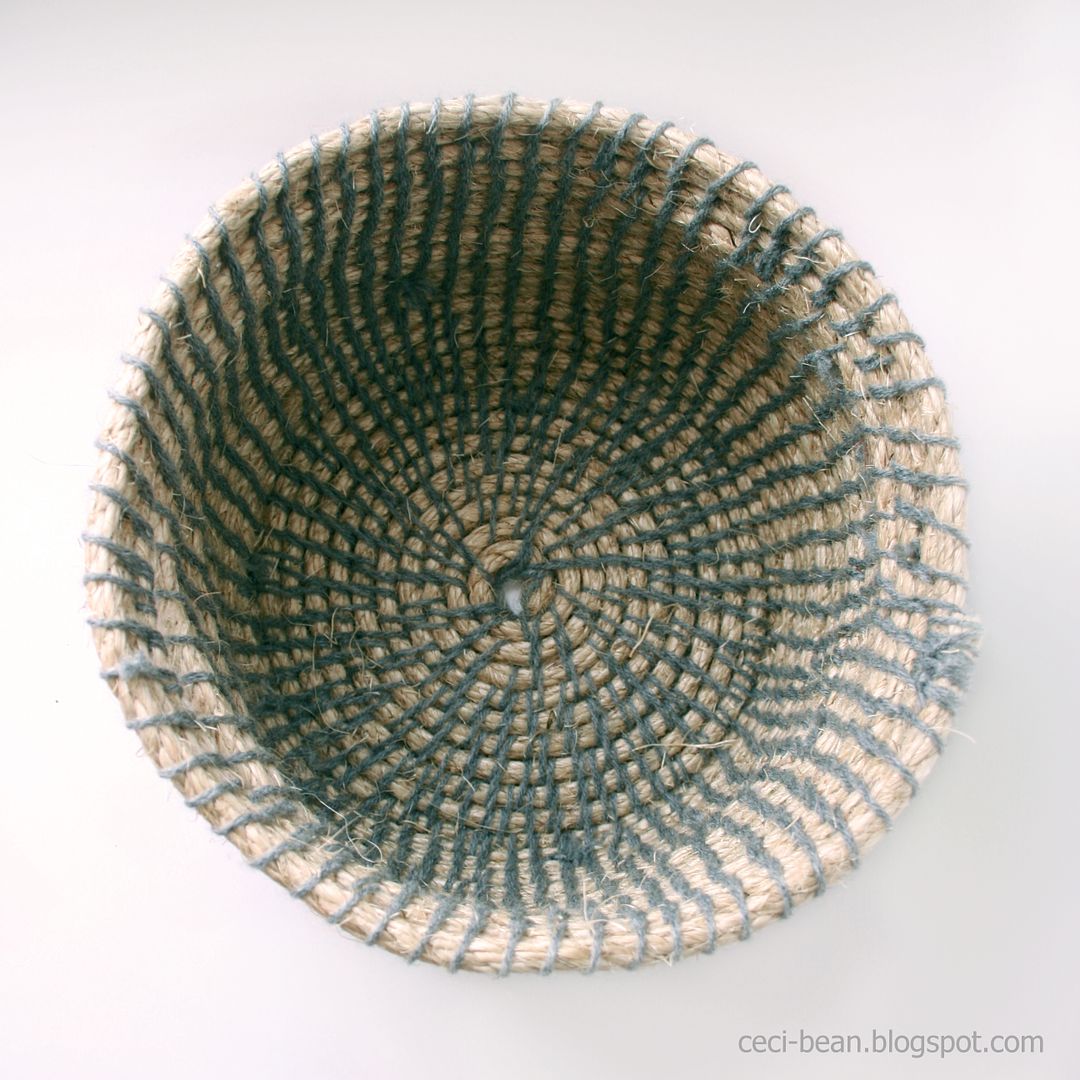
I really got my rhythm down and several episodes of crappy television later, I had a basket.


I made a freaking basket with rope and a hair clip!

I'm like MacGyver.

But with crafts.


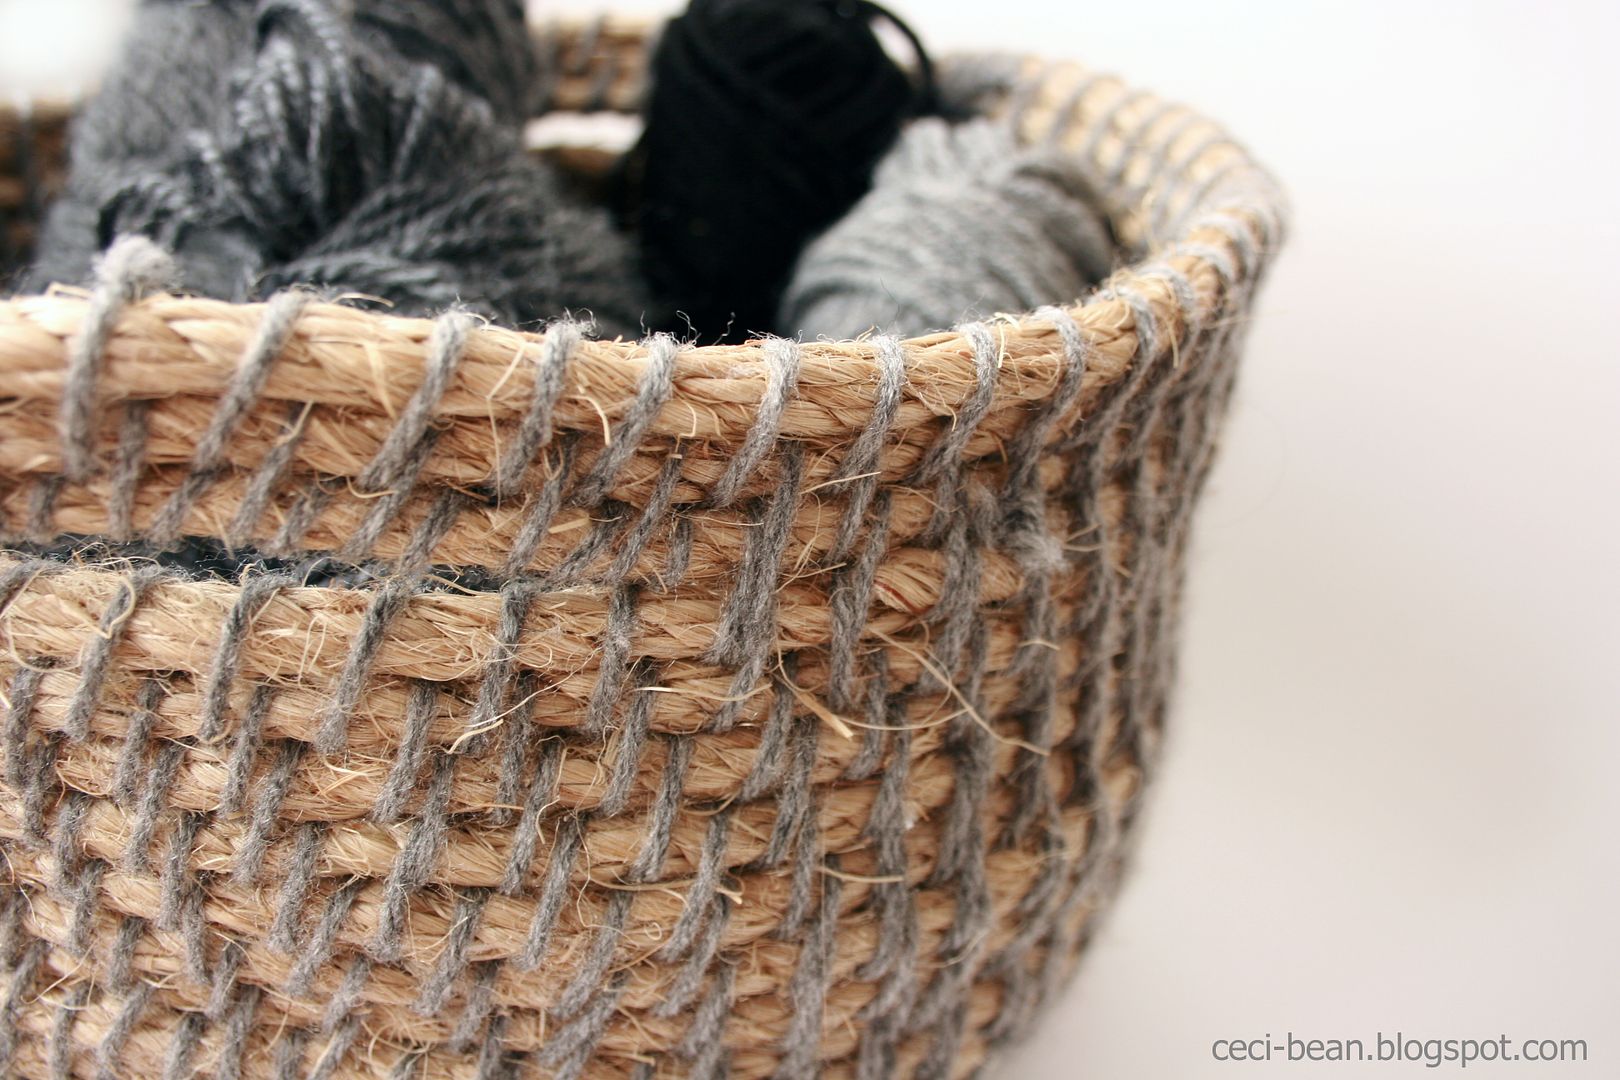
I'm pretty thrilled with the results. The basket ended up being about 6 inches wall and 10 inches wide, with just an 8 inch piece of rope leftover. I am tempted to buy a 100 ft rope and make a larger basket to match!

The basket is slouchy, but not too delicate. It reminds me of this basket from West Elm a little bit. Except with yarn. And smaller. But still functional and rustic and stuff.


While I don't really have instructions, I can share some tips for anyone else attempting this.
  • You may want to go heavy on the yarn in the very beginning. I didn't, and it resulted in a thumb-sized hole in the center of the bottom.
  •  Don't cut the rope. It is easier to work with if it is continuous.
  • The yarn has to be cut to work with. I recommend cutting lengths to about a yard at a time. When you have about 4 inches left, tie on the new section to continue. I wasn't terribly careful about where the transitions happened, but you could be more careful and tuck them into the seams if it bothers you.
  • It is not difficult to transition from the bottom to the sides (just start building on top of the outer ring) but it is challenging to keep the sides even and straight. It is best to regularly pulled the walls upward (since they slouch) to make sure you're not widening or narrowing accidentally.
  • The handles were formed by slightly widening the top three layers of the walls and not wrapping the yarn around the lower layer to leave a gap. I did wrap the yarn around three layers at the start and stop of the handle to help give a little more support.
   
That's it! Would you make one of these? Would you use a bent hair clip?

I've linked up to Remodelaholic's  and Tatertots & Jello's link parties.

Friday, June 21, 2013

Cool Beans


(Get it? Beans? Here are some things I'm digging right now.)


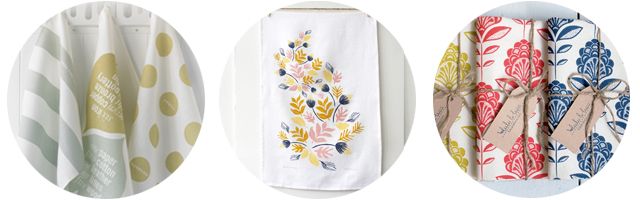
1// While we're in the home stretch of our kitchen project, I've been looking for some new accessories to put the final touches on the room. These tea towels might be just the thing. But then I saw these. And then these. So now you have 3 great sources for cool tea towels and I can't make up my mind.

image from here

2// B went to pick up some beer one warm evening. He came back with this. I was worried it would be too sweet, but it is surprisingly good. It might be my go-to drink this summer. Have you had this?


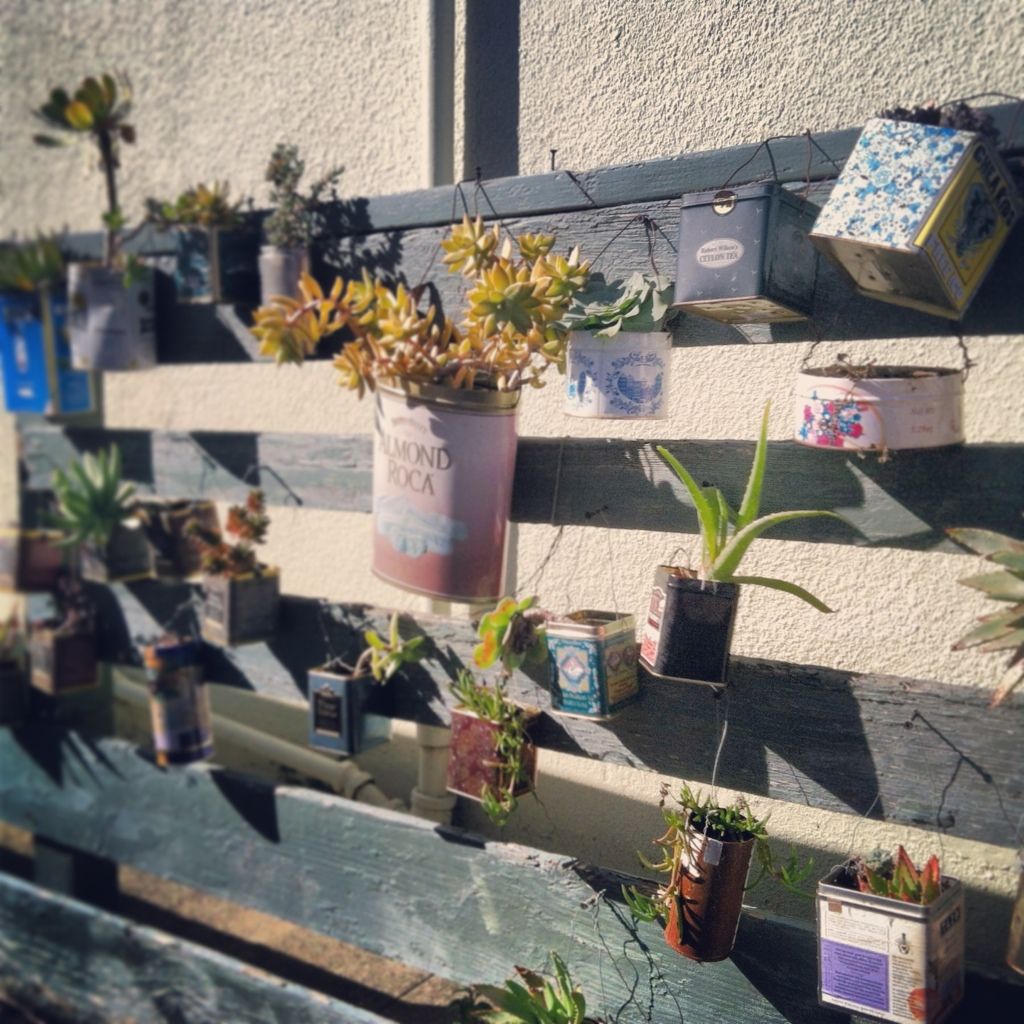
3// Someone in our neighborhood has this succulents-in-tea-tin display on their fence. It is quirky and kind of charming. I keep an eye out for new additions whenever I walk by.

Also, I guess it's high time I figure out the alternatives to Google reader, since its demise is expected this weekend. If you'd like to, please Follow my blog with Bloglovin. Thanks!