I'm not sure why I got so set on making a rope basket. I've never made one before.
I blame Pinterest and its plethora of cool Autumn-friendly crafts which tricked my brain into thinking it was scarf-knitting time (which is ridiculous, because it was hotter last weekend than it has been all summer in the Bay Area) so I settled on a woven basket which seemed practical and not reliant on weather to use.
After a bit of research, I realized that most people are going the
Upon further investigation, I realized that rope baskets aren't knit, but crocheted... a skill I do not have. Whatevs! I decided to wing it!
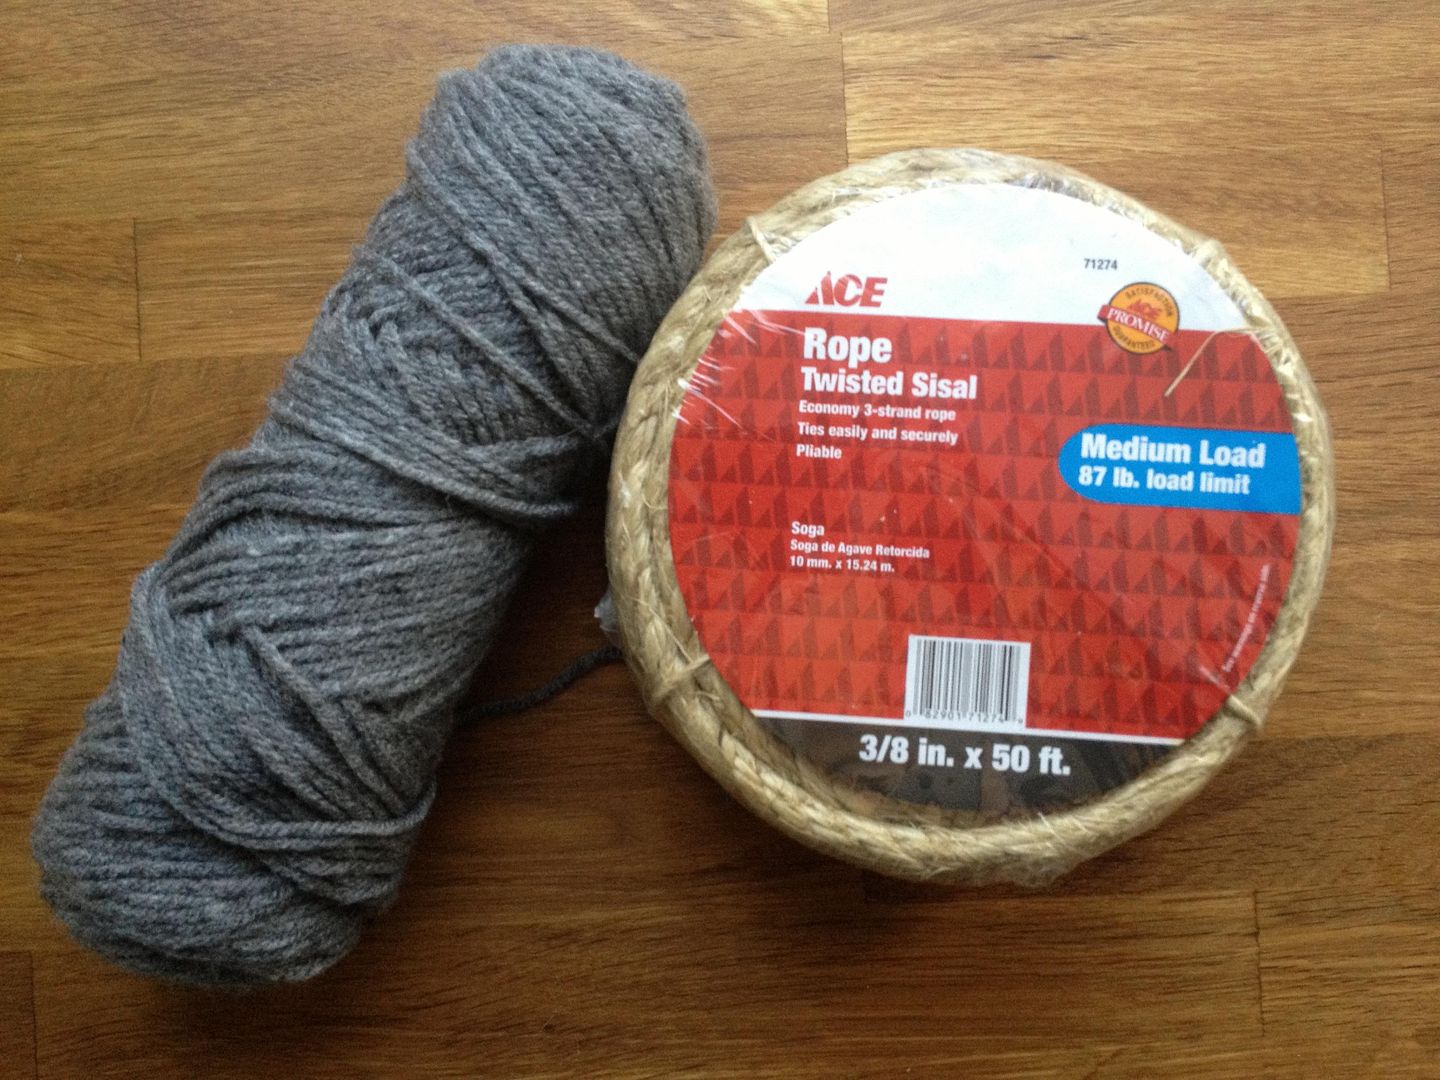
I bought some sisal rope at my local Ace and found some yarn in my personal stash.
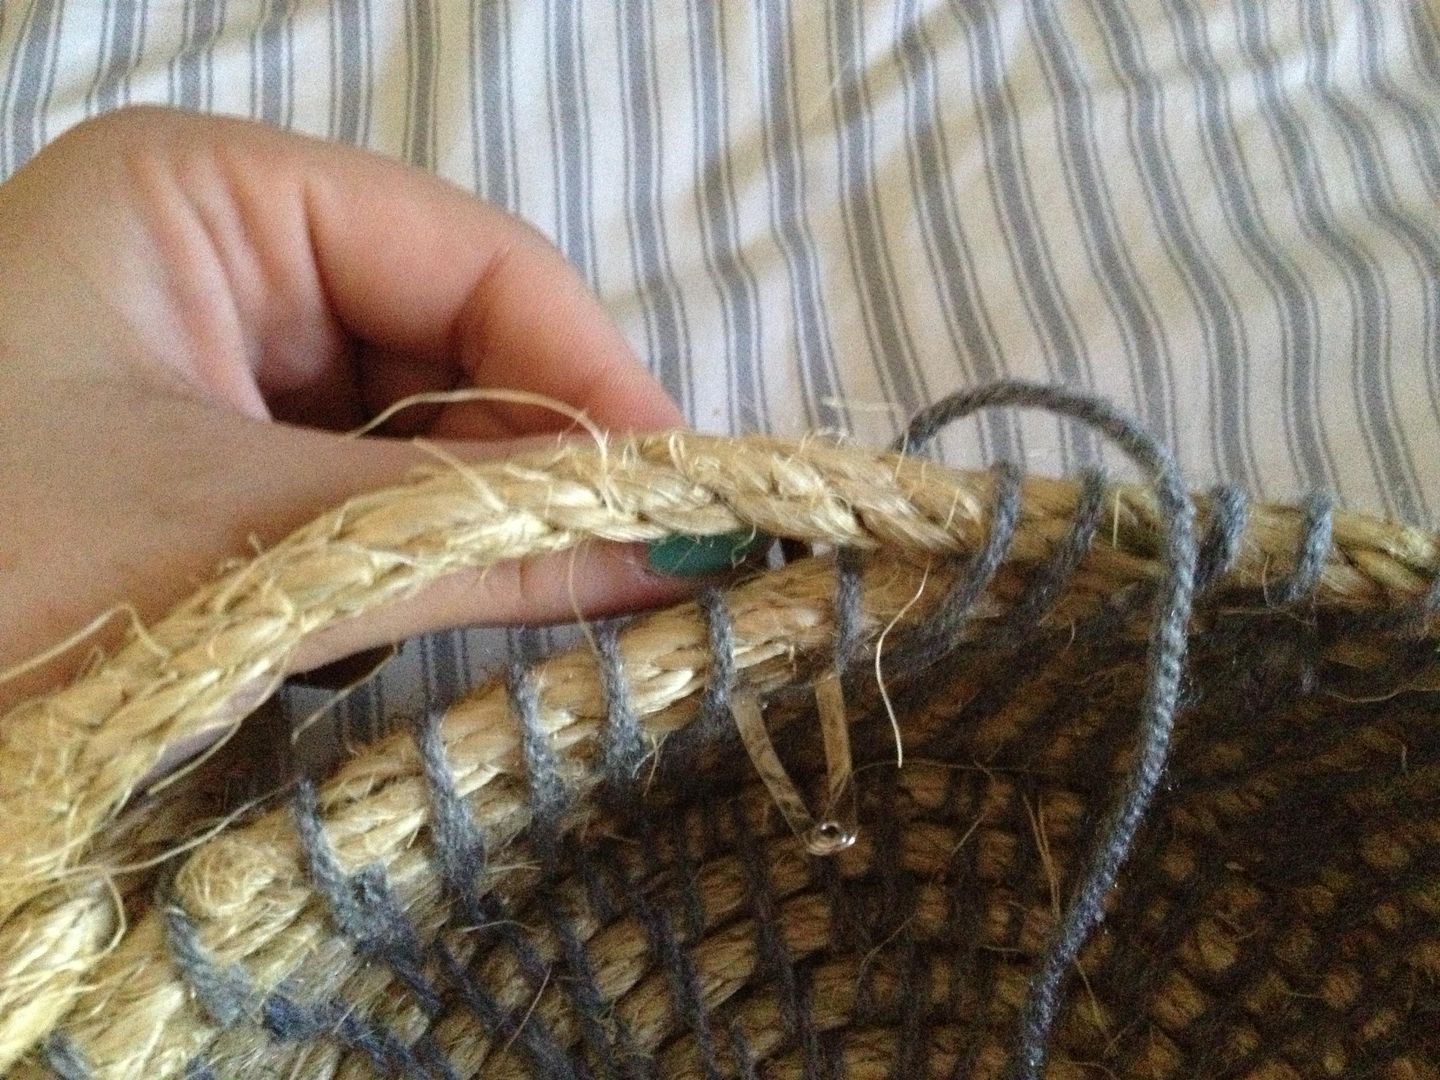
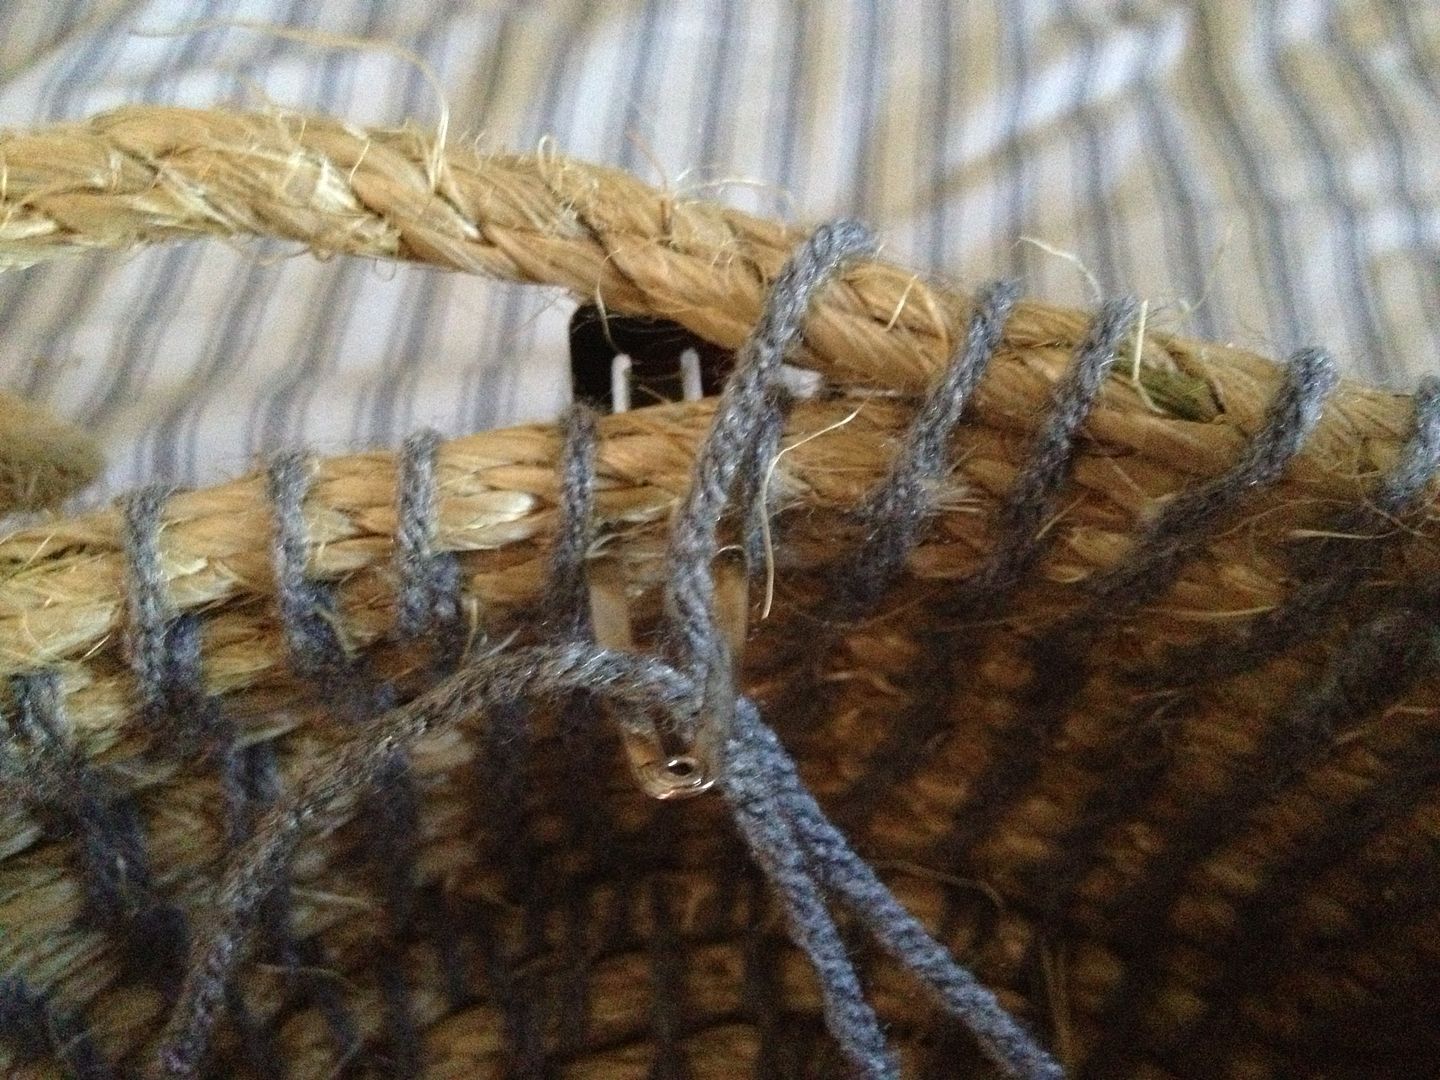
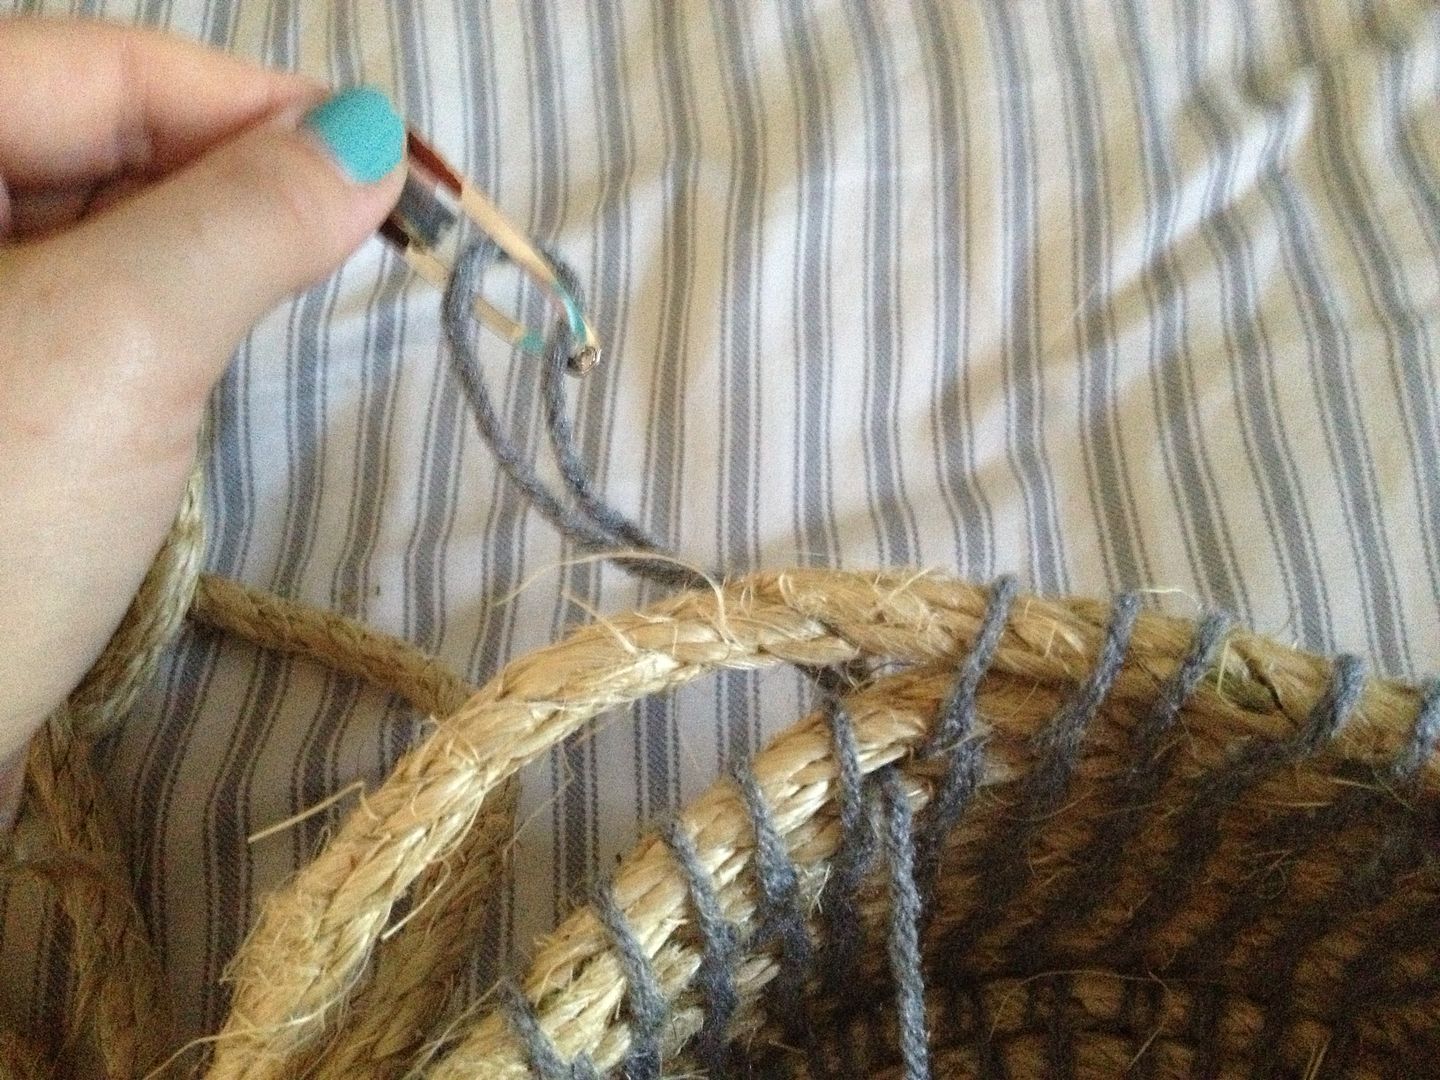
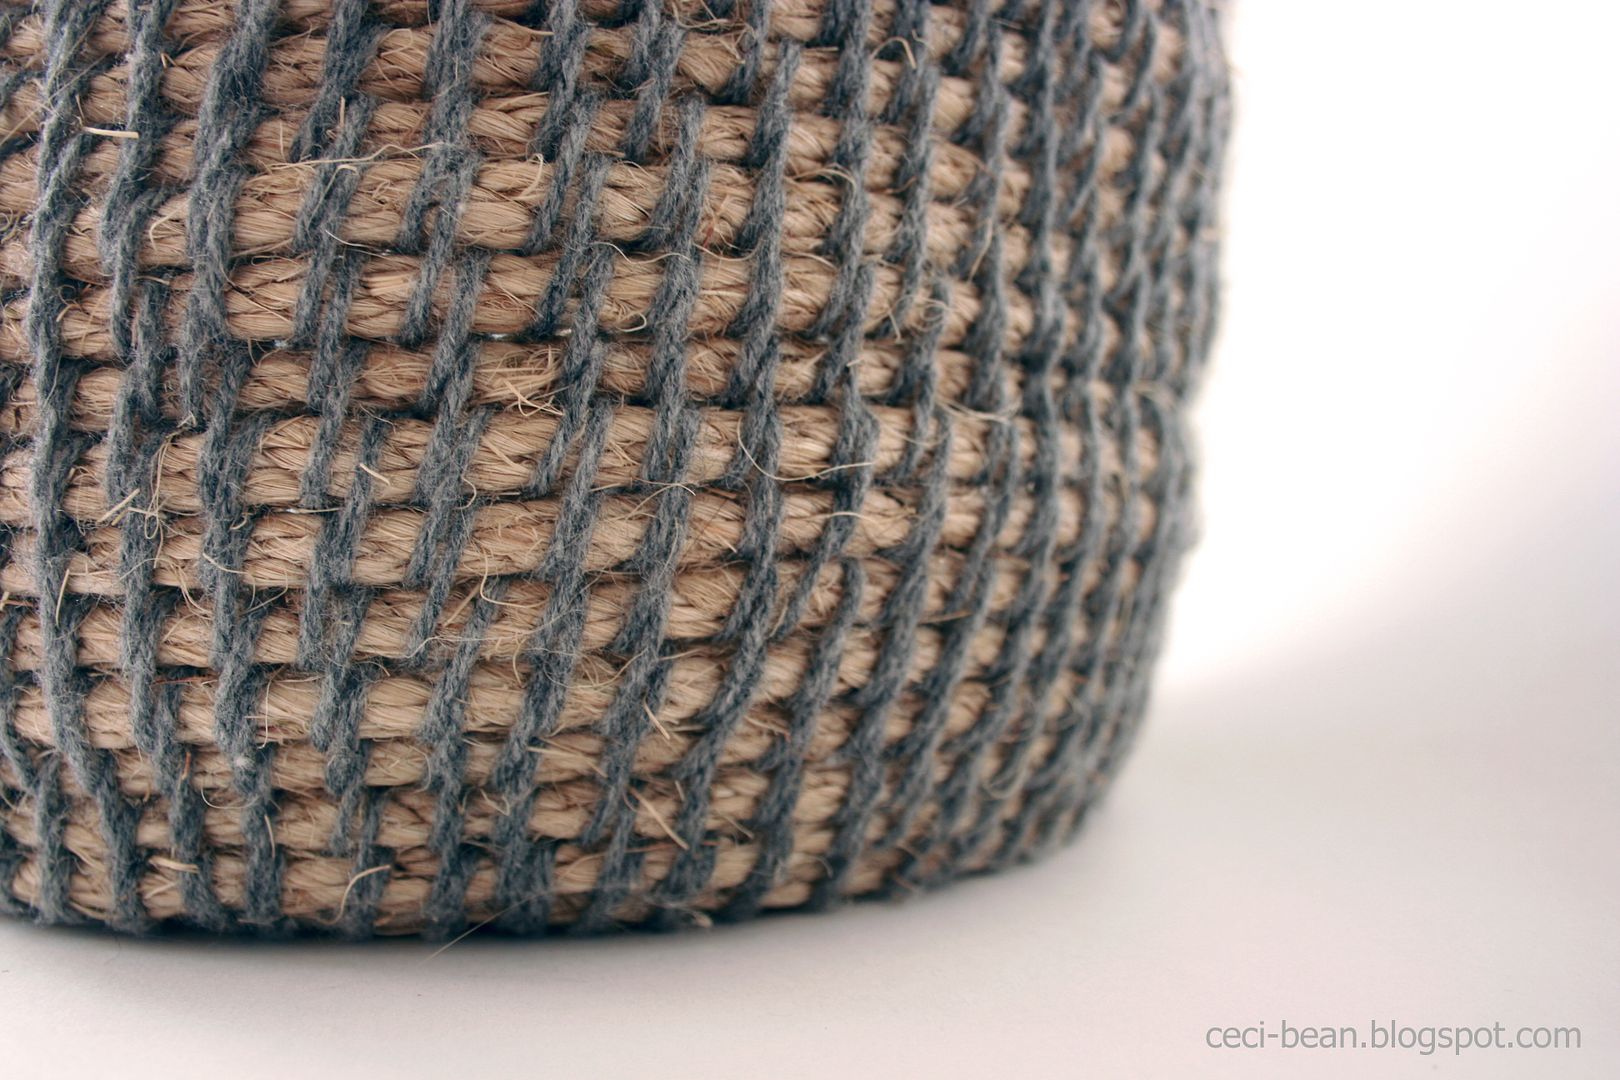
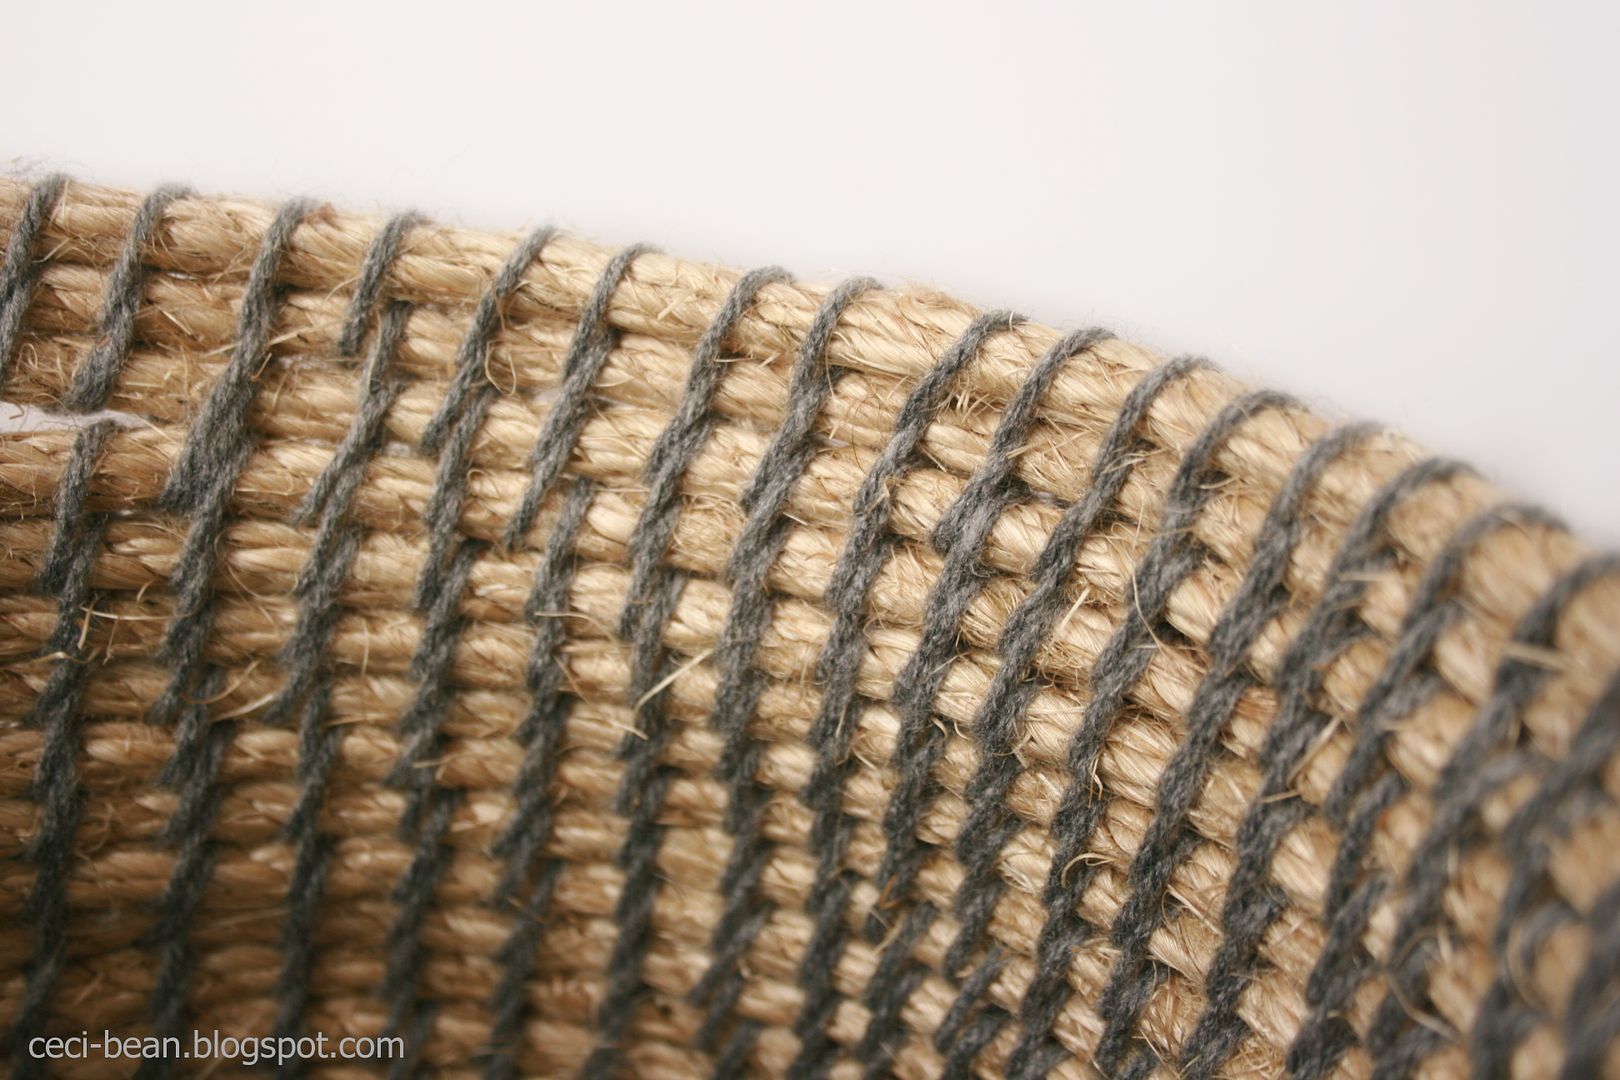
My approach was pretty simple: wrap yarn around rope, two layers at a time. Repeat, repeat, repeat.
It didn't take long before I realized the wrapping of the yarn around the inner (or lower) length of rope was hard to do without some sort of tool. I considered the fact that a crochet hook was probably the tool I needed, but I wasn't interested in buying one just for this project. So I scanned the room for something that could work, and found a hair clip.
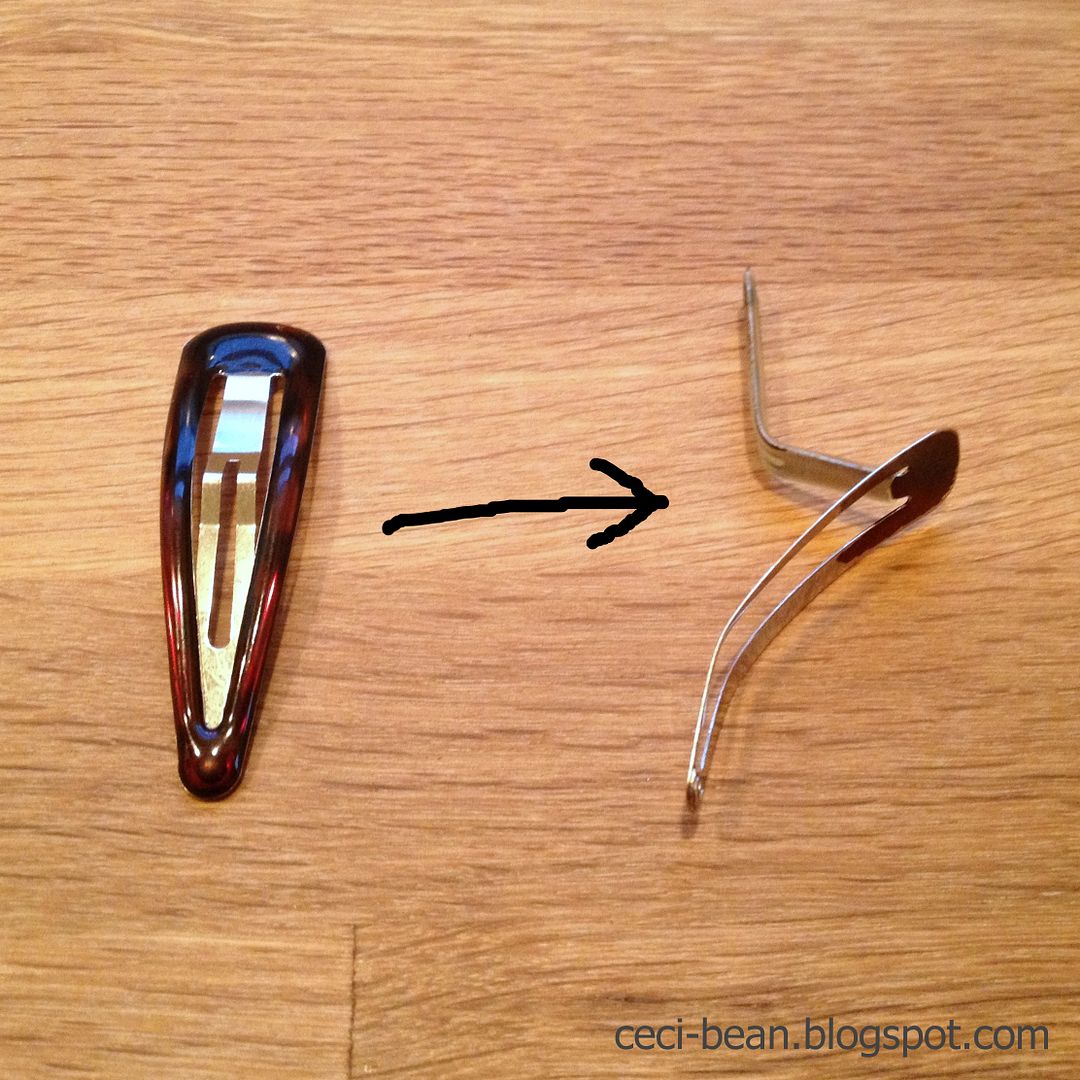 |
| It won't be much help in the hair department anymore, but now it's a basket-weaving champ! |
Can I just say that this sacrificed hair clip was the perfect tool for basket weaving??
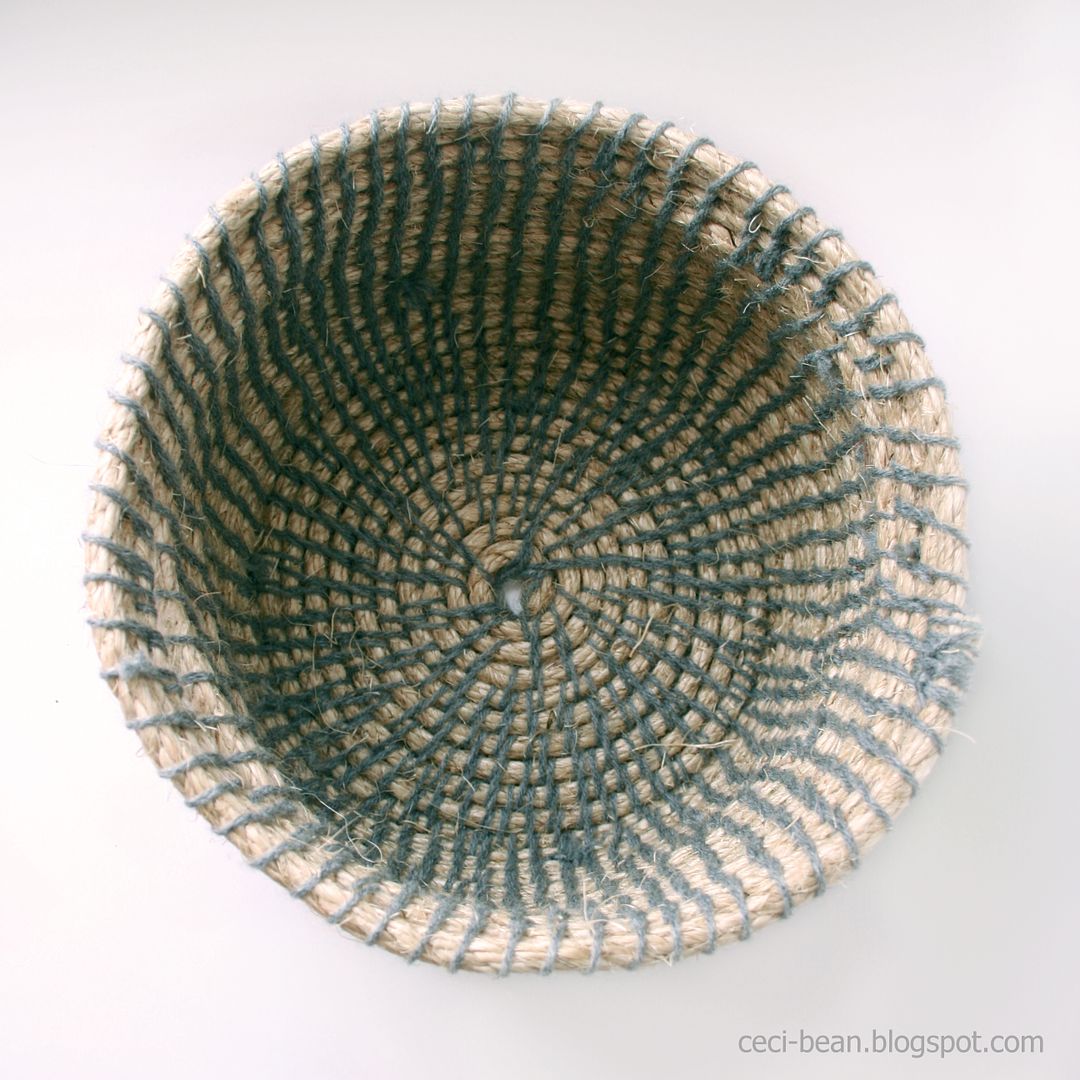
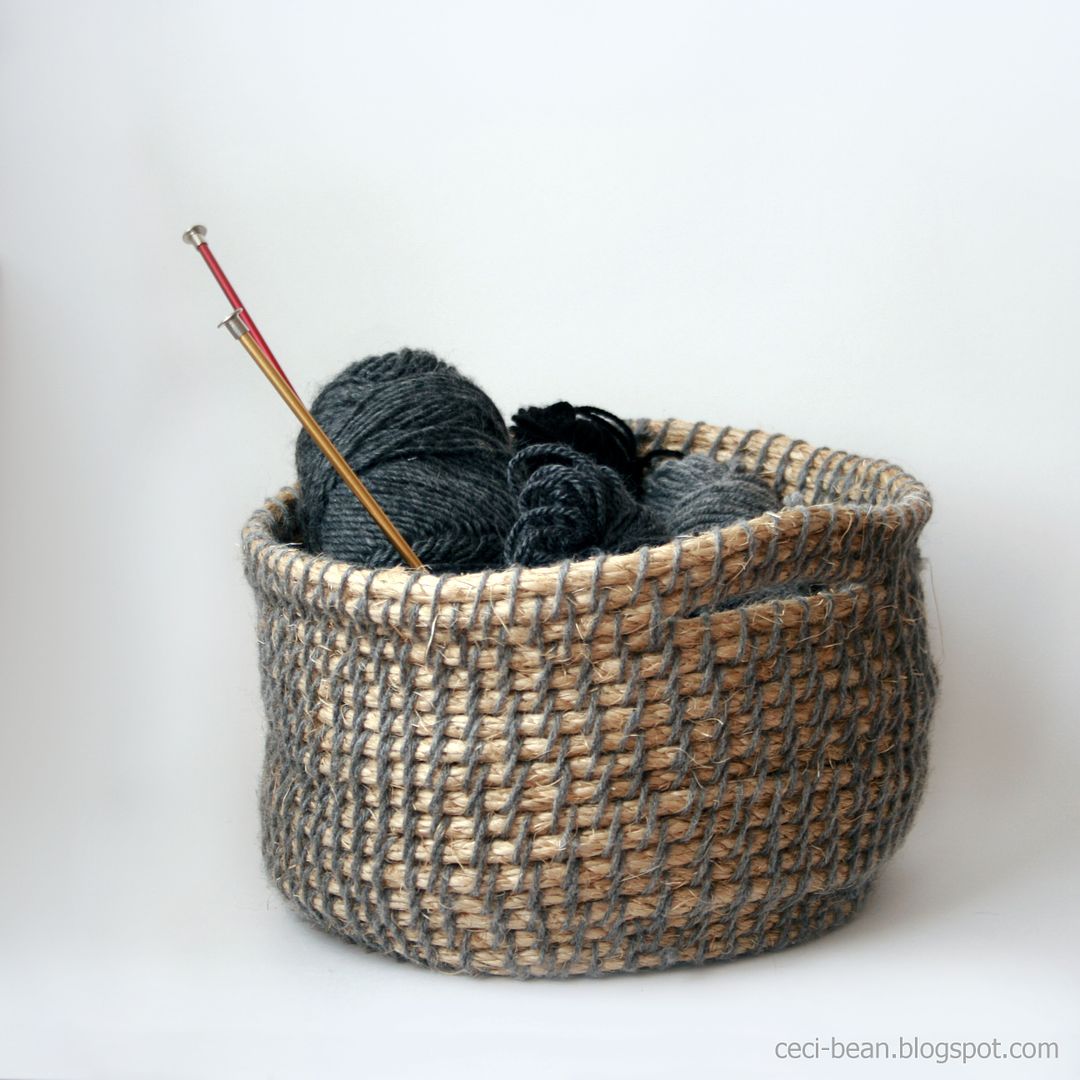
I really got my rhythm down and several episodes of crappy television later, I had a basket.
I made a freaking basket with rope and a hair clip!
I'm like MacGyver.
But with crafts.
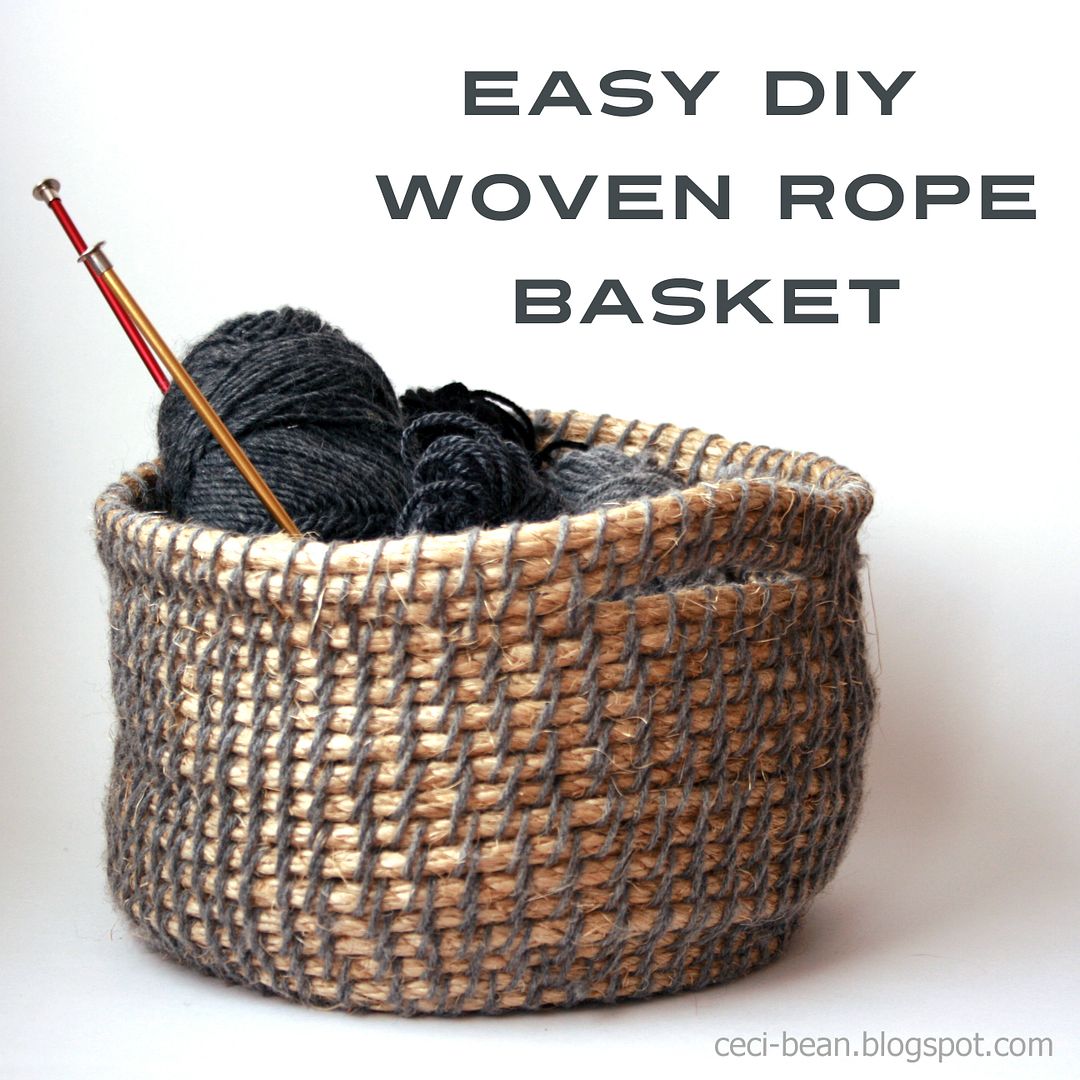
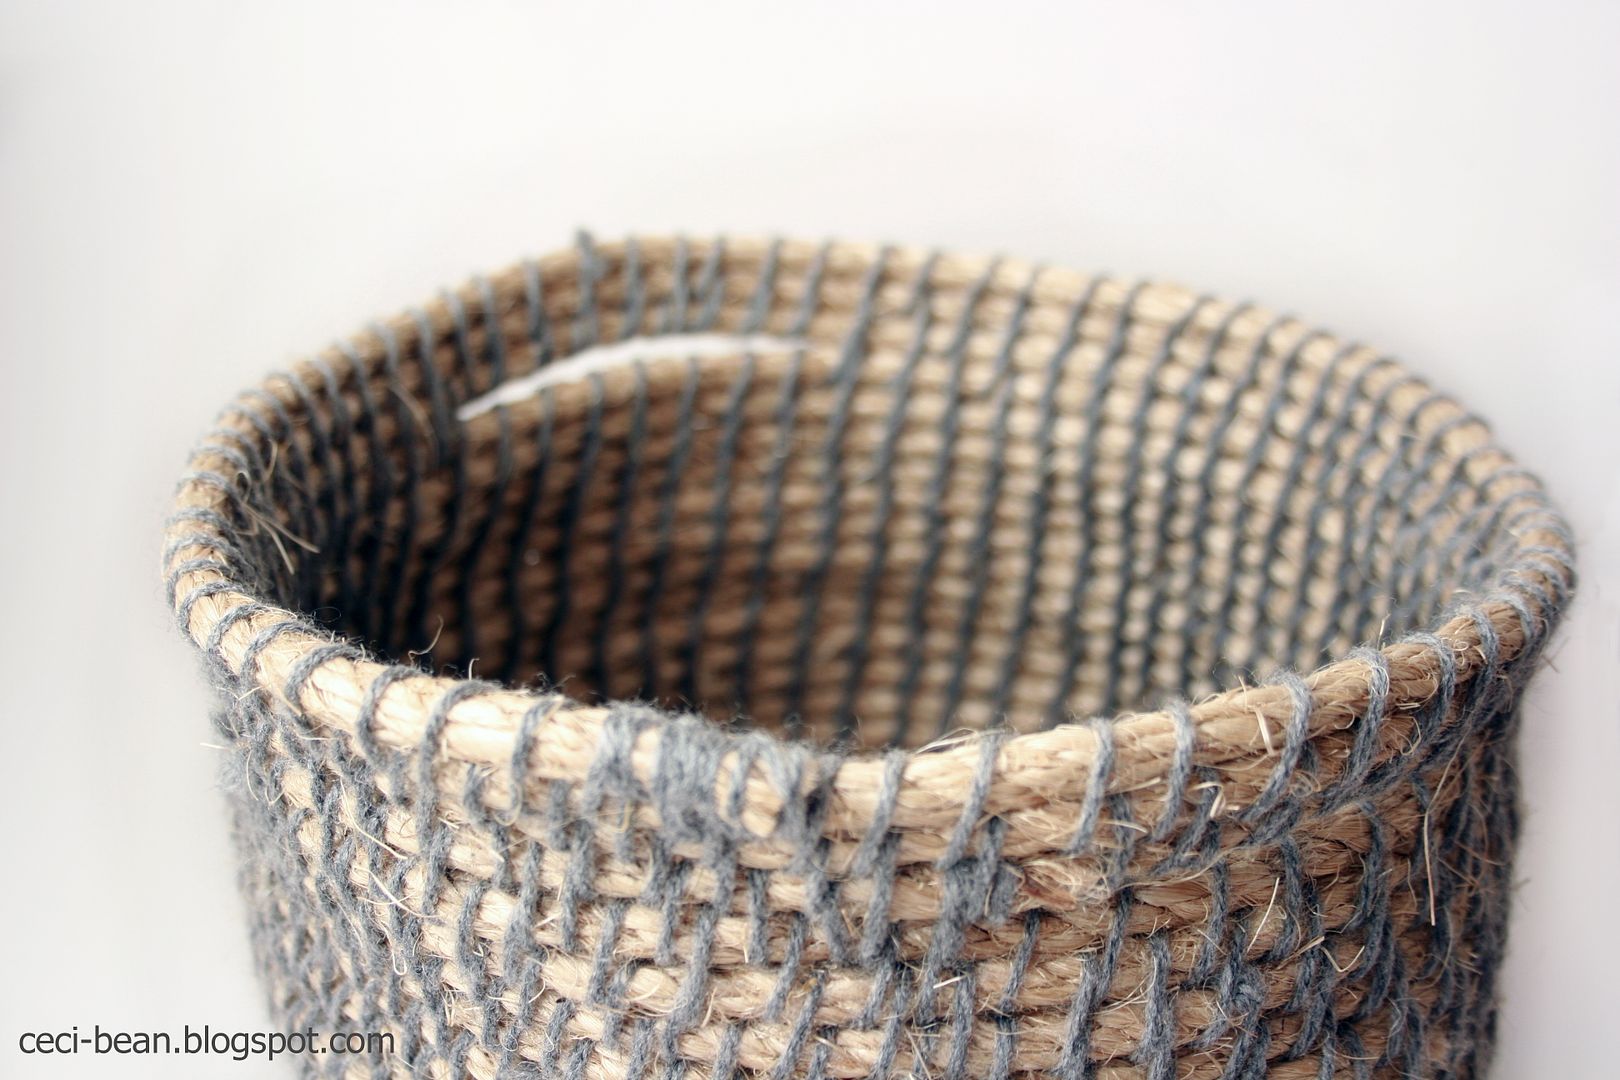
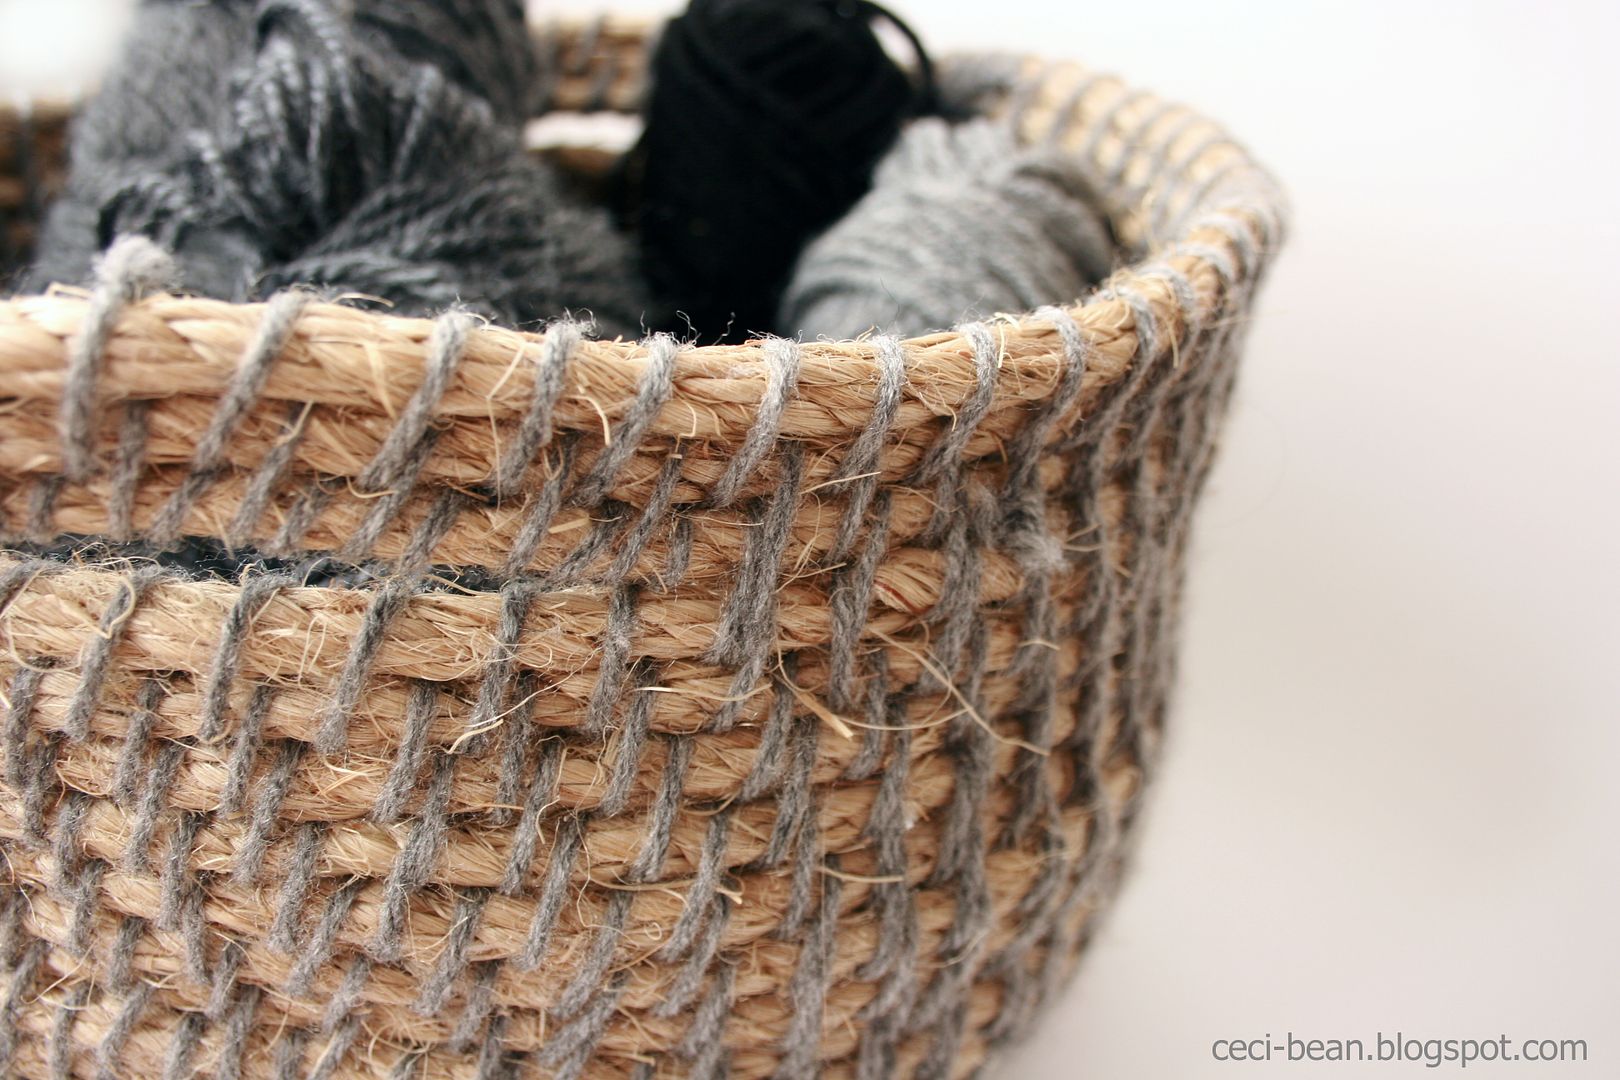
I'm pretty thrilled with the results. The basket ended up being about 6 inches wall and 10 inches wide, with just an 8 inch piece of rope leftover. I am tempted to buy a 100 ft rope and make a larger basket to match!
The basket is slouchy, but not too delicate. It reminds me of this basket from West Elm a little bit. Except with yarn. And smaller. But still functional and rustic and stuff.
While I don't really have instructions, I can share some tips for anyone else attempting this.
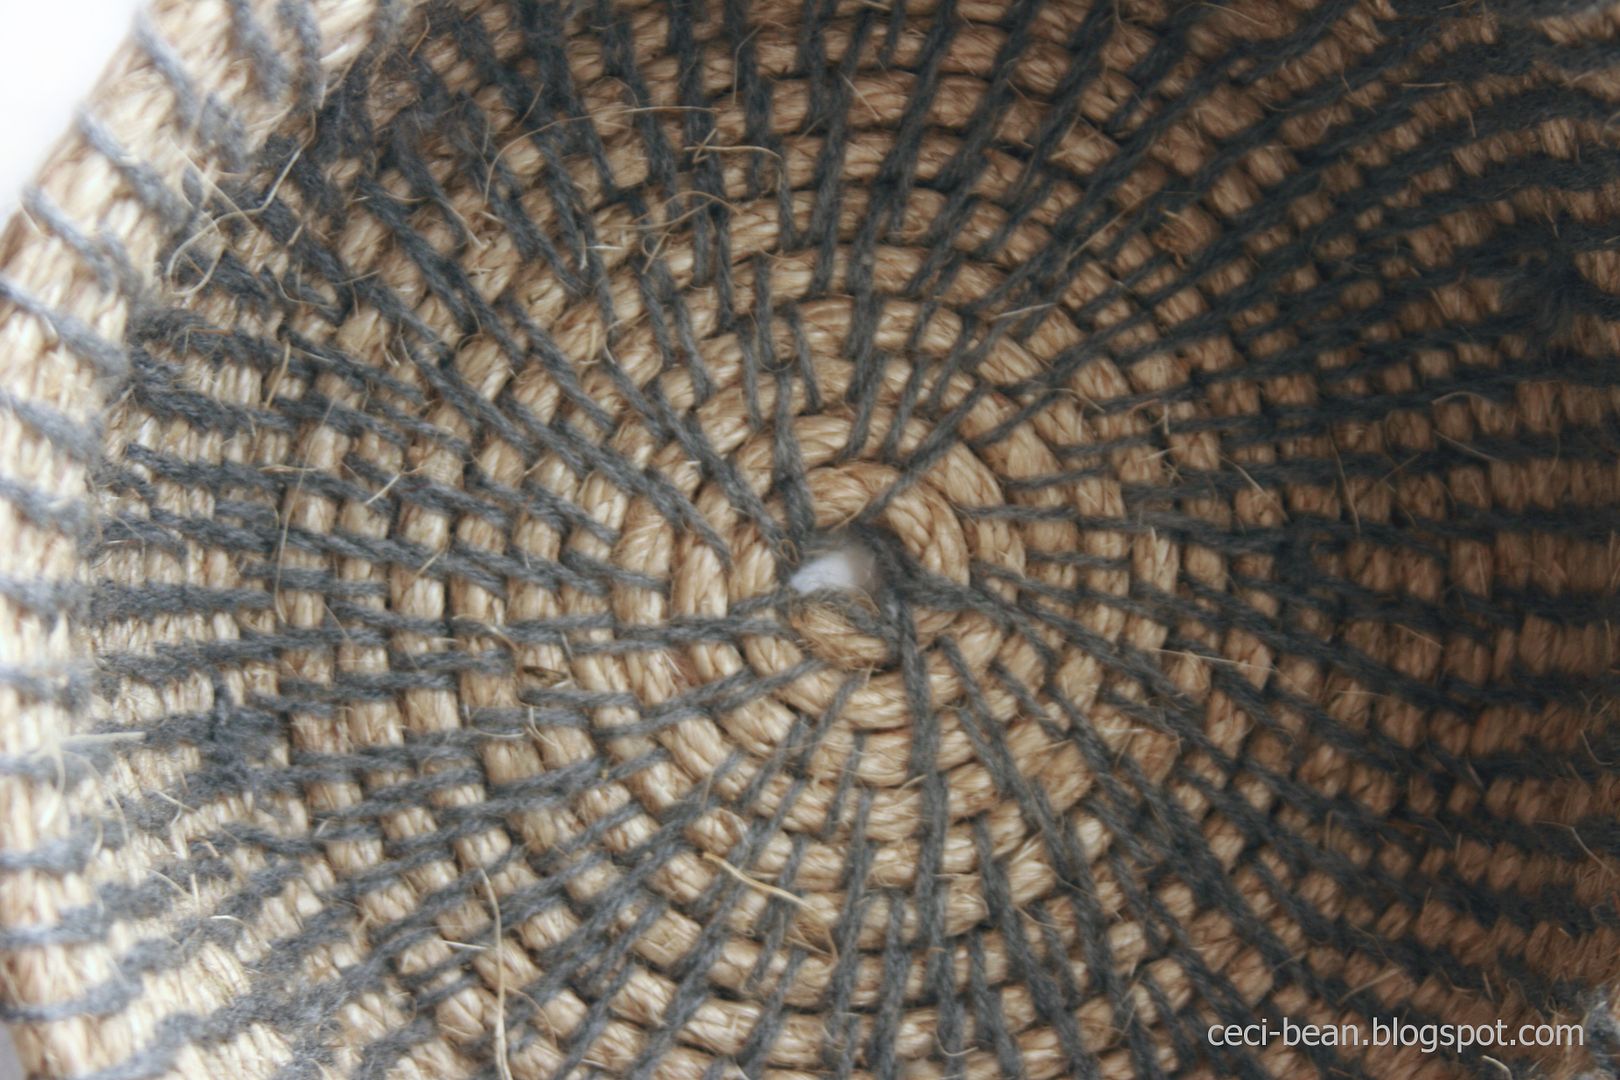
- You may want to go heavy on the yarn in the very beginning. I didn't, and it resulted in a thumb-sized hole in the center of the bottom.
- Don't cut the rope. It is easier to work with if it is continuous.
- The yarn has to be cut to work with. I recommend cutting lengths to about a yard at a time. When you have about 4 inches left, tie on the new section to continue. I wasn't terribly careful about where the transitions happened, but you could be more careful and tuck them into the seams if it bothers you.
- It is not difficult to transition from the bottom to the sides (just start building on top of the outer ring) but it is challenging to keep the sides even and straight. It is best to regularly pulled the walls upward (since they slouch) to make sure you're not widening or narrowing accidentally.
- The handles were formed by slightly widening the top three layers of the walls and not wrapping the yarn around the lower layer to leave a gap. I did wrap the yarn around three layers at the start and stop of the handle to help give a little more support.
That's it! Would you make one of these? Would you use a bent hair clip?
I've linked up to Remodelaholic's and Tatertots & Jello's link parties.

Would love to make one of these! Do you have any step-by-step instructions or a link to one that shows how to wrap(crochet) the rope?
ReplyDeleteHi! I will try to add some additional instructions to this post to explain the process a bit more. (I swear that once you get going, it's like knitting-- you can zone out and watch your favorite tv show while you're doing it!)
DeleteIf you have crochet skills (jealous!), I pinned what looks like instructional pictures here:
http://www.pinterest.com/pin/13651605093610549/
This is wonderful...I love it. Great work!!! I'll be trying this too.
ReplyDeleteThanks Amy! Let me know how it turns out!
DeleteVery clever, and very nice :) /Vera
ReplyDeleteThanks Vera!
DeleteI've been wanting to try making a basket too, but I had never would have thought to mix the rope with wool. Love it! Can't wait to try one now.
ReplyDeletejulie
Very nice basket, thanks for sharing your "MacGyver" tips!
ReplyDeleteI've always wondered how you make these baskets. Looking forward to having a at making one myself now. Thanks for the hairclip tip.
ReplyDeleteBlunt needle with large eye?
ReplyDeleteGood call. I don't have one of those, but sounds like it would work well if you do!
DeleteWould you consider making a video and posting it, I've seen these in West Elm too and would love to make a few of them. Thank you
ReplyDeleteGreat idea , love it!
ReplyDeletethis is really cool and amazing! I have never seen anyone make a basket with such simple supplies!
ReplyDeleteWow, I was looking for a cute and slouchy basket like this for my guest room!!! It's perfectly adorable! I can't wait to try it, thanks for the idea :)
ReplyDeleteI love it! I want to make one to hold my wip blanket that I'm knitting!
ReplyDeleteTotally making this! I think it would be a great gift!
ReplyDeletestumbled on this on Pinterest. Very cool. I am not quite sure how how you started the basket. Can you share? I think once I can get it started it should be fairly easy to go from there
ReplyDeleteI haven't a clue how you did this...but I love it...awesome
ReplyDeleteThis is great...has me wondering if you can dye the rope and make baskets in other colors.
ReplyDeleteThanks, Michele! I haven't tried it, but I imagine sisal rope could be dyed with a fabric dye like Rit. Let me know if you try it out!
Delete
ReplyDeleteHi, I love this !!! & I'm (somewhat). of a quilter, & thinking maybe cloth strips instead of
yarn..….Plenty of strips laying around :-) :-) ....I don't know , ..
Thanks for stopping by! I imagine thin strips of fabric could work if the strips are a good length. If you try it, let me know how it turns out!
DeleteCould you keep it flat & make a rug instead?
ReplyDeleteThe rug idea sounds cool. There are some totes make in Uganda that use rope sewn with thick fishermen's line to stitch the totes. It might be better for something that was on the floor. Sporting good stores carry spools of it, but it's usually very brightly colored. ;D
ReplyDeleteI love your idea! Very practical, rustic, fun. Clever use of hair clip. My husband would laugh because he sees me doing many such MacGyver ideas :) Thanks for the idea!
ReplyDeleteThis looks great. and yeah, you are like McGyver :) genius to use the hairclip! Thank you for sharing!
ReplyDeleteHello There. I found your blog using msn. This is a really well written article.
ReplyDeleteI'll be sure to bookmark it and come back to read more of your useful information. Thanks for tthe post.
I will certainly return.
Love this idea thank you
ReplyDeleteWhoa! This blog looks exactly like my old one!
ReplyDeleteIt's on a totally differeent topic but iit hass pretty much the same page layout and design. Superb choice of colors!