Showing posts with label kitchen. Show all posts

Saturday, March 26, 2016

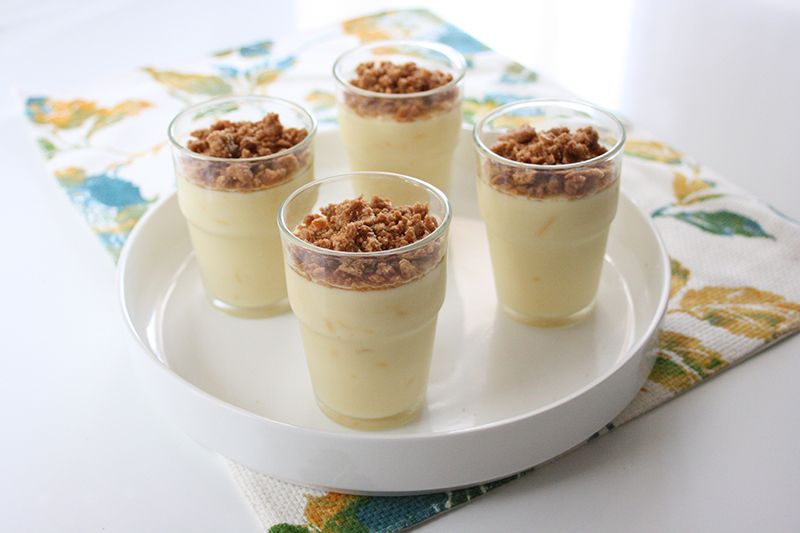
Lemon Pudding with Gingery Crumble Made with a2 Milk®

This post brought to you by The a2 Milk Company™. The content and opinions expressed below are that of Ceci Bean.

My son has started a daily ritual of walking up to the lemon tree in our front yard and demanding, in his limited vocabulary, to be given a lemon. Or a ball, as he calls most everything. His insistence is cute so naturally I pick one for him and off he goes to look at bugs and splash in puddles, lemon in hand. Those lemons that haven't been destroyed during his adventures end up in our fruit bowl at the end of the day. And as you can imagine, we now have a mountain of lemons that need to be used.

Now our lemons are not the popular Meyer variety that are more sweet than sour (though those are pretty wonderful in their own right). Ours are the mouth puckering sour lemons that need a creamy milk and a bit of sugar to mellow out. Add to that a crunchy slightly spicy cookie crumble and you've got a pretty fantastic (and easy!) treat to enjoy. While I think true ginger snaps would really pair well with the tangy lemon, this crumble topping works pretty darn well in a pinch. And this recipe makes quite a bit more topping than you might need for the pudding. But once you taste it, I doubt you'll have much difficulty finding ways to use it up.
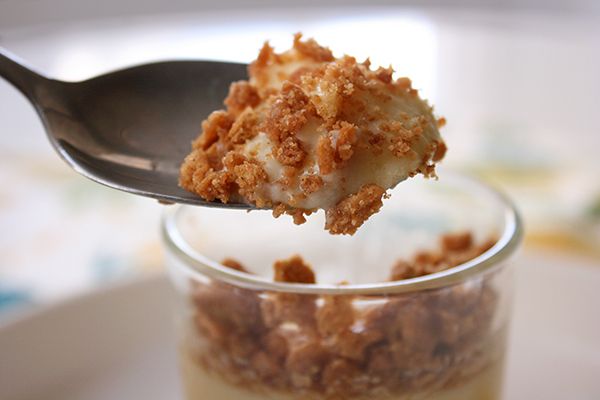

It was an easy decision to incorporate a2 Milk® into this recipe without fear of serving it to guests who couldn't eat much dairy. I've had the opportunity to try a2 Milk® a few times now and I have to say it does seem pretty gentle on my stomach too. If you have any concerns about digestive discomfort from dairy, you may choose to omit the butter in this pudding recipe and stick with milk which contains only A2 proteins. Similarly, you can use coconut oil for the crumble topping in place of butter. 
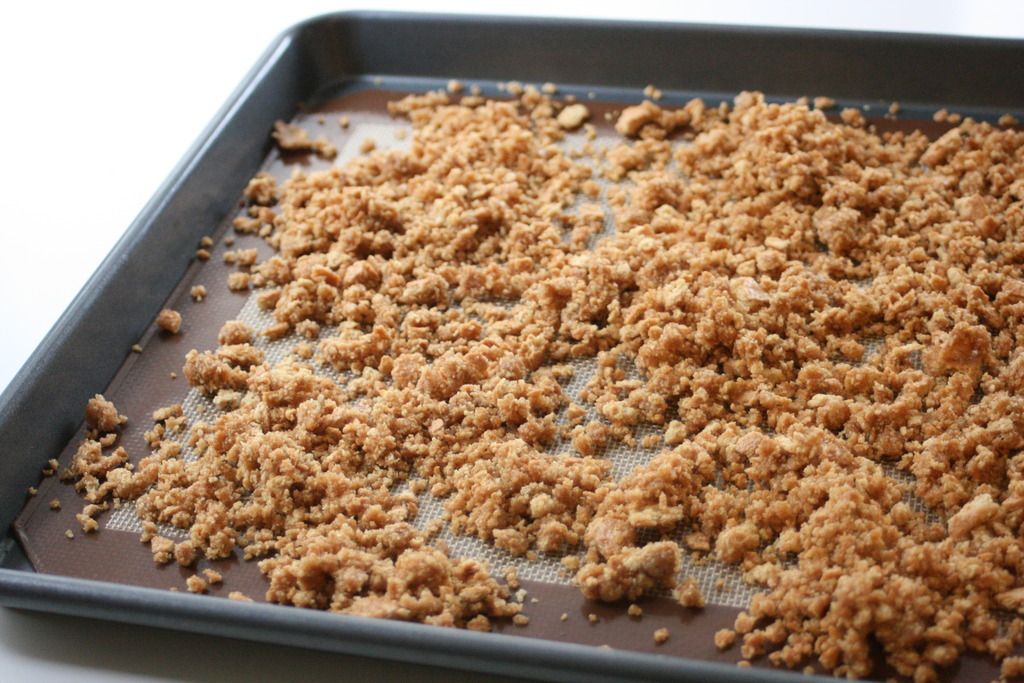

Gingery Crumble Topping

Ingredients

  • 1 sleeve of graham crackers
  • 6 Tbsp of melted unsalted butter (or coconut oil)
  • 1/4 cup light brown sugar
  • 1 tsp of ground ginger
  • 1/4 tsp of ground cinnamon

Instructions

  1. Preheat oven to 325ºF.
  2. Crumble graham crackers in package and pour into a bowl.
  3. Mix in butter (or coconut oil) and spices.
  4. Spread crumble mixture on a lined baking sheet and bake until golden brown (about 10-12 minutes).
  5. Let cool and store in a sealed container until ready to top pudding.
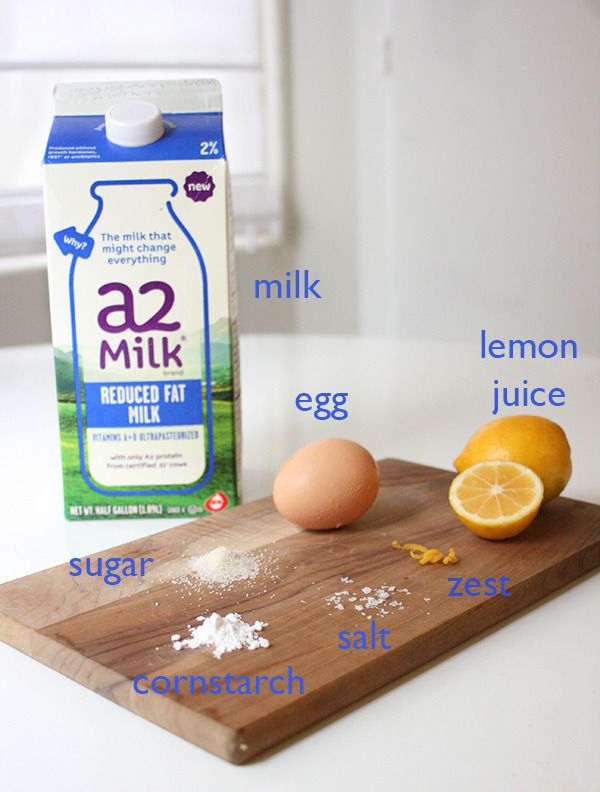
Lemon Pudding (made with a2 Milk®)

Ingredients

  • 2 1/2 cups a2 Milk®
  • 1/2 cup granulated sugar (less if you want a tarter pudding)
  • 1/4 cup of cornstarch
  • 3 - 4 medium lemons juiced (approx. 1/2 cup)
  • 3 - 4 medium lemons finely zested (approx. 2 Tbsp)
  • 3 egg yolks (lightly whisked)
  • 1/2 tsp vanilla extract
  • pinch of salt
  • 2 Tbsp melted butter (optional)

Instructions

  1. In a medium saucepan, combine together sugar and cornstarch thoroughly.
  2. Stir in milk and turn on stove to medium heat.
  3. Add egg yolks, lemon zest, vanilla, and salt.
  4. Stir continually until mixture has thickened (approx 5-8 minutes)
  5. Remove from heat and add lemon juice (and butter, for extra creaminess, if you wish).
  6. Pour in glasses and let cool.
  7. Chill in the refrigerator for at least 2 hours before serving. 
  8. Enjoy!

If you'd like to try a2 Milk® for yourself, grab this a2 Milk® $1 Off Coupon and check the Product Locator to see which grocery stores near you are carrying it. 

For more information on the a2 Milk Company™ as well as other delicious recipes, check them out on Facebook, Twitter, or Pinterest.
Visit Sponsors Site

Wednesday, June 17, 2015

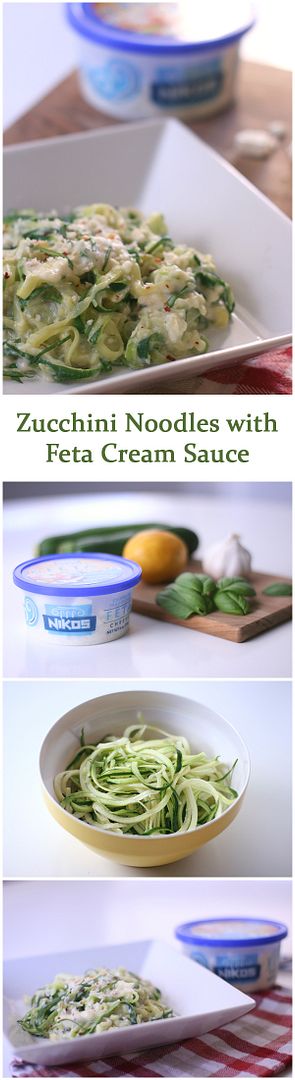
Zucchini Noodles with Nikos Feta Cream Sauce


We nearly always have crumbled feta on hand at home. It is the perfect creamy, salty addition to our salads (like this one). But I realized recently I rarely cook with it and I had to remedy that. 


It just so happens that zucchini and feta make a great pairing and this is the time of year when folks are discovering baseball bat sized squashes popping up seemingly overnight in their gardens. So with that in mind, I created this recipe as a handy way to use up some zucchini. 

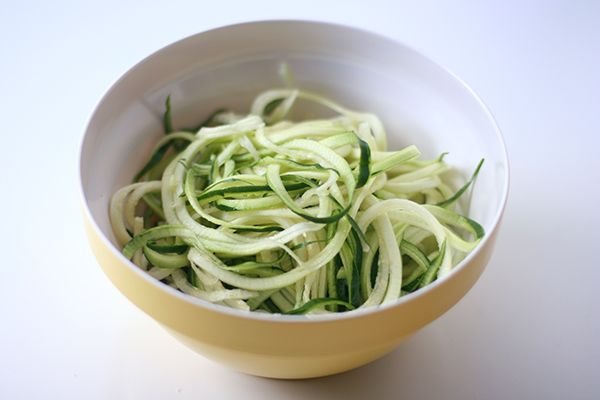
First of all, you'll need a way to cut your zucchini into noodle sized pieces. I used the unfortunately named Veggetti (link in sidebar, if you're interested), but there are a variety of products out there which will noodle-ify your zukes for you.


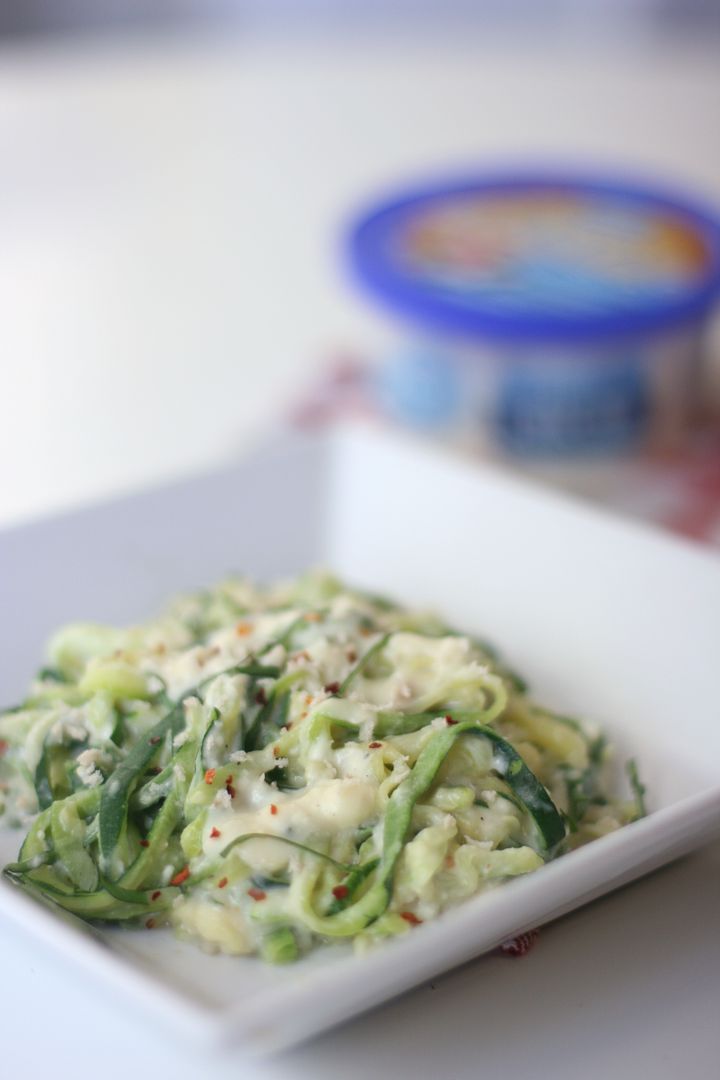
Once cooked down, these zucchini noodles make a great base for a rich, creamy feta sauce. We gobbled up full bowls of this stuff, but this dish would also make a great accompaniment to a roasted meat main course.


Zucchini Noodles with Feta Cream Sauce

Ingredients

  • 4 zucchinis, cut into noodles
  • 2 tbsp butter
  • 2 tbsp all-purpose flour
  • 1 cup milk
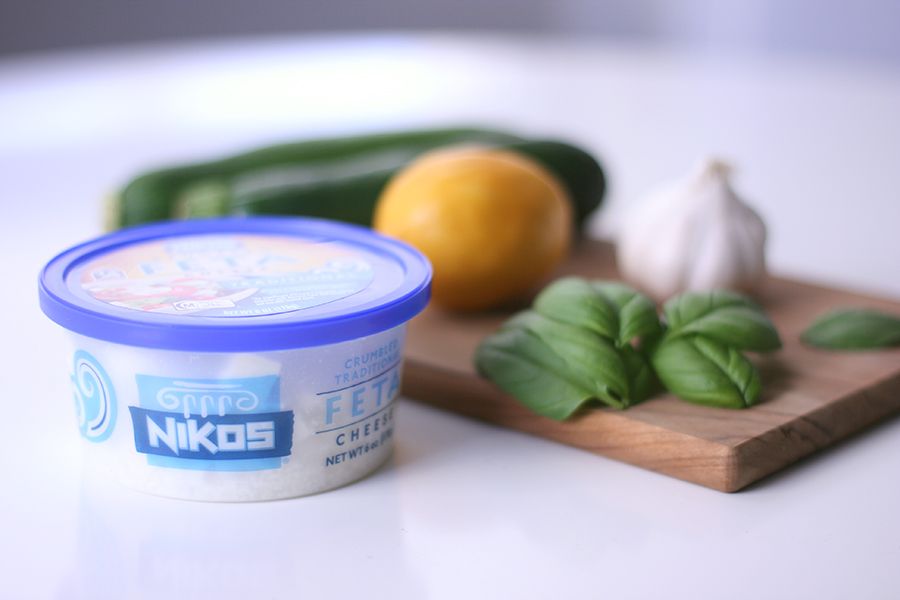
  • 1 6 oz. crumble cup of Nikos Traditional Feta
  • 1 clove of garlic, minced
  • 1 tsp lemon zest
  • 6 large basil leaves, minced
  • 1/2 tsp crushed red pepper (or more, if preferred)

Instructions


  1. Bring a pot off water to boil. Add zucchini for one minute. 
  2. Drain water. Rinse zucchini noodles with cold water. Drain well.
  3. In a medium saucepan, melt the butter over low heat on the stove.
  4. When butter has melted, whisk in flour for one minute.
  5. Slowly pour in milk while whisking until no lumps of flour remain.
  6. Mix in minced garlic and crushed red pepper.
  7. Begin adding feta to the mix, a little at a time, while whisking.
  8. Once the sauce is smooth, mix in basil and lemon zest.
  9. Mix zucchini noodles in with the sauce before serving (or pour the sauce over, if you prefer!)
  10. Enjoy!
And lest you think delicious cheese is the only thing you'll get when you purchase Nikos Feta, may I present my son's favorite new toy. (Seriously. He loves it.)


As if that wasn't exciting enough, Nikos Feta is also hosting a giveaway right now! One lucky contestant will enjoy a seven-day, six-night trip to Honolulu, Hawaii, during the 2015 Hawaii Food & Wine Festival (August 29 - September 13, 2015).

To enter, visit www.nikosfeta.com or the "Hawaii Trip" tab on the Nikos Feta Facebook page by July 31st, and fill out the entry form. That's it! Easy, peasy! Full contest information is available in the Official Rules.

For more great recipes and serving suggestions (and food porn!), visit the Nikos Feta Pinterest Page and Nikos Feta on Instragram.

Many thanks to Nikos® Feta cheeses for sponsoring today’s story and encouraging me to try fun new ways to add feta cheese to my menu!


Tuesday, July 23, 2013

Kitchen accessory ideas

Since B and I got about 90% finished with the kitchen and then lost steam (as we do), I am still without any before and after pictures to share with you. 

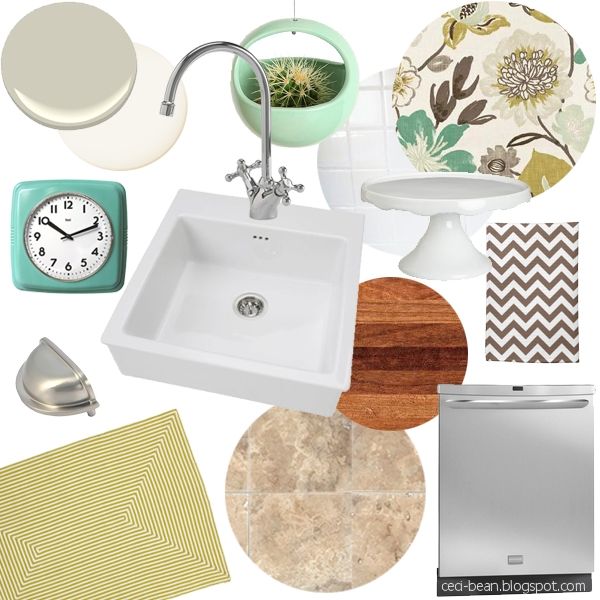
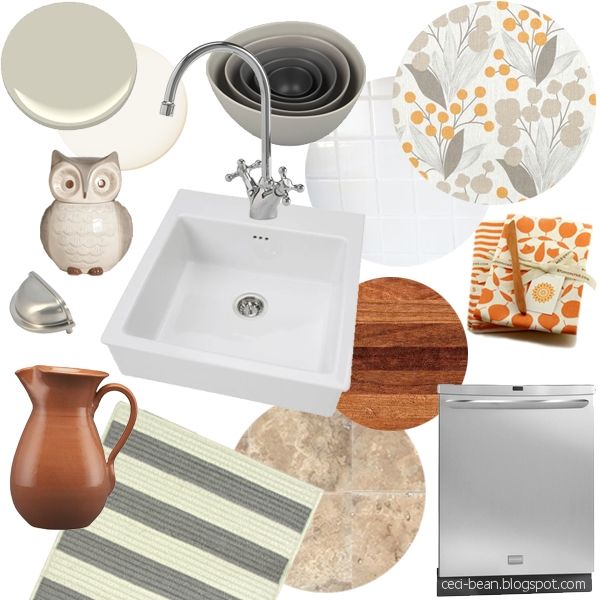
In the meantime, I have been thinking about what items I can add to really put the finishing touches on the whole project. I have determined that new window treatments will set the tone for the kitchen, so I've been ordering fabric samples to try out.

I think I've narrowed it down to my two favorites. So in order to help B see what I'm picturing, I made a couple moods boards. He picked his favorite pretty quickly. Any guesses which one?

hanging planter / fabric / cake stand / towel / rug / clock

bowls / fabric / tea towels / rug / pitcher / cookie jar
I think either direction could be fun. Hopefully, I'll be sharing photos of something soon!


I shared this post on Hookin Up with House of Hepworths.

Friday, June 21, 2013

Cool Beans


(Get it? Beans? Here are some things I'm digging right now.)


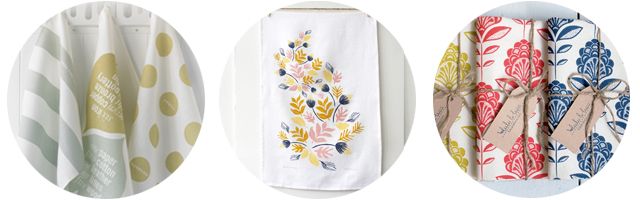
1// While we're in the home stretch of our kitchen project, I've been looking for some new accessories to put the final touches on the room. These tea towels might be just the thing. But then I saw these. And then these. So now you have 3 great sources for cool tea towels and I can't make up my mind.

image from here

2// B went to pick up some beer one warm evening. He came back with this. I was worried it would be too sweet, but it is surprisingly good. It might be my go-to drink this summer. Have you had this?


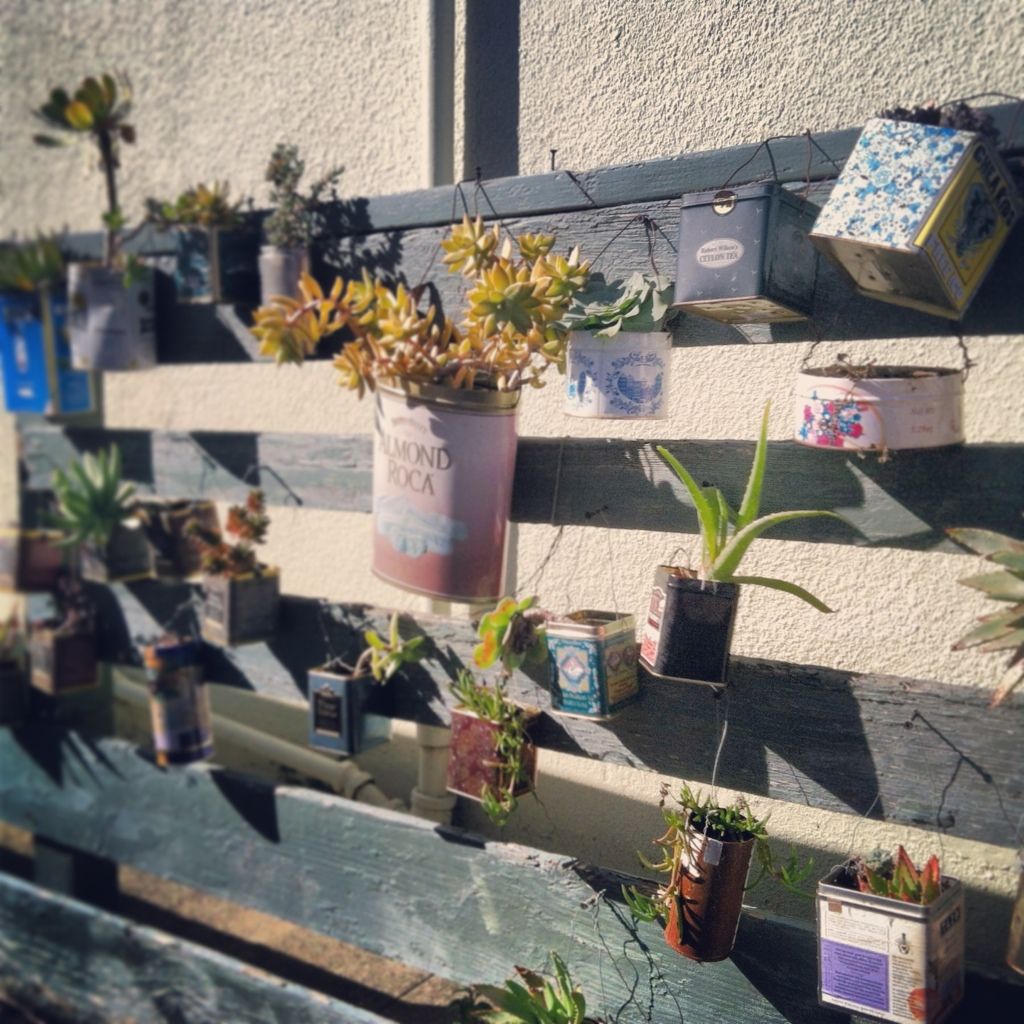
3// Someone in our neighborhood has this succulents-in-tea-tin display on their fence. It is quirky and kind of charming. I keep an eye out for new additions whenever I walk by.

Also, I guess it's high time I figure out the alternatives to Google reader, since its demise is expected this weekend. If you'd like to, please Follow my blog with Bloglovin. Thanks!

Monday, June 17, 2013

Kitchen Remodel - week 1

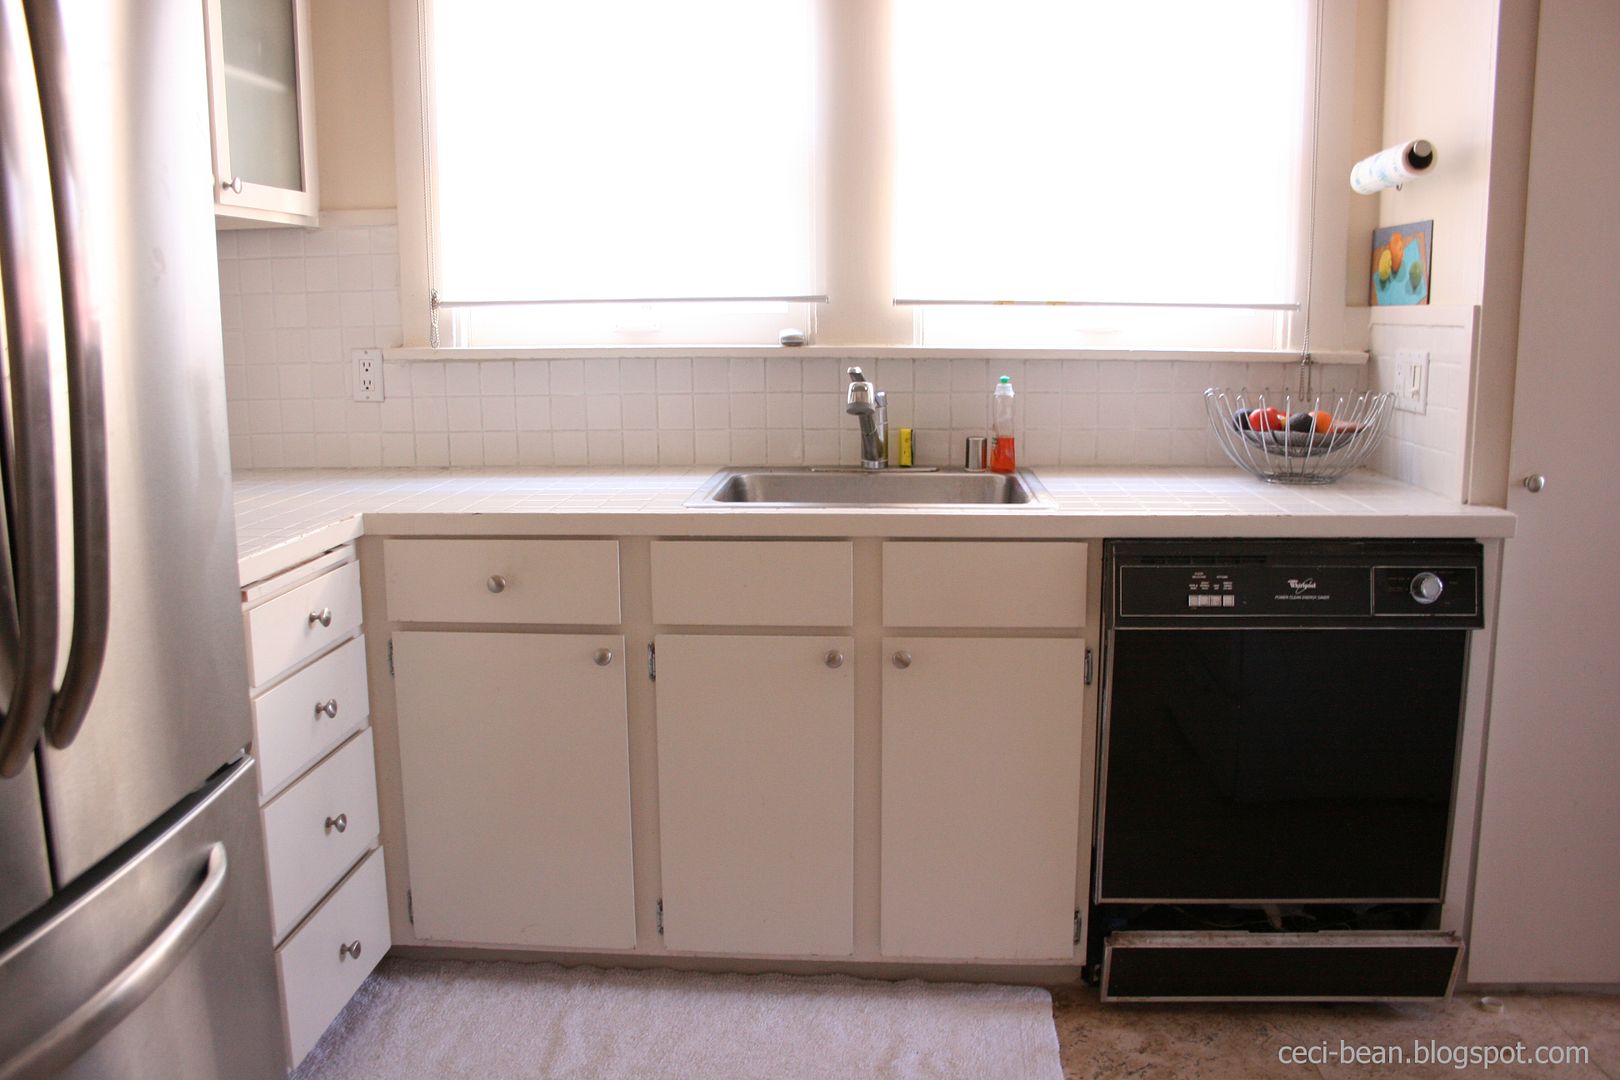
Last week I shared our kitchen and what it looked like before I broke it.

Now let me show you some details of what was not working for us.


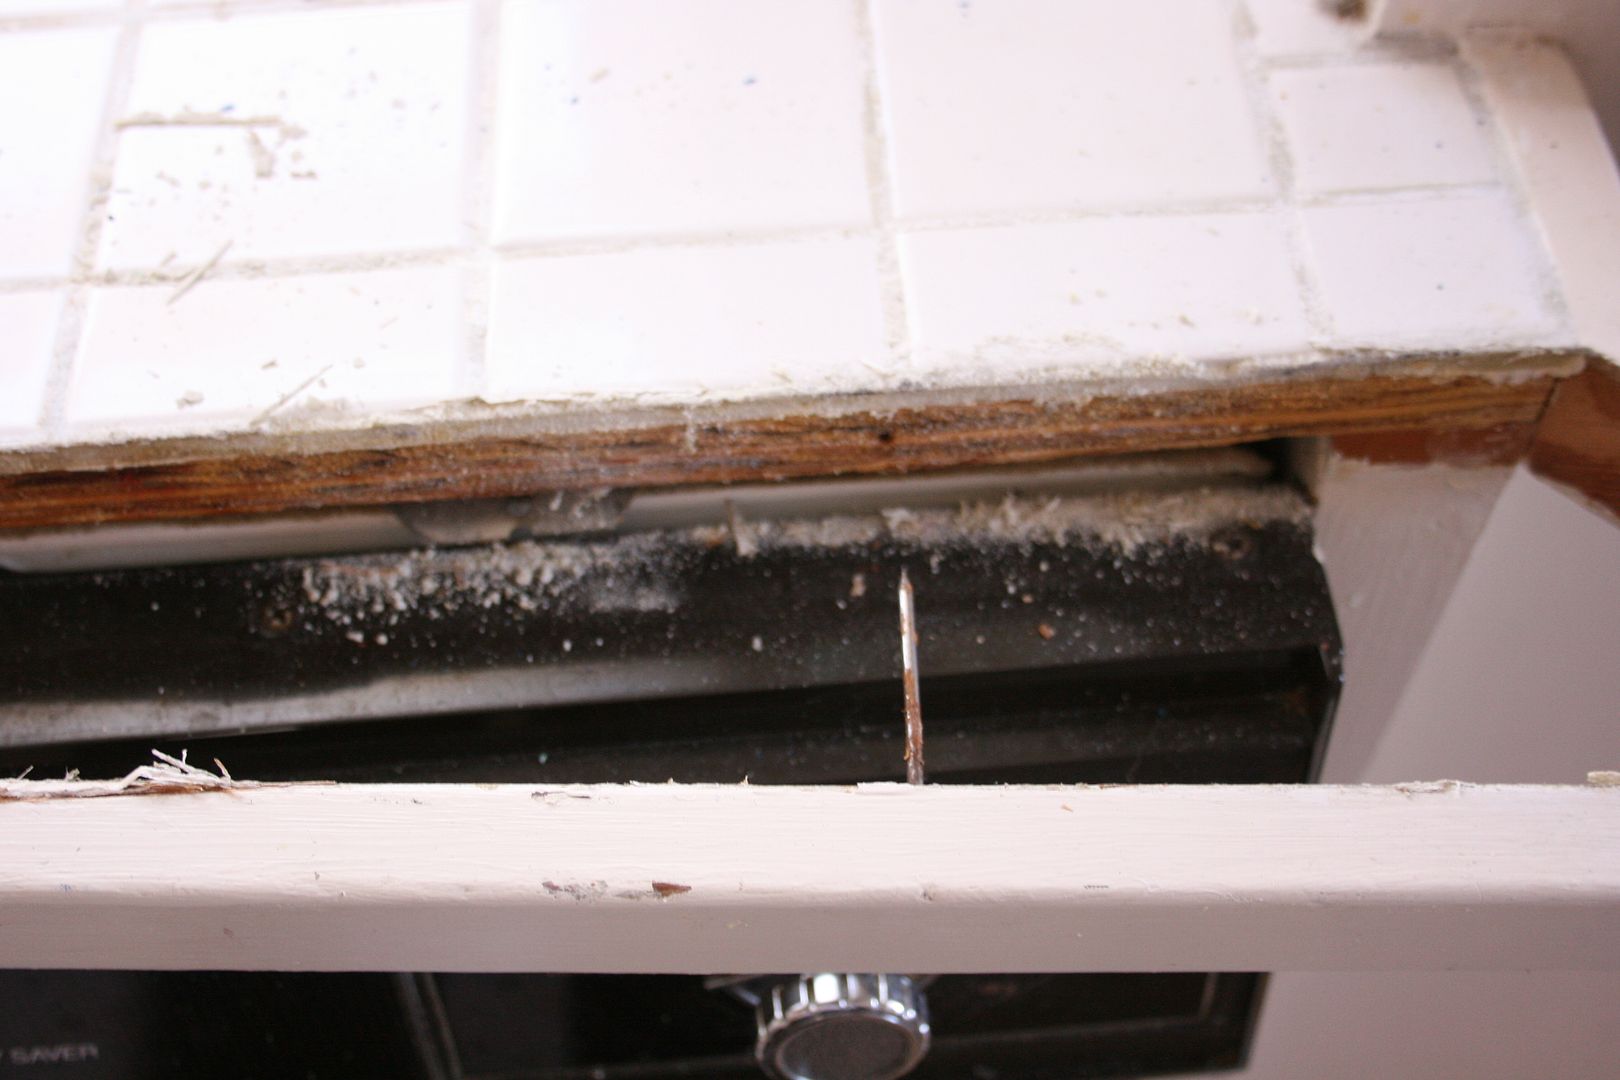
Ew. That grout has been treated with real bleach, lemon-and-baking-soda bleach, a special grout-cleaning pen... It always looked dull and dingy. And that painted wood edging is in extra bad shape from being dinged and melted off from warm pans touching it.


Additionally, 90 years of paint build up on the window sill, made for a caked-on finish. You can see that the horizontal and vertical surfaces don't meet at a 90° angle, but kind of slope. This probably isn't the end of the world, but it bothered us.

All of this to say that I tackled both of these half-heartedly on the first day, leaving two big messes and an extra wrecked looking kitchen for B to come home to.

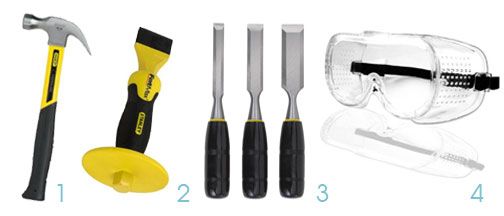
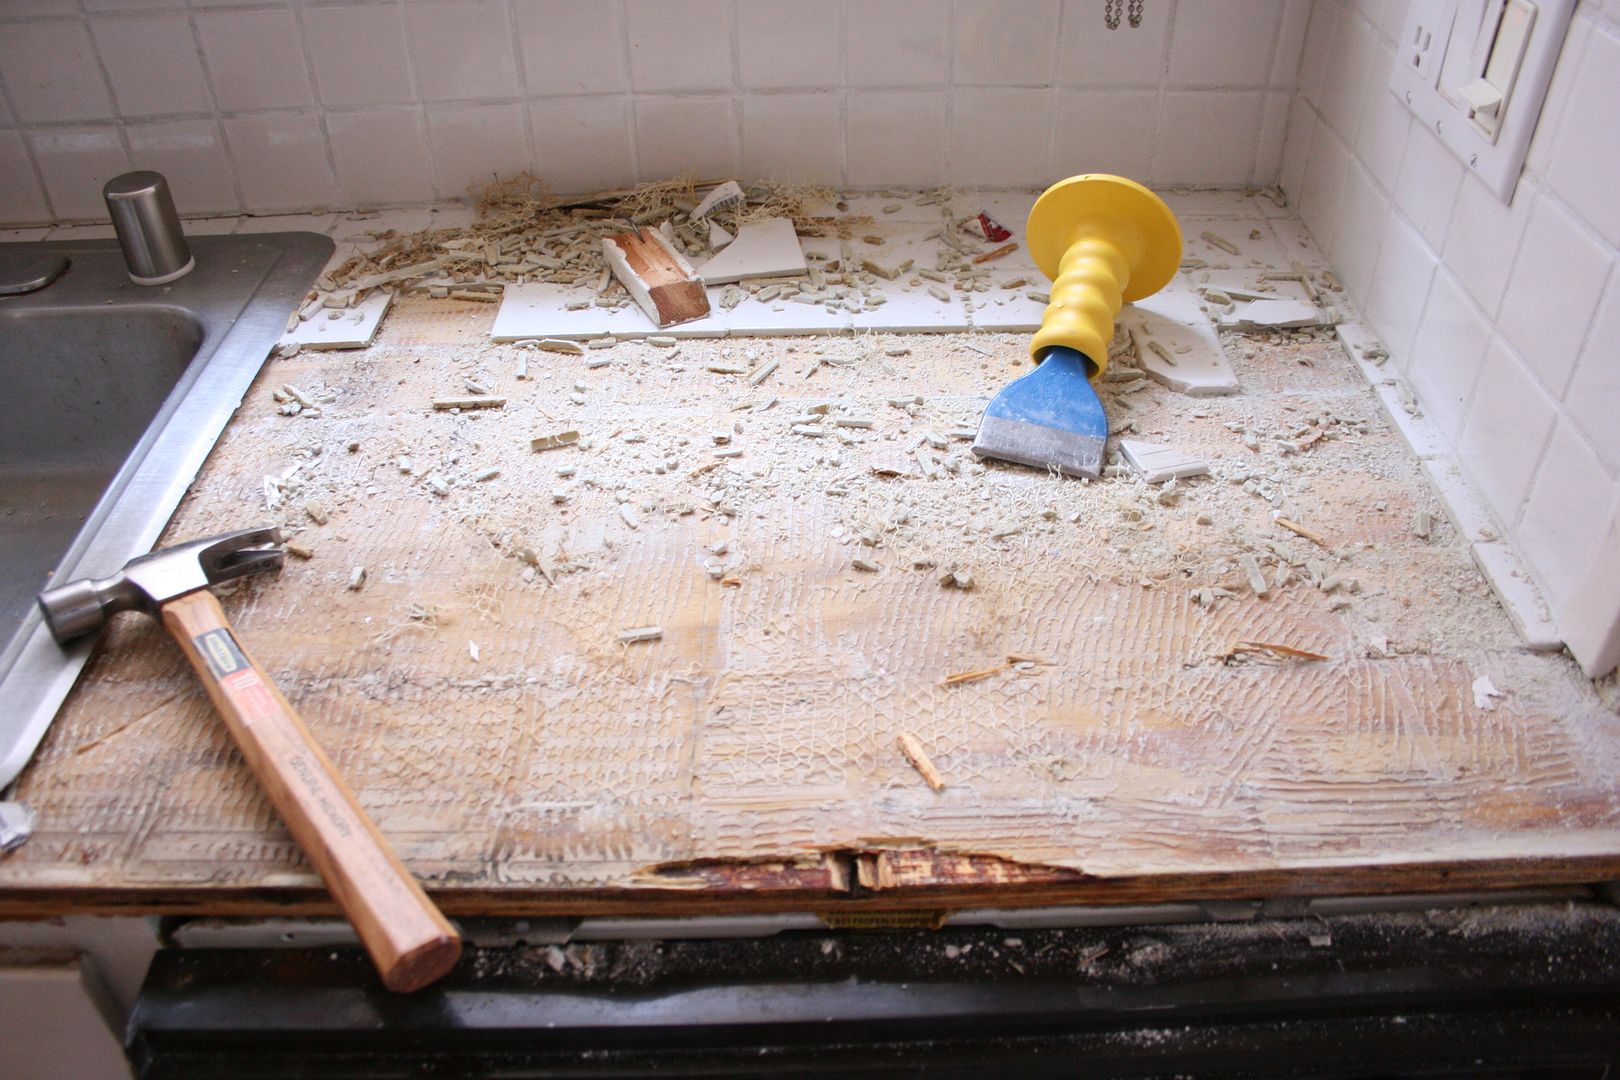
For the counters, I used these tools to remove the wood edging and tile:

The hammer I had. The masonry chisel was recommended by the guy at the hardware store. The wood chisels I purchased on a hunch that I'd need something smaller and lighter. And the goggles, I had.

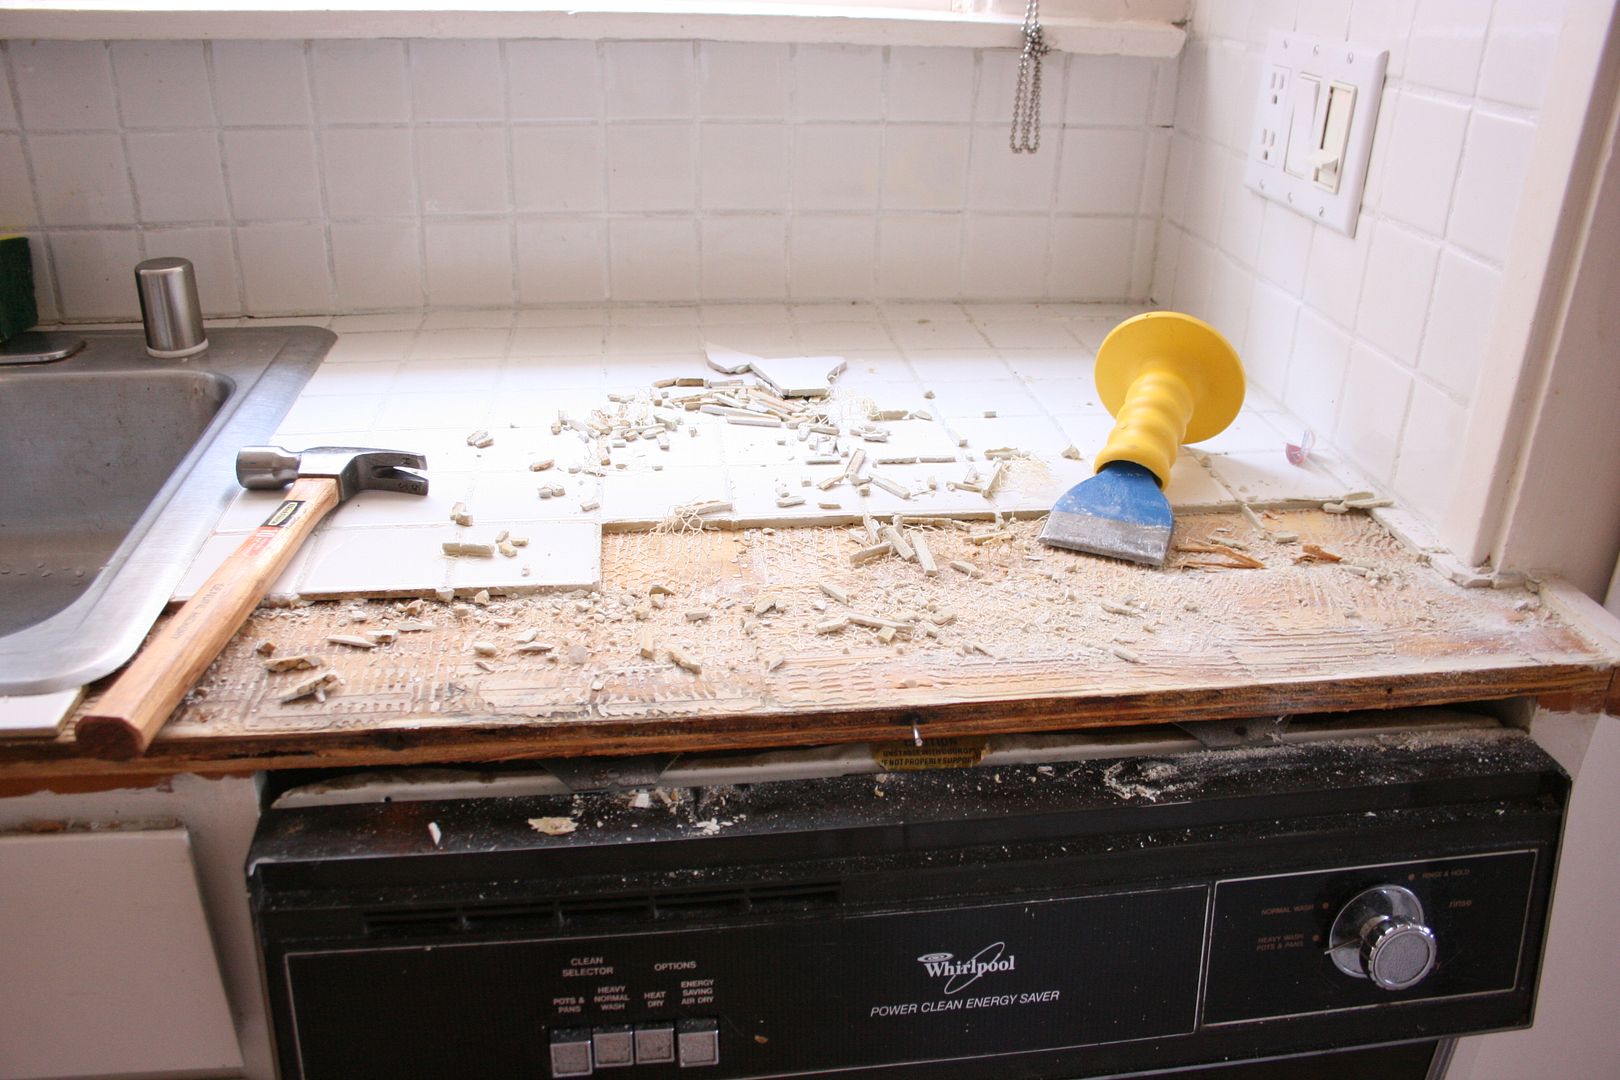
I started with the masonry chisel. Its heft and the hand cover (which protects you from banging your hand with the hammer) made it easy to knock the wood edging and first few rows loose. For the more stuck tiles, the wood chisels were easier to wedge underneath than the big masonry one. Unfortunately, in doing so, the tiles often broke. This is where the goggles came one. You do not want shards of ceramic tile flying into your eyeball. Safety first, people.

Gettin' started.
30 minutes into it.
Another hour later.
Once I finished the back row, I knew I'd need help removing the sink before I could get any further. So naturally, I shift gears completely and started unscrewing the cabinet doors. Only, much like the window sill, caked on paint was everywhere. I had to apply paint remover to the hinges just to get them off the wall.


I simultaneously marveled at the 90 years of paint history I was unearthing, and wondered if I was getting lead poisoning.

It was at about this point that B came home. Once he had come to grips with what I had started, his only goal was for us to have a functioning kitchen by the end of the weekend. That meant running water, a usable countertop and a working dishwasher. Any other details could be figured out afterwards (such as painting, cabinet handles, etc.) We spent the rest of the evening busting up tile.

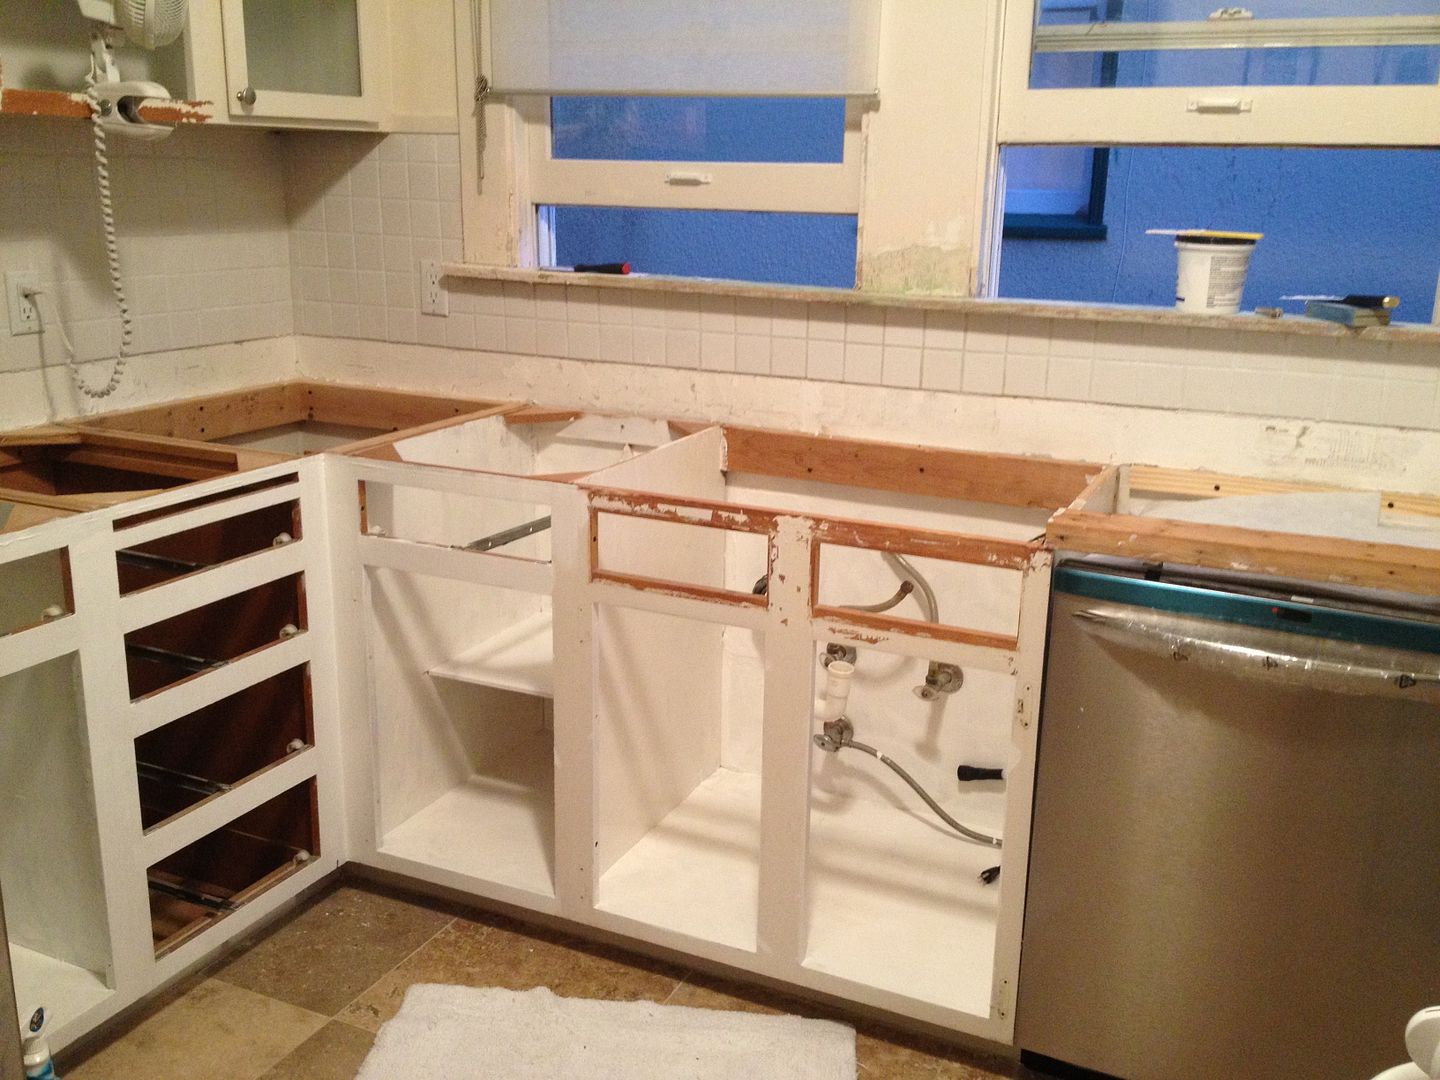
By the end of the day, our kitchen looked like this:

And by day 2, it looked like this:

We removed the plywood countertops and the bottom row of tile on the wall (to leave room for a thicker new countertop), installed the new dishwasher (!), and painted the interiors of the cabinets.

On day 3, we had to get the new counters and sink in. B made cuts while I continued removing paint in places and adding a fresh coat of paint in others.


 We spent while a lot of time figuring out how to install an Ikea sink into an existing cabinet system, since the instructions are intended for people installing the sink into Ikea cabinets (which have totally different dimensions than ours did).


But by the end of day 3, our kitchen looked like this:


I know it doesn't look like a finished kitchen yet, but we accomplished our goal of making it usable by the end of the weekend. Now we've got a ton of painting, a bit of tiling, and some final touches to work on before we can call it officially done.

I will share some things I learned along the way soon. But first, have you ever jumped into a project like this without really thinking it through?

Friday, June 14, 2013

Honey, I Broke the Kitchen

Oh friends, what have I done?

Last Friday I had the day off from work and I had an impulse to start tearing my kitchen to shreds. This is probably the sort of thing I should have discussed with my dear husband, but somehow I thought he'd be excited forgiving when he saw what I'd done. When he came home from work that day, he quietly surveyed my destruction and said "I guess we'll be building a kitchen this weekend."


He was right.

Let me back up. Our kitchen is small, sure, but it isn't awful by any stretch. So while there are things I wouldn't have chosen (tiled countertops with impossible-to-clean grout, I'm looking at you), B and I were to content to live with it, as is, since we bought the house in 2010.


When we moved in, we bought a stainless fridge even though the dishwasher was black and the stove was white. It really didn't bother me and we justified it by assuming we'd have to replace the dishwasher at some point since it was going to die since it was a much older model than the other appliances.


Well, in November of 2012 (yes, eight months ago!), that happened. One day, the dishwasher stopped working. And while we could have had someone repair it, we were ready to bid adieu to it. And we splurged on a new stainless model.

But when we scheduled the removal of the old one and the replacement of the new one, we learned that it wasn't going to be quite so simple. The previous owners had installed the floor tiles in front of the old dishwasher and it wasn't going to come out quite as easily as we had hoped. Or really, at all.

Folks, please consider this if you're redoing your floors: Pull the dishwasher out and extend the flooring under it. Seriously. If it doesn't come back to bite you in the butt, it will be a headache for the next owners of your home.

So, much the way pretty much all projects in our home go, we then waited while we fretted/avoided/overanalyzed our predicament.

After much discussion, we decided maybe it was time to look at replacing the countertops we weren't so in love with anyway.

I filled my Pinterest "kitchen" board full of dream remodels. I was pretty sure I had to have marble. We got estimates and it sounded pretty good. Then I got scared by the horror stories of marble maintenance. We looked at other stone and manmade surfaces and didn't see anything quite as beautiful.

And then we started toying with the idea of butcher block counters. And that started sounding pretty good. So of course I started pinning kitchens with those! So soon we had it pretty worked out that we wanted new counters, a new sink and faucet, a new dishwasher (which was waiting anxiously to be installed), and maybe some fresh non Band-Aid colored paint. We had a plan. And then we waited.

And waited some more.

We discussed the pros and cons of hiring someone to do this work. Actually, we pretty much decided this was more than we could take on ourselves, but we talked to 3 different contractors about helping us with this project and all of them stopped responding when we said we'd like to schedule the work.

And then we waited some more.

Aaaaand now here we are, 8 months after our dishwasher broke, finally making progress on our kitchen!

Yeah!

(I really wasn't joking about our snail's pace.)

Can't wait to show you the progress we've made!