Anyway, I finally finished a project and I'm excited to share it with you!
It all started an innocent Craigslist browsing session. I'd been planning to replace our not-so-comfy Ikea dining chairs (check them out in this old post) with something a bit more substantial and grown-up. I was leaning towards the Curved Upholstered Chairs from West Elm, but the price tag for a whole set was causing a little hesitation. But then I spotted these bad boys on the CL, and I knew I had to have them.
 |
| image from the Craigslist listing |
I was so sure I needed to act fast before someone else spotted them that I offered the seller an extra $50 if she'd hold them a couple days until we would borrow a truck to pick them up. Yeah, I'm a great negotiator, huh? But they were priced so low that I still feel like we got a good deal.
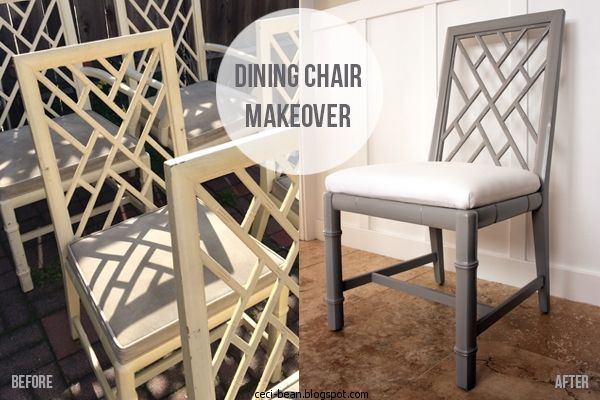
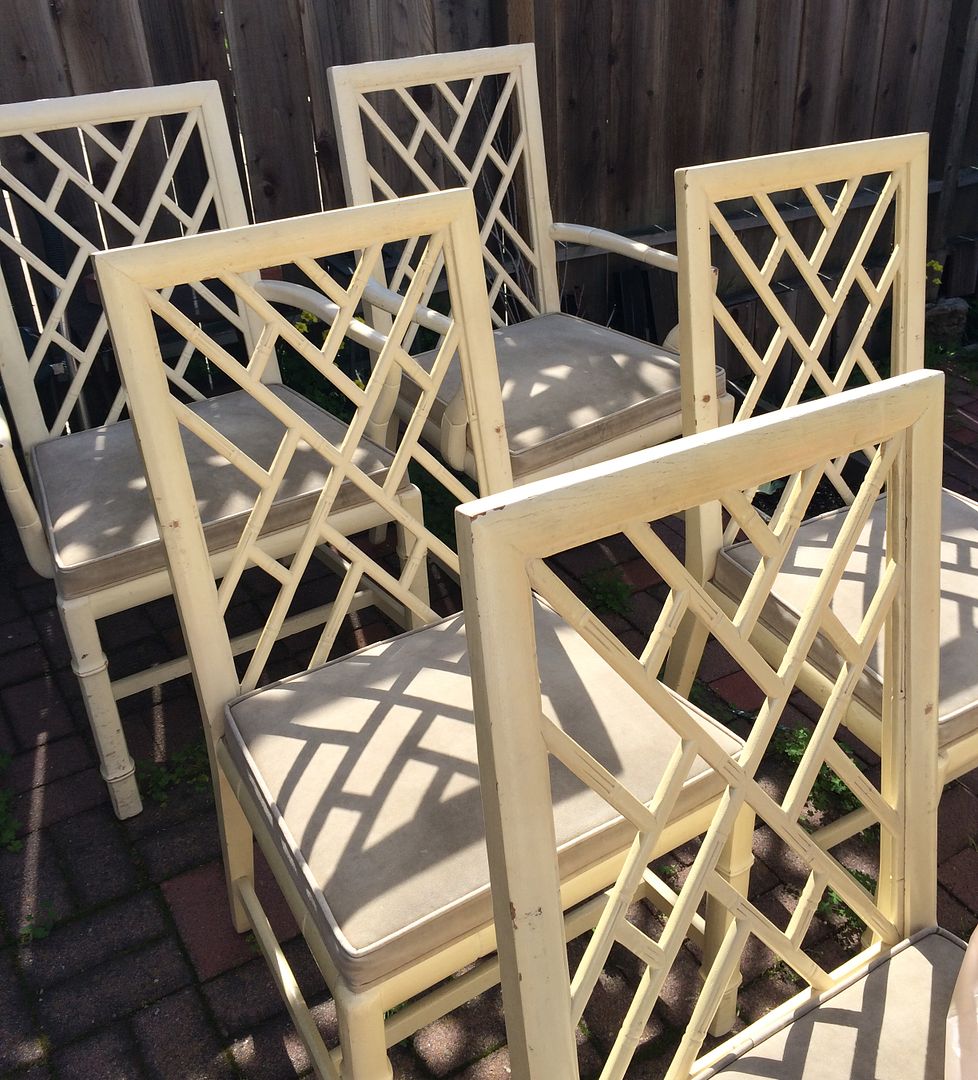
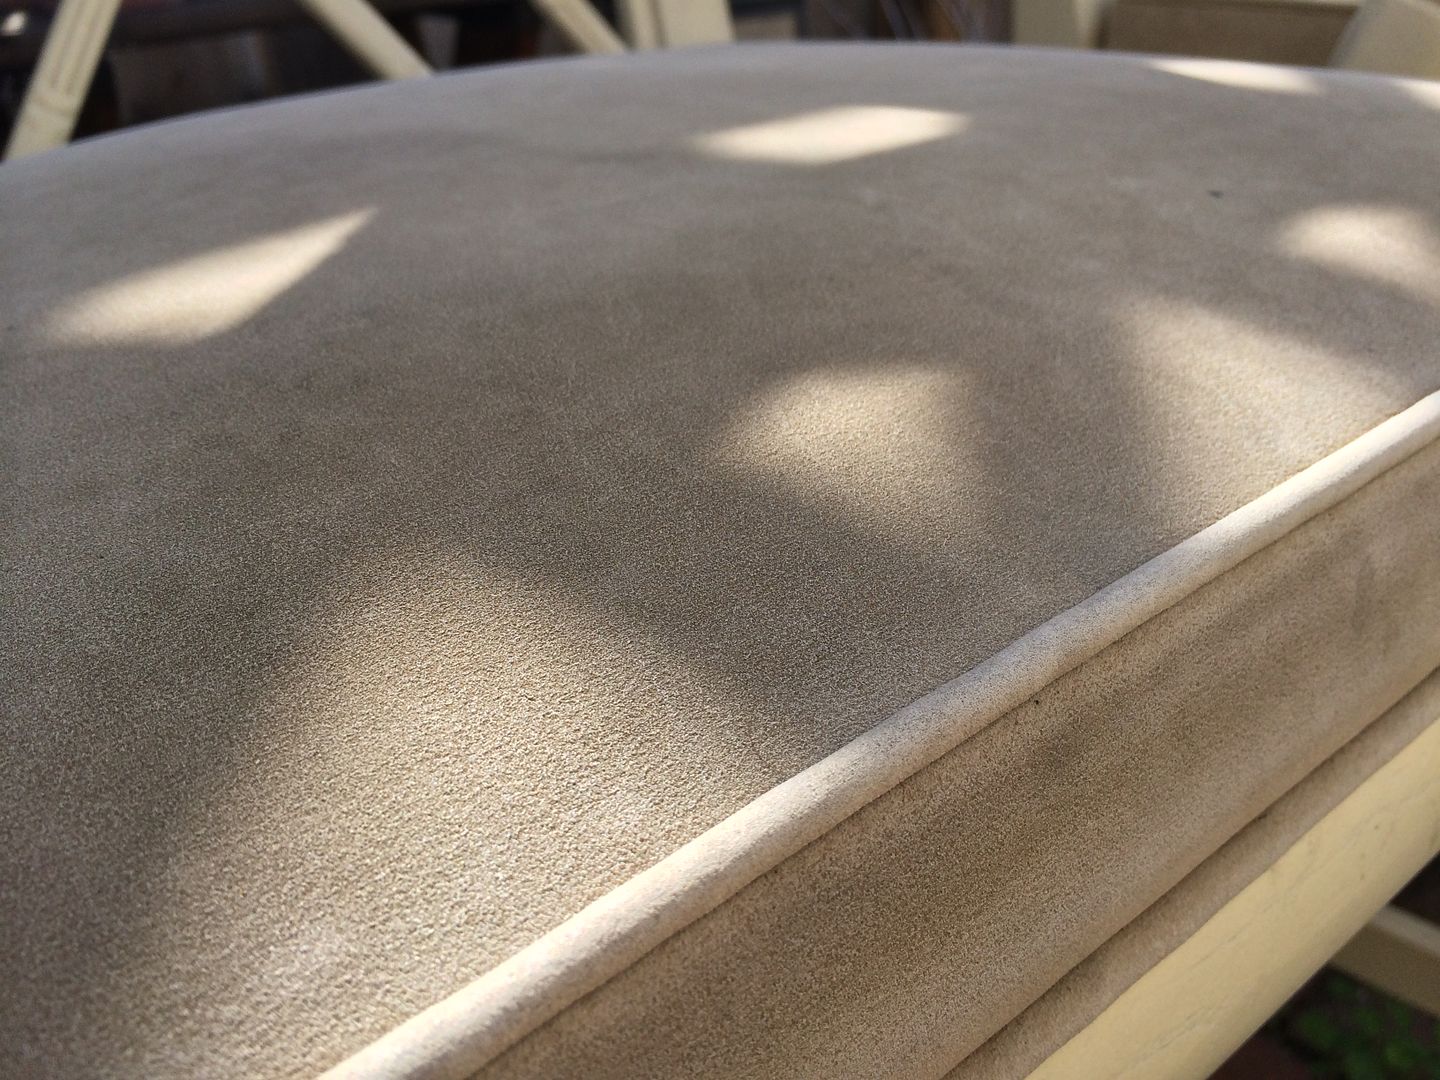
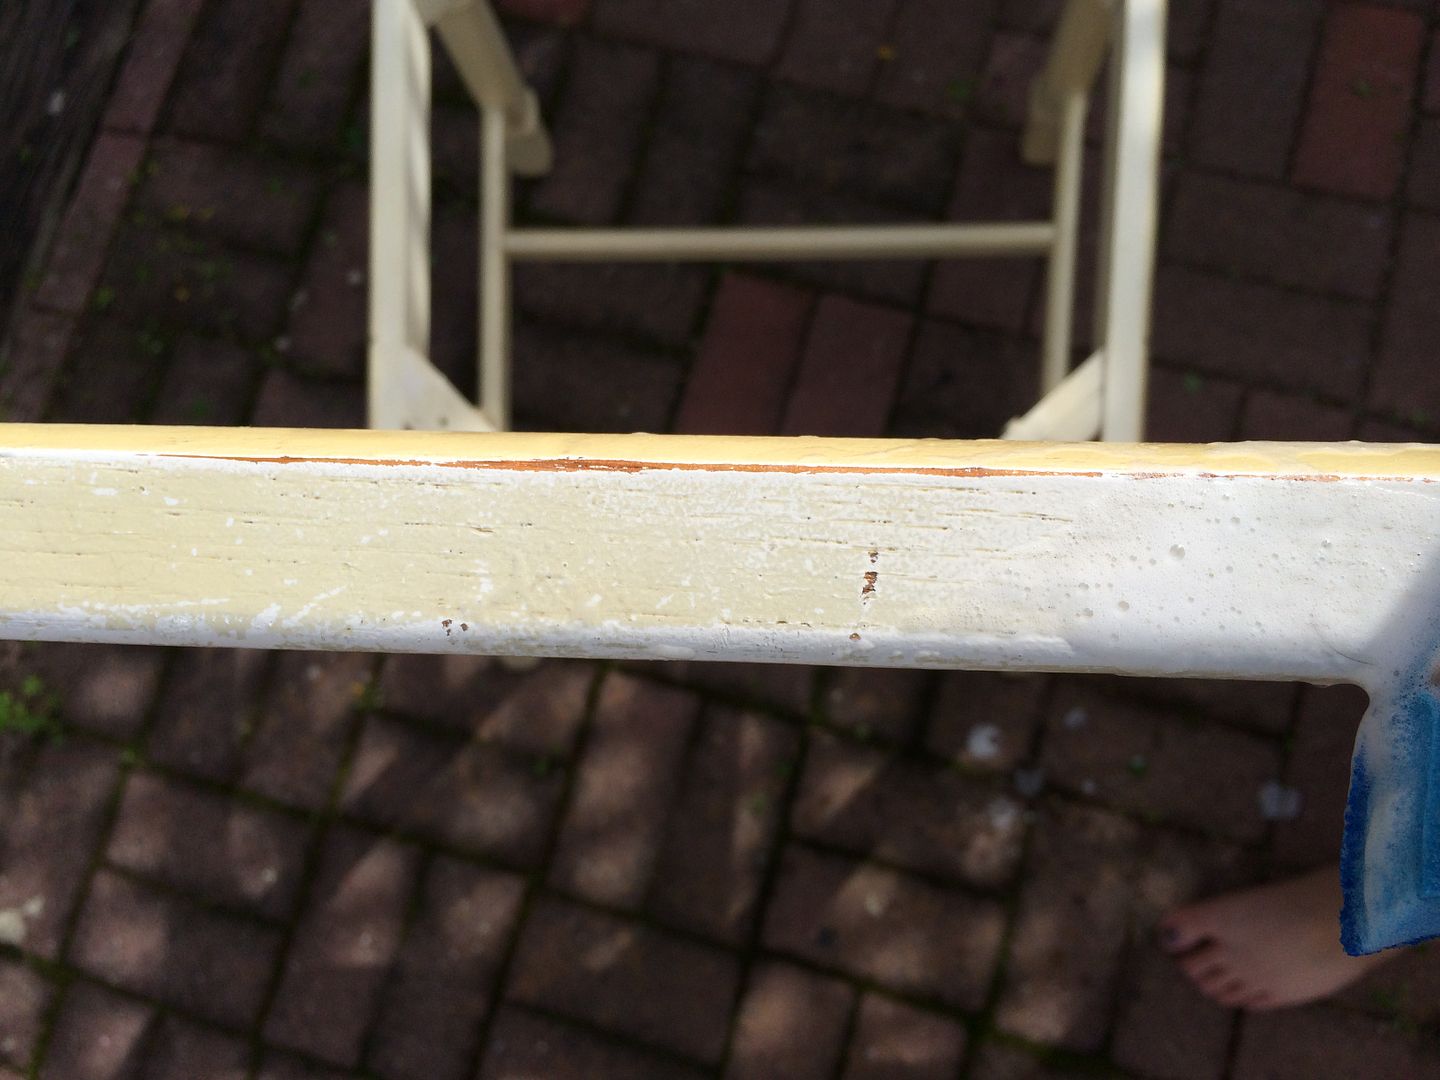
Once B brought them home, I saw that they were in a bit rougher shape than I originally thought. The finish was off-white and also yellowed from age. And the seats which had looked like velvet or microfiber online were actually really rough to the touch. But still, the chairs were solid and sturdy and had an awesome lattice detail so I had no regrets.
I started by giving them all a good scrub down. Next, I sanded spots where the finish was chipped or dented. Then I applied a deglosser to all of the chairs.
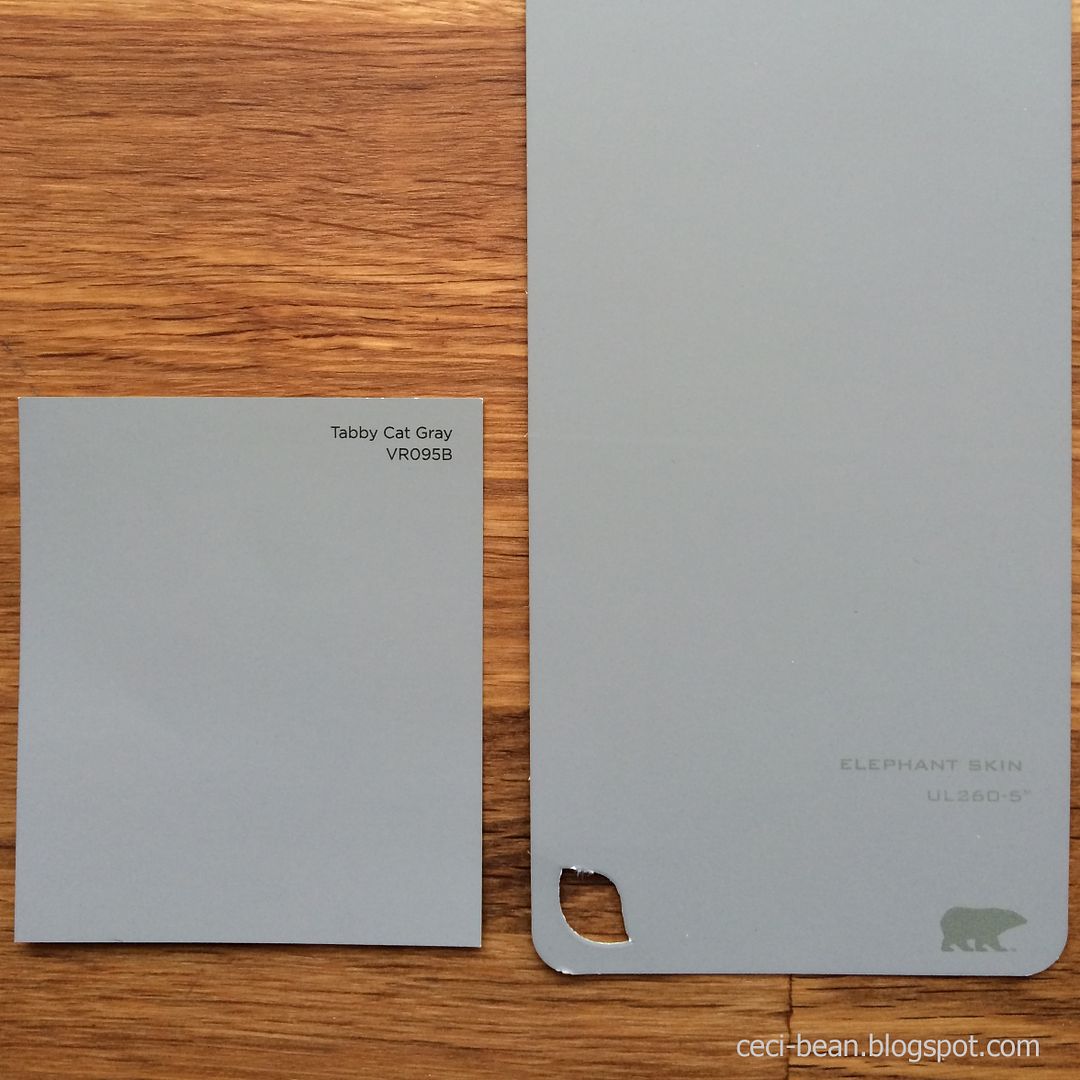
Once they were ready for paint, I rummaged through my paint swatches until I found a couple colors that I thought might work well with our walls (the walls are Seattle Mist by Benjamin Moore). I had to laugh when I realized I had essentially picked two samples of the same color. I actually brought both samples to Ace Hardware and had them pull up the formulas for each before I could decide. It turns out there is just a bit more red in Elephant Skin by Behr than there is in Tabby Cat by Valspar. (Wait, now I can't remember if that's backwards. Either way, I picked the one with less red.)
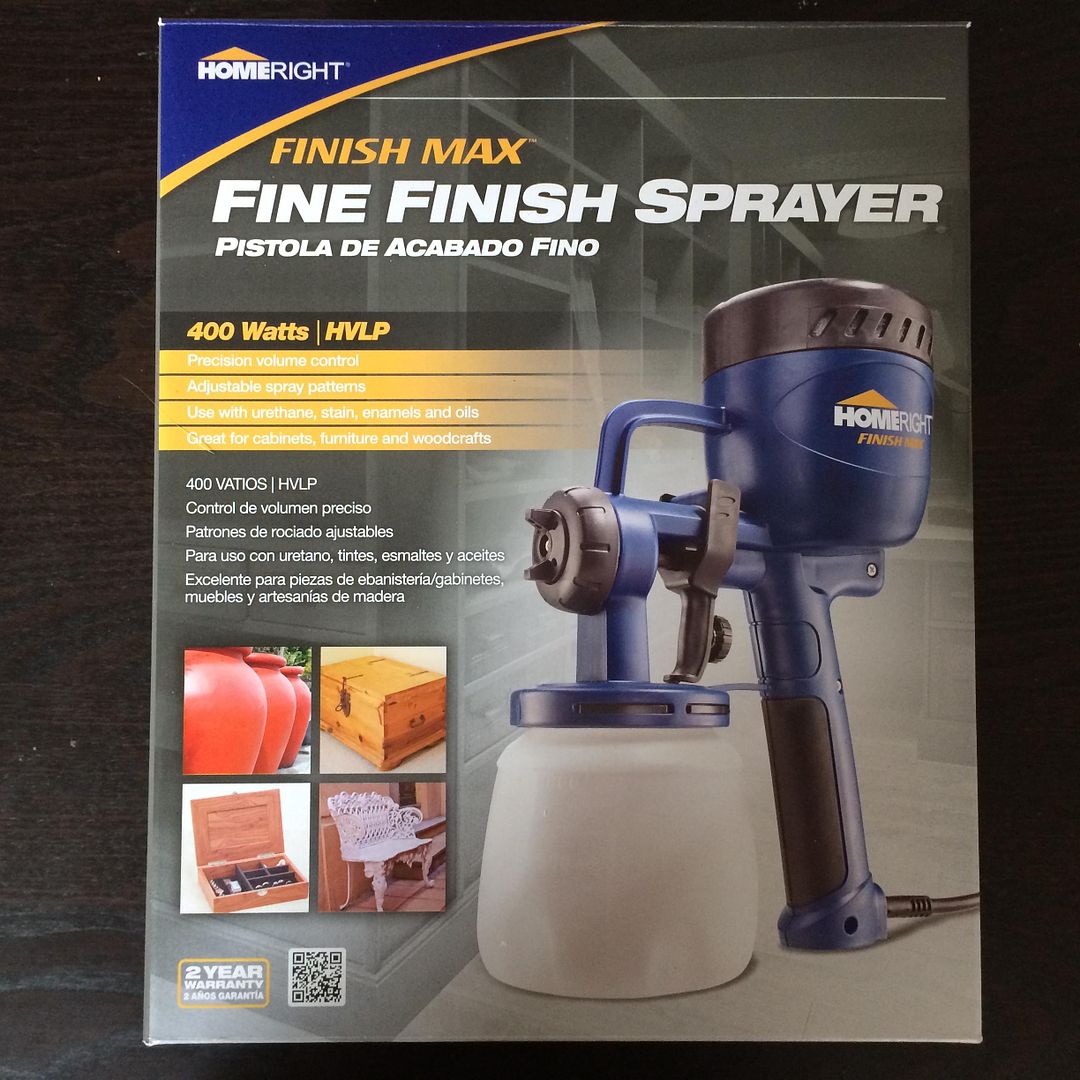
I picked a hi-gloss enamel (Paint and Primer in One, from Clark + Kensington) and loaded up my HomeRight paint sprayer for the very first time. I actually almost forgot I had it because I won it in a giveaway from Rappsody in Rooms back in November, when it was too cold to use.
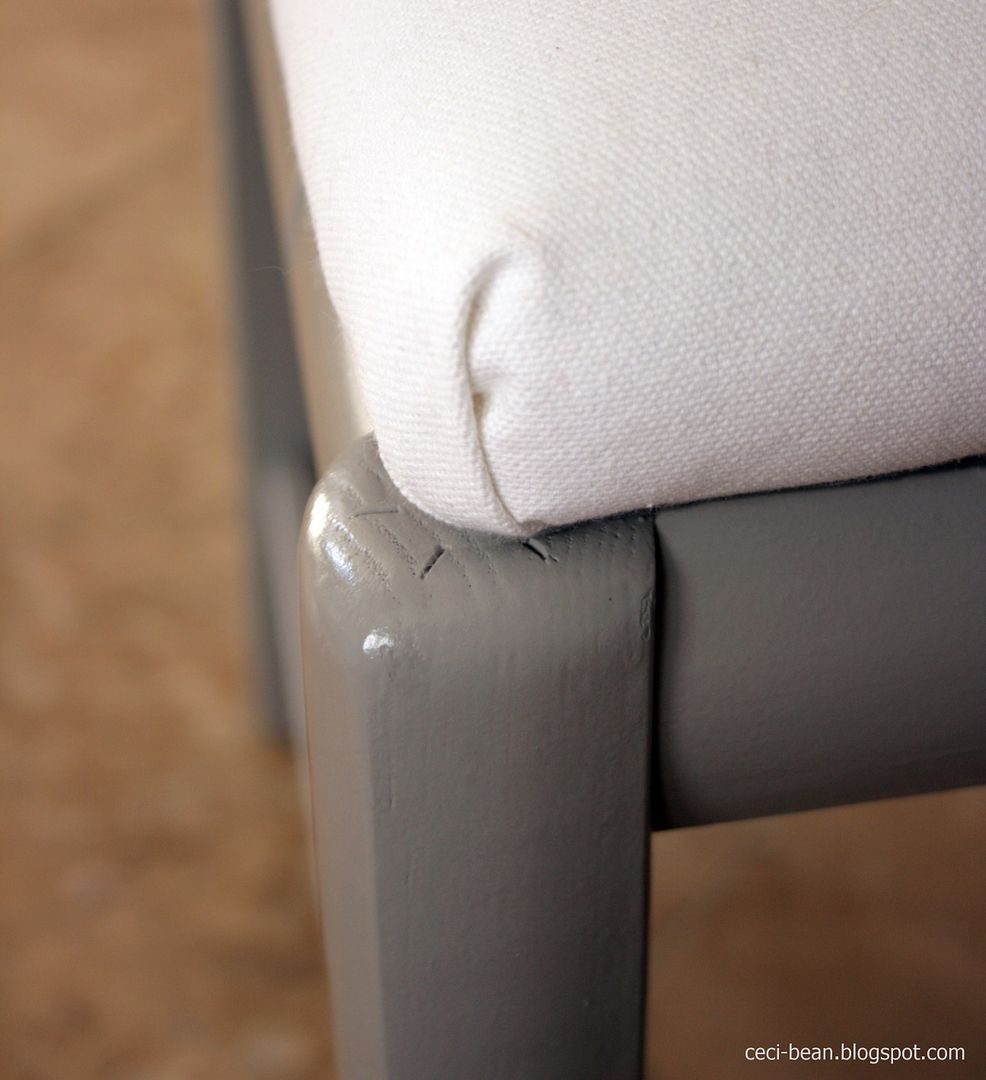
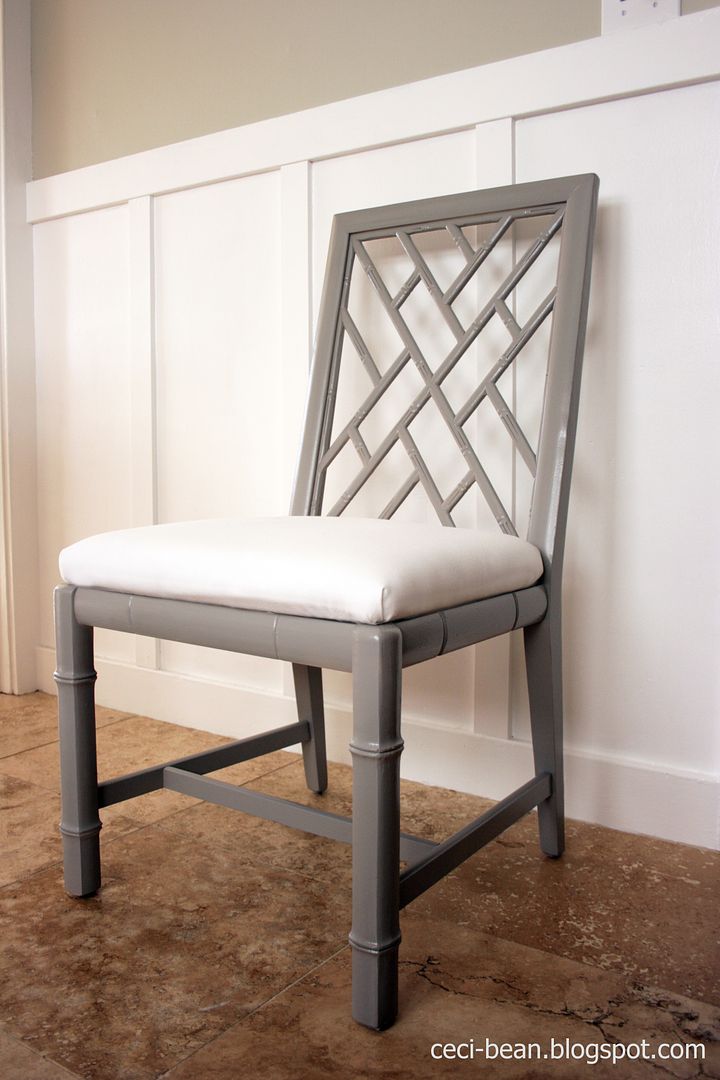
It was love at first spray, you guys. It took a little bit of time to get the paint to the right consistency (by mixing in water, little by little), but the spraying itself was easy to get then hang of and I finished all 6 chairs in about an hour. And no brush strokes! The finish was super smooooth. I am a paint sprayer convert.
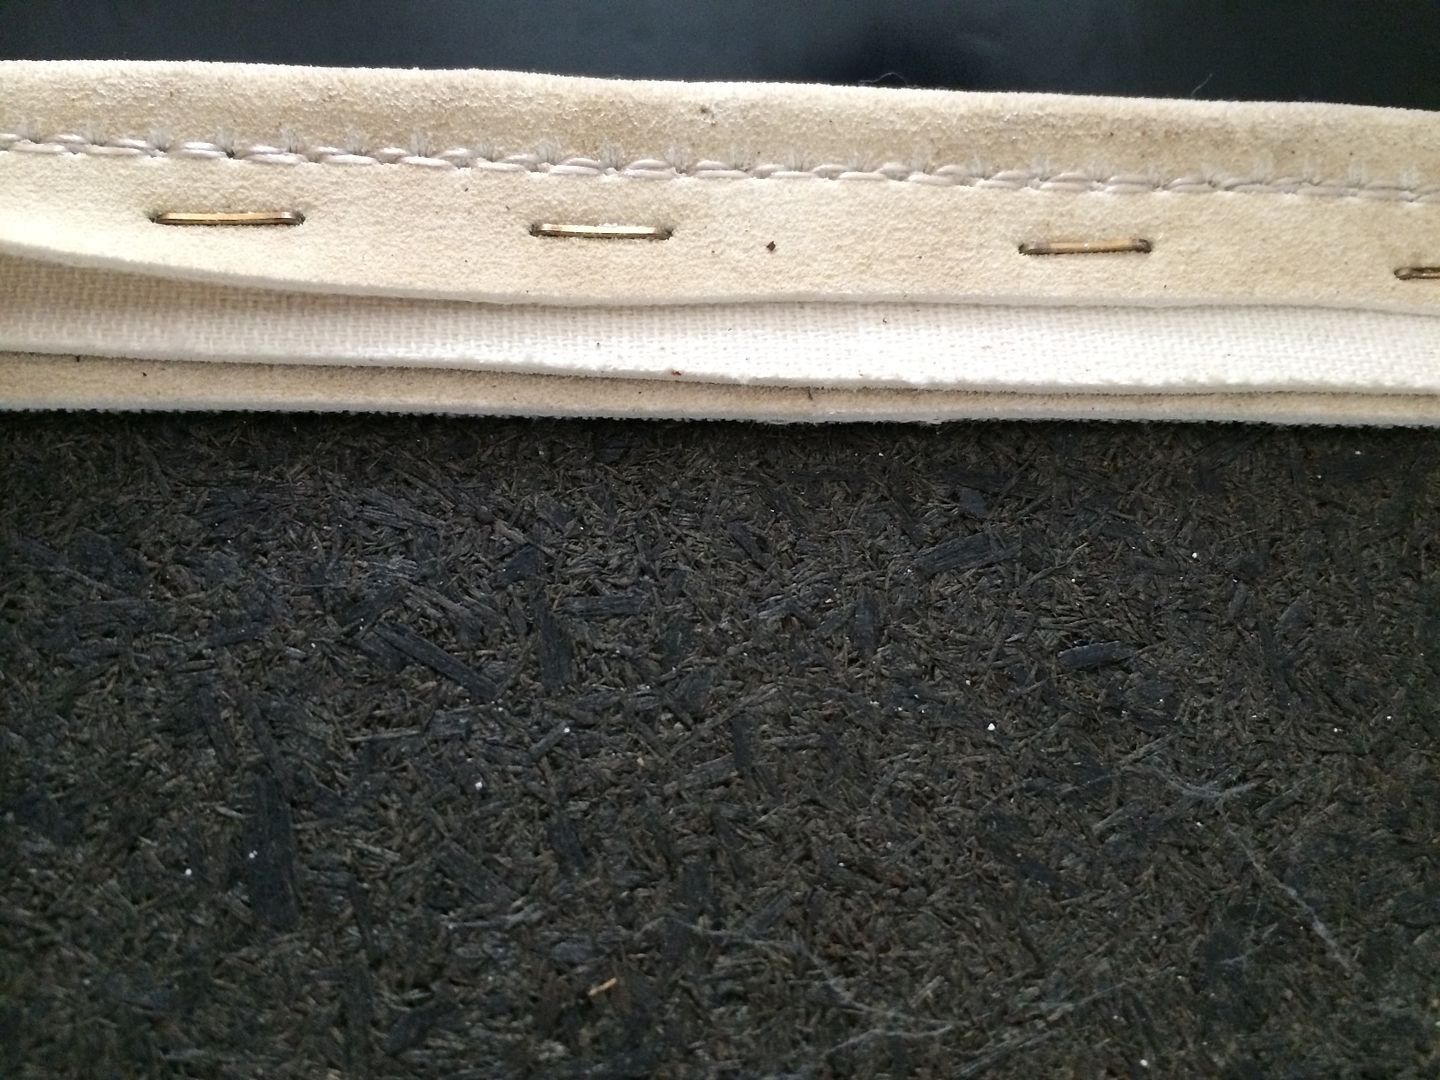 So I picked up some plain white duck cloth and some 1/2"
foam and started wrapping and stapling. I looked to the interwebs for
advise on how to do the corners and ended up following this method, more or less.
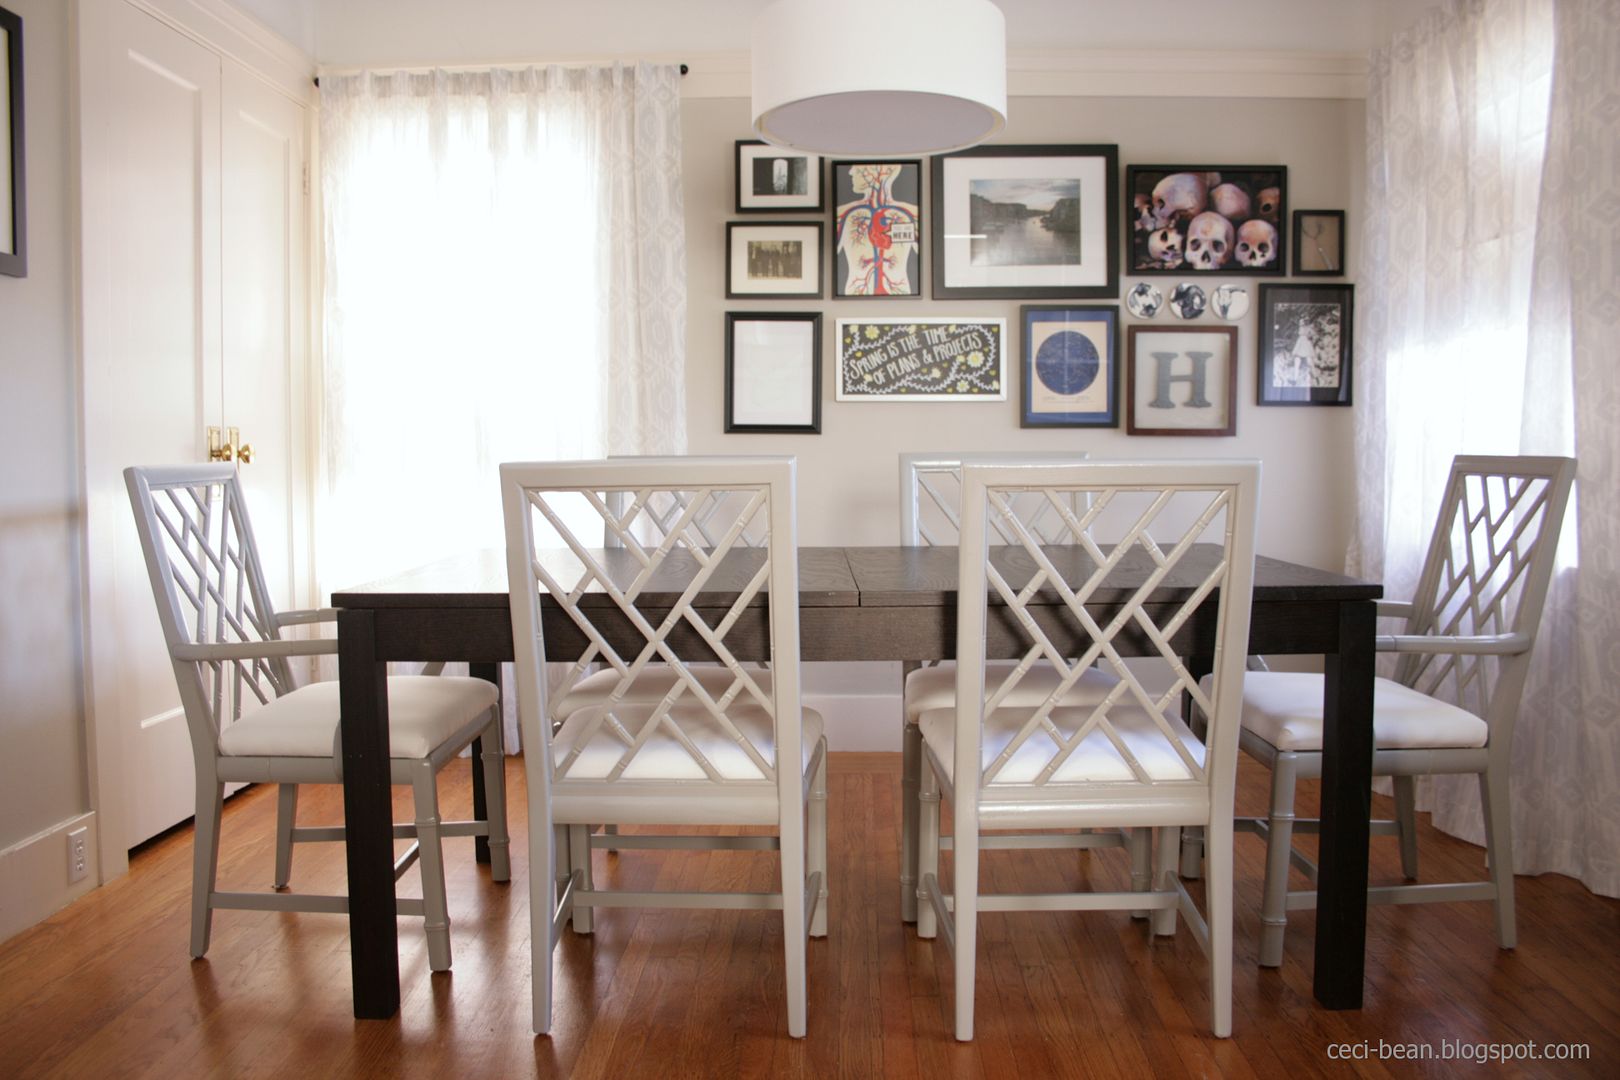
 Ta-da! I think they turned out pretty great.
Only problem is...
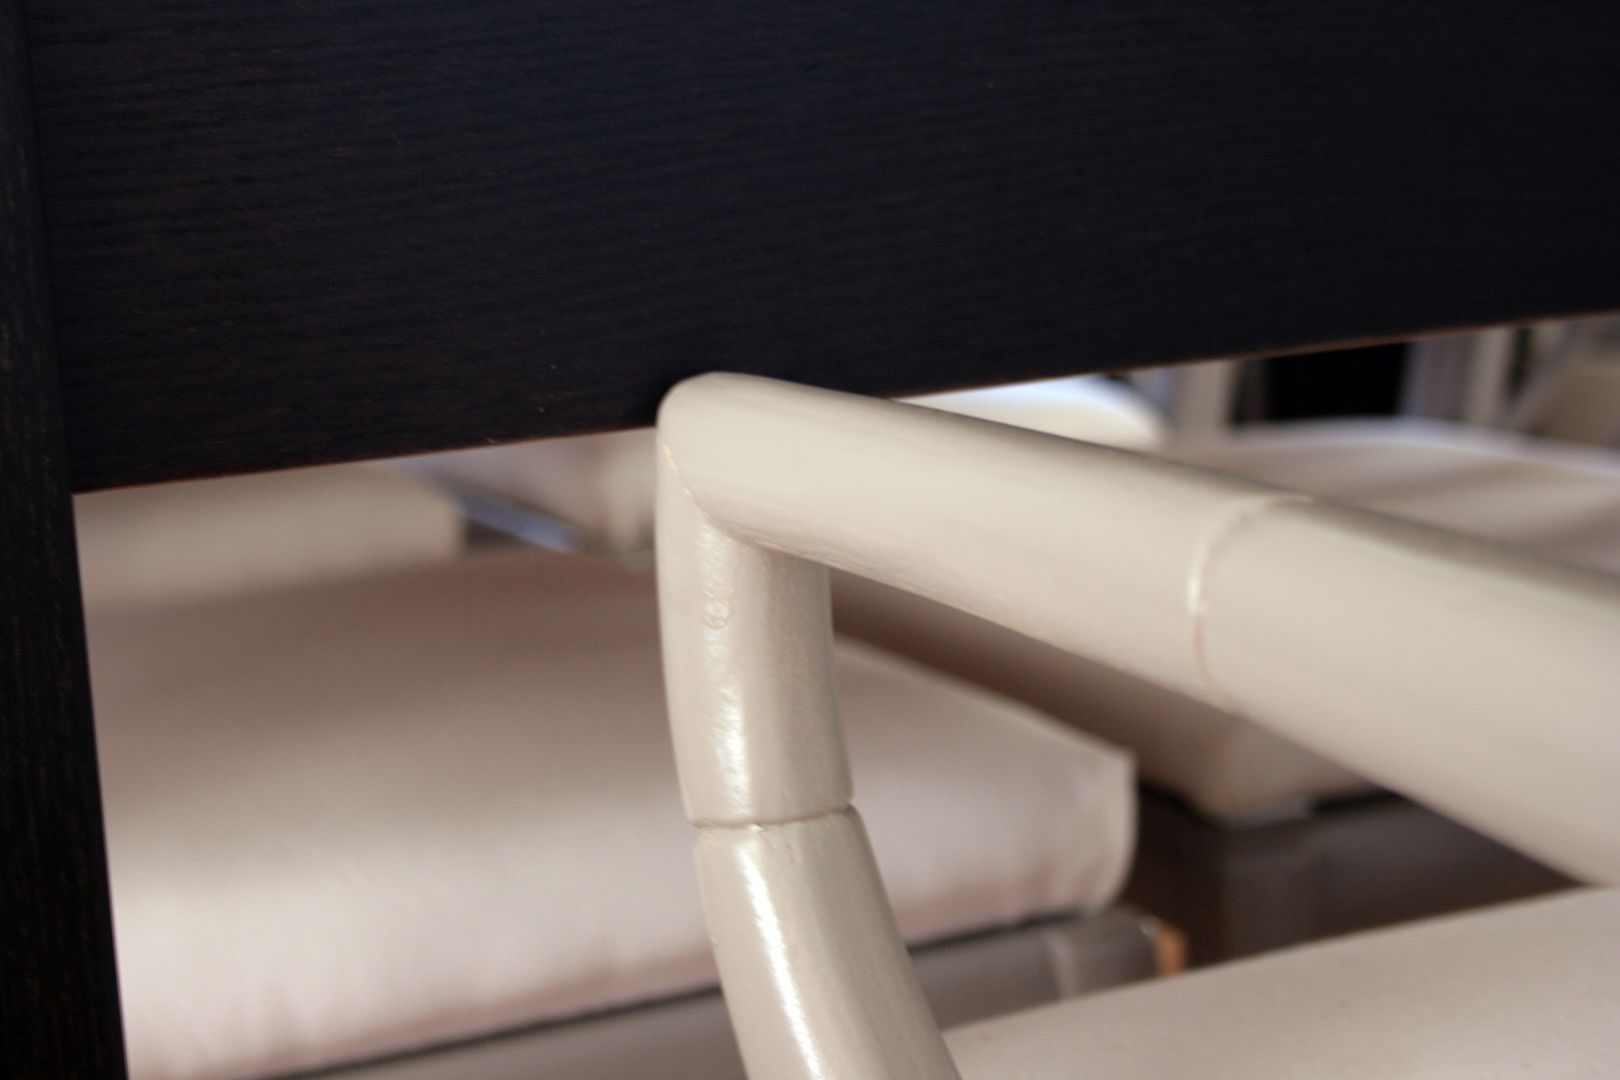
...the armchairs don't quite fit under the table. Womp womp. B thinks we can find risers to put under the table legs pretty easily. I, of course, see it as a great excuse to start looking for a new table. ;-)
Linking up to Remodelaholics Anonymous.


Wow! What a great Craigslist find! They turned out fantastic! So glad you like the paint sprayer. It really does a great job!
ReplyDeleteI love them! What a great find!
ReplyDeleteLove it! I nominated you for a Liebster Award! Click here for details:
ReplyDeletehttp://cutekiduglyhouse.blogspot.com/2014/03/liebster-award-nomination.html