Monday, September 30, 2013

Graphic Mosaic Monogram Art


I know, I know, it should be all fall leaves and spiderwebs around here right now. But my cousin's daughter is coming up on her first birthday and I wanted to make her something special.

I began by creating the monogram in Illustrator. I believe you could use the layout program of your choosing, but I think a vector based program would work best. If you're not comfortable with (or don't have access to) these programs, you could use a typeface that achieves a similar result like this one, for a fall leaf effect. Hey, what d'ya know, it brought this project back to Autumn!

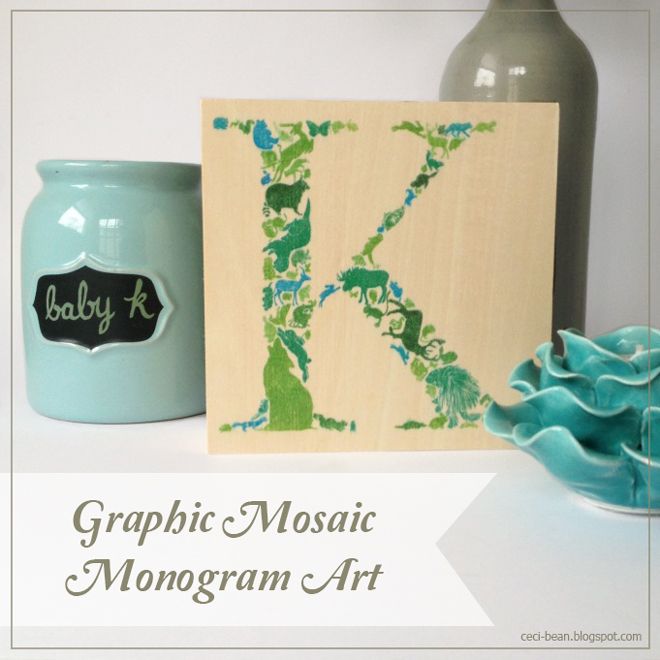
1. Find dingbat fonts that include lots of different shapes in the "theme" you like. For baby K, her bedroom has a "forest friends" theme, so I collected a few different sets I could work with. I would also recommend finding solid shapes rather than line drawings, if you choose to transfer the image.

2. Make one large letter in a size that fills your page. I knew my final piece would be 6 x 6, so I made sure my letter was just a bit smaller than that.

3. Type your "alphabets" out, so you have a palette to work with on screen.

4. Mix and match pieces until you come up with a design you like!

5. Once you've designed it the way you'd like, you can print as-is and frame it up! I wanted to create something a little more special, so I continued with these steps:

6. Print it on a laser printer, as a mirror image.

I went back and forth about whether I should try the transfer method I've seen used most commonly on other blogs. It involves gel medium, and a day of drying. I think it was impatience that won out, so I used the method I learned in art school -- the mighty blender pen.

6. Cut it out and tape it into place on the surface you're transferring to. I chose a wooden cradle board.


7. Apply the blender pen quickly to a small area (maybe an inch at a time) and run your fingernail or a tool over that area to transfer to image more completely. Be careful not too wet the paper too much or the image will bleed.


8. Just a few minutes later, and you have a finished piece!


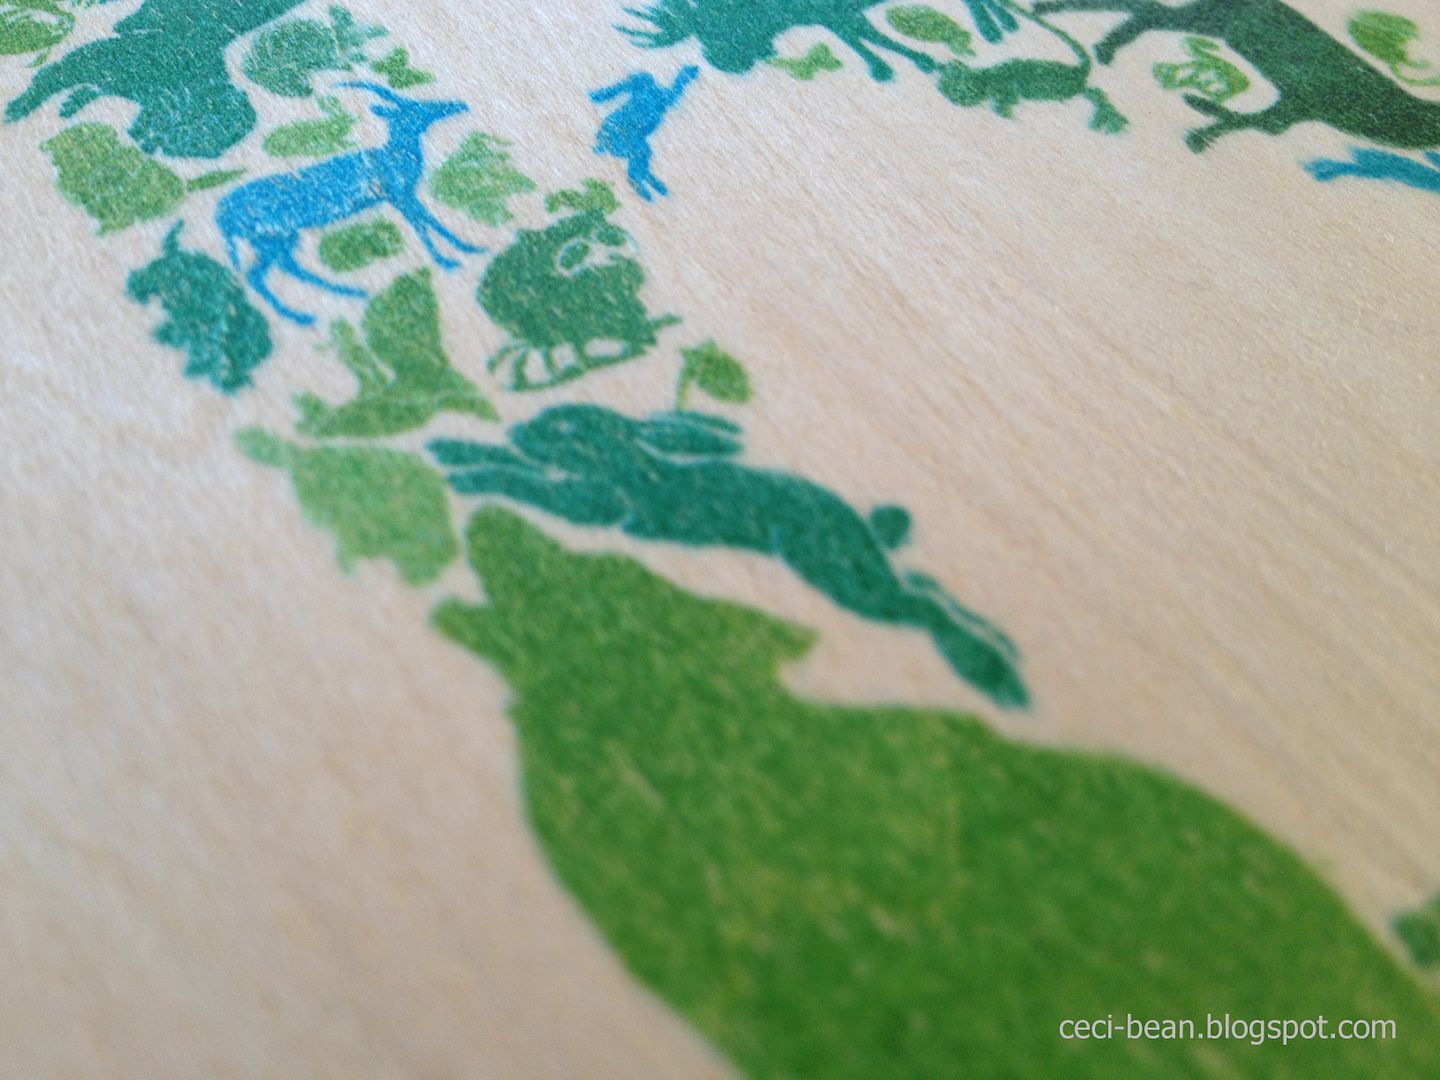
There were a few animals that were probably too small to transfer properly, but overall I think it was a success!


I think it will be a nice additional to baby K's nursery.

What theme would you try?

Tuesday, September 24, 2013

Printable Halloween Mantel


I'm quickly learning that a blogger must live slightly in the future at all times.

For a born procrastinator like myself, that is a little baffling. I feel like in the past walking into stores with Halloween décor made me roll my eyes and think "ugh, it's too early! It's still September!"

But I suddenly find myself preparing to decorate for Halloween.

In September.

Me, the procrastinator.

And if I'm being perfectly honest, I even started planning three weeks ago. In August.

So without further ado (because by the time you read this I'll probably be pinning Christmas inspiration), here is my Halloween mantel.

I started with the idea of adding a collection of "spooky" prints. I basically searched The Graphic Fairy and the New York Public Library Digital Gallery for anything that included the following:

Skeletons
Skulls
Brains
Rats
Snakes
Spiders
Rats
Bats

I printed my favorites either as-is or after layering them on a parchment paper background which I found here.

I framed them using a bunch of old clip frames from Ikea I had leftover from a project. I was tempted to purchase new black frames, but I decided to work with what I had.

Next, I spray painted some sconces I had on hand a glossy black and then made bleeding candles to go in them. (You've probably seen tutorials using red candles. I used crayons!)


I reused some items on the display from last year and purchased a few new pieces for under $10 bucks from the dollar store and a little more for some small white pumpkins and kobucha squash at the grocery store.


Here it is at night.
So, is it spoooky? Have you started decorating for Halloween yet? Too early?


Linking up to the It's Fall, Y'all party with Thrifty Décor Chick and Remodelaholics Anonymous with Remodelaholic.

Friday, September 13, 2013

DIY Woven Rope Basket


I'm not sure why I got so set on making a rope basket. I've never made one before.

I blame Pinterest and its plethora of cool Autumn-friendly crafts which tricked my brain into thinking it was scarf-knitting time (which is ridiculous, because it was hotter last weekend than it has been all summer in the Bay Area) so I settled on a woven basket which seemed practical and not reliant on weather to use.

After a bit of research, I realized that most people are going the easy smart route and simply gluing rope to existing containers. And while I think those look quite cool, I knew that type of project would not really satiate my need to knit something.

Upon further investigation, I realized that rope baskets aren't knit, but crocheted... a skill I do not have. Whatevs! I decided to wing it!

I bought some sisal rope at my local Ace and found some yarn in my personal stash.


 My approach was pretty simple: wrap yarn around rope, two layers at a time. Repeat, repeat, repeat.


It didn't take long before I realized the wrapping of the yarn around the inner (or lower) length of rope was hard to do without some sort of tool. I considered the fact that a crochet hook was probably the tool I needed, but I wasn't interested in buying one just for this project. So I scanned the room for something that could work, and found a hair clip.

It won't be much help in the hair department anymore, but now it's a basket-weaving champ!

Can I just say that this sacrificed hair clip was the perfect tool for basket weaving??


I really got my rhythm down and several episodes of crappy television later, I had a basket.


I made a freaking basket with rope and a hair clip!

I'm like MacGyver.

But with crafts.


I'm pretty thrilled with the results. The basket ended up being about 6 inches wall and 10 inches wide, with just an 8 inch piece of rope leftover. I am tempted to buy a 100 ft rope and make a larger basket to match!

The basket is slouchy, but not too delicate. It reminds me of this basket from West Elm a little bit. Except with yarn. And smaller. But still functional and rustic and stuff.


While I don't really have instructions, I can share some tips for anyone else attempting this.
  • You may want to go heavy on the yarn in the very beginning. I didn't, and it resulted in a thumb-sized hole in the center of the bottom.
  •  Don't cut the rope. It is easier to work with if it is continuous.
  • The yarn has to be cut to work with. I recommend cutting lengths to about a yard at a time. When you have about 4 inches left, tie on the new section to continue. I wasn't terribly careful about where the transitions happened, but you could be more careful and tuck them into the seams if it bothers you.
  • It is not difficult to transition from the bottom to the sides (just start building on top of the outer ring) but it is challenging to keep the sides even and straight. It is best to regularly pulled the walls upward (since they slouch) to make sure you're not widening or narrowing accidentally.
  • The handles were formed by slightly widening the top three layers of the walls and not wrapping the yarn around the lower layer to leave a gap. I did wrap the yarn around three layers at the start and stop of the handle to help give a little more support.
   
That's it! Would you make one of these? Would you use a bent hair clip?

I've linked up to Remodelaholic's  and Tatertots & Jello's link parties.