Last week I shared our kitchen and
what it looked like before I broke it.
Now let me show you some details of what was not working for us.
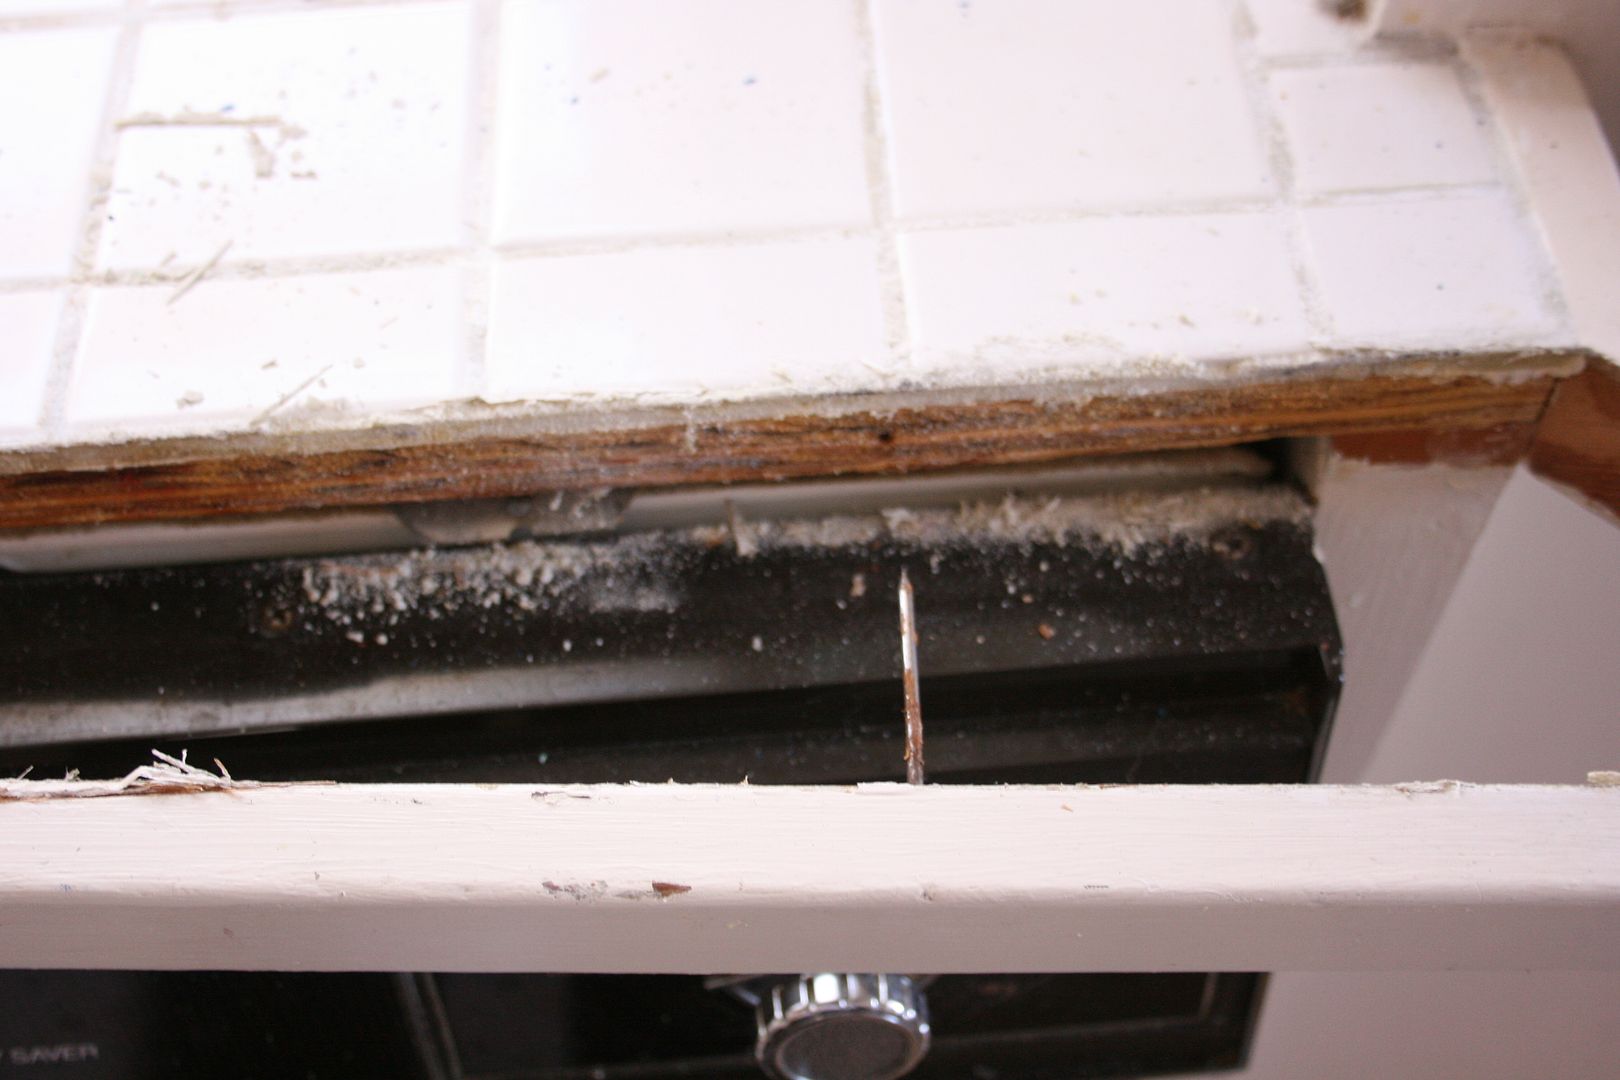
Ew. That grout has been treated with real bleach, lemon-and-baking-soda bleach, a special grout-cleaning pen... It always looked dull and dingy. And that painted wood edging is in extra bad shape from being dinged and melted off from warm pans touching it.
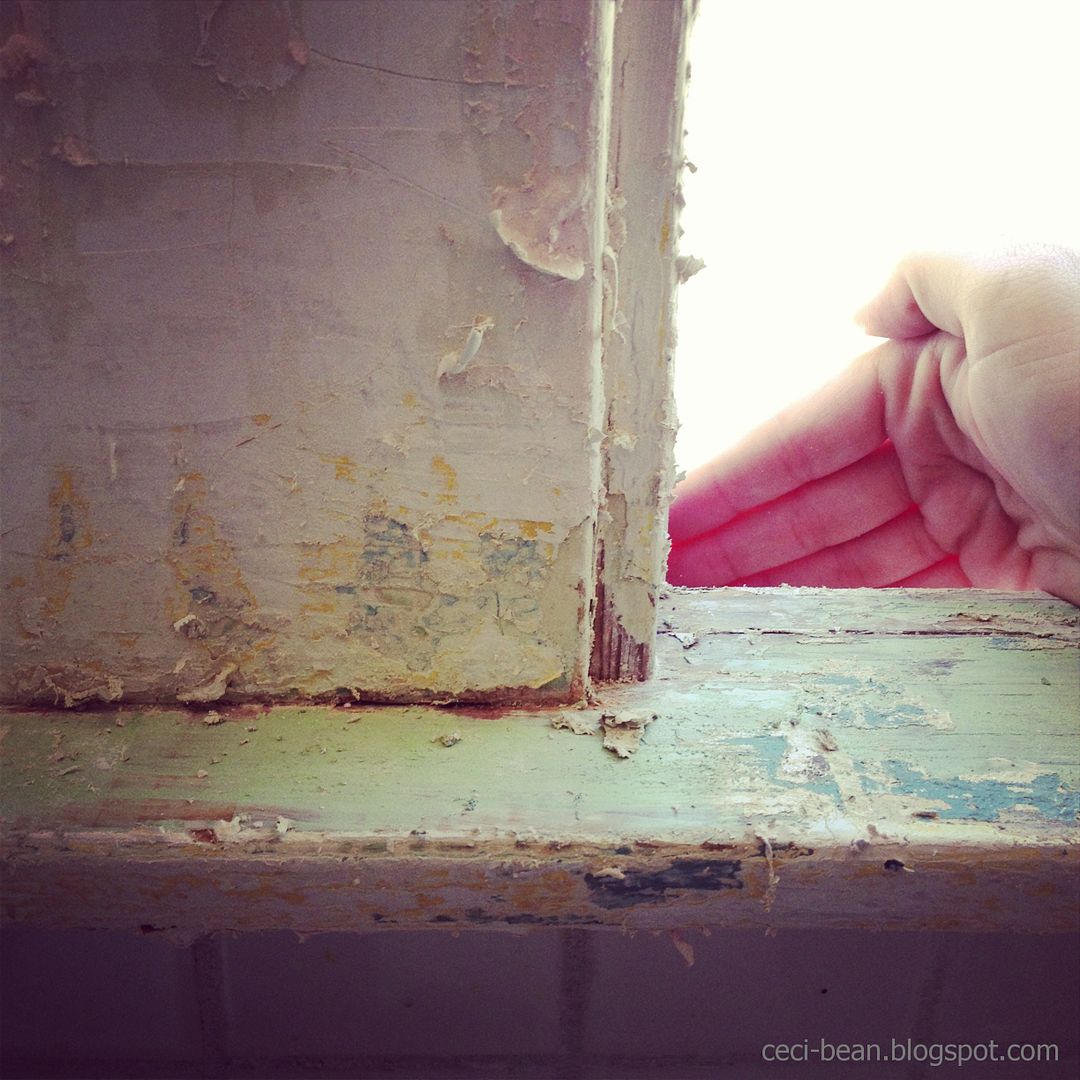
Additionally, 90 years of paint build up on the window sill, made for a caked-on finish. You can see that the horizontal and vertical surfaces don't meet at a 90° angle, but kind of slope. This probably isn't the end of the world, but it bothered us.
All of this to say that I tackled both of these half-heartedly on the first day, leaving two big messes and an extra wrecked looking kitchen for B to come home to.
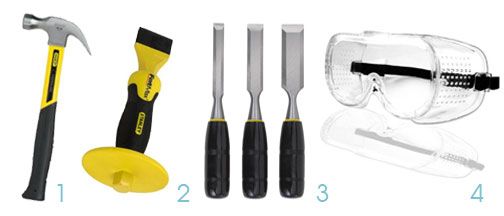
For the counters, I used these tools to remove the wood edging and tile:
The
hammer I had. The
masonry chisel was recommended by the guy at the hardware store. The
wood chisels I purchased on a hunch that I'd need something smaller and lighter. And the
goggles, I had.
I started with the masonry chisel. Its heft and the hand cover (which protects you from banging your hand with the hammer) made it easy to knock the wood edging and first few rows loose. For the more stuck tiles, the wood chisels were easier to wedge underneath than the big masonry one. Unfortunately, in doing so, the tiles often broke. This is where the goggles came one. You do not want shards of ceramic tile flying into your eyeball. Safety first, people.
 |
| Gettin' started. |
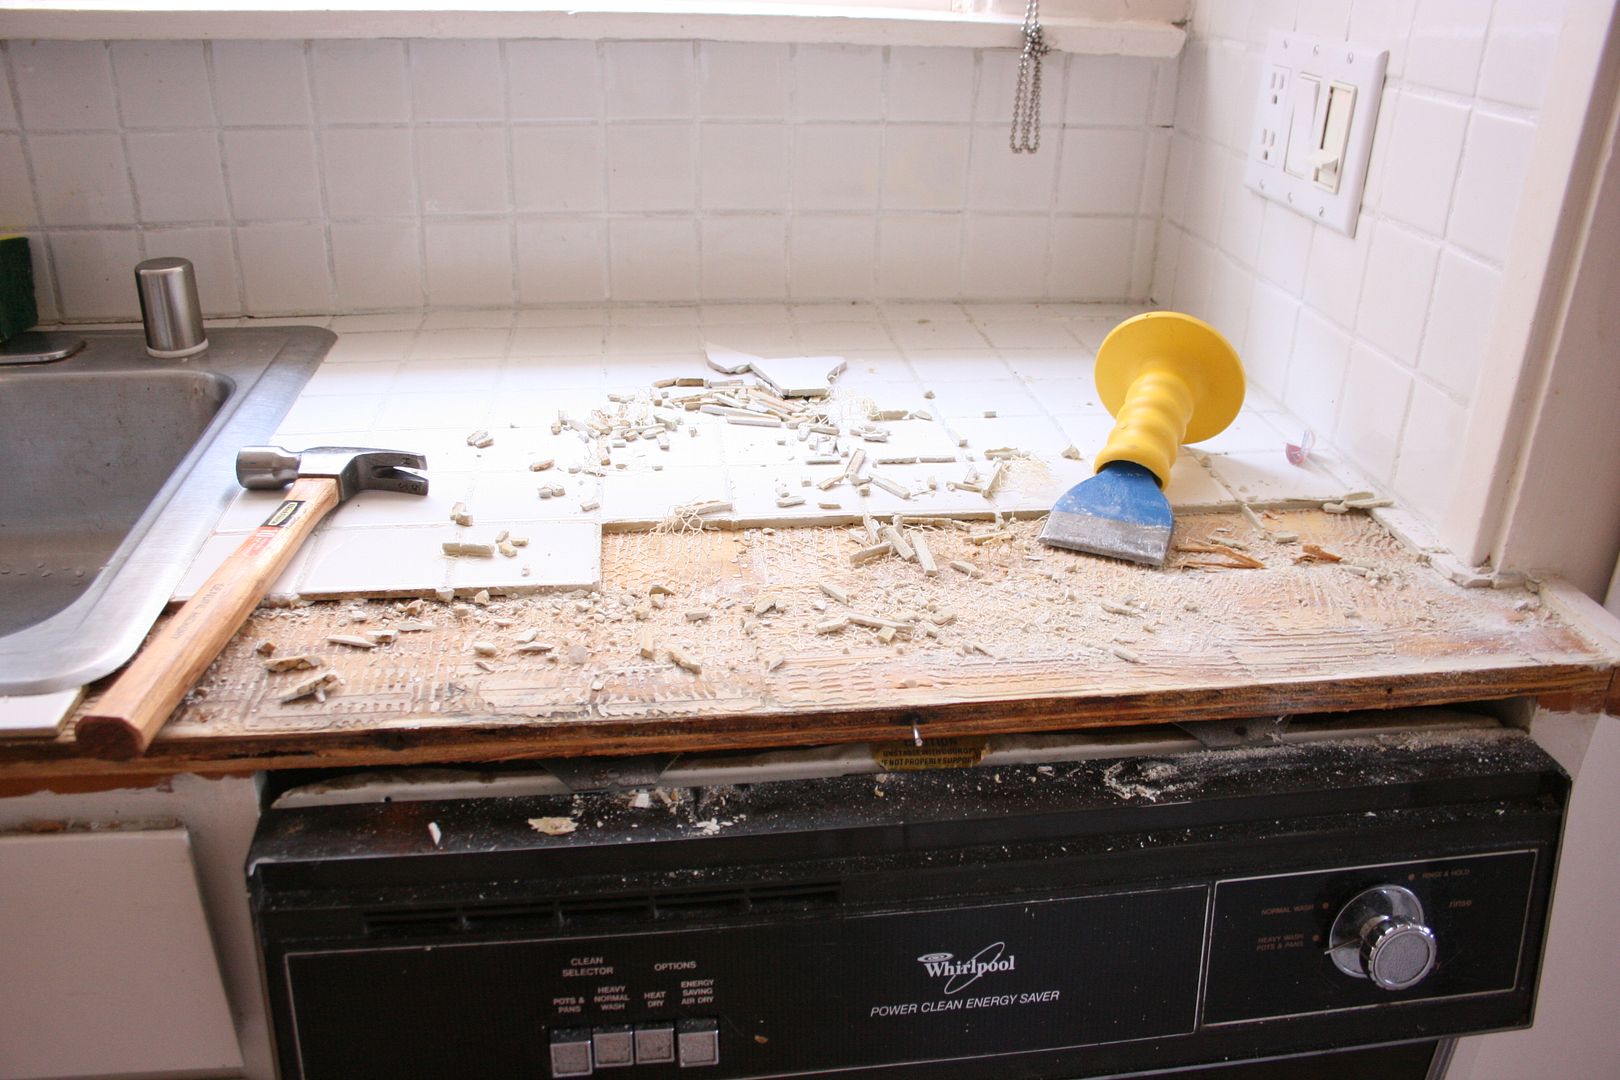 |
| 30 minutes into it. |
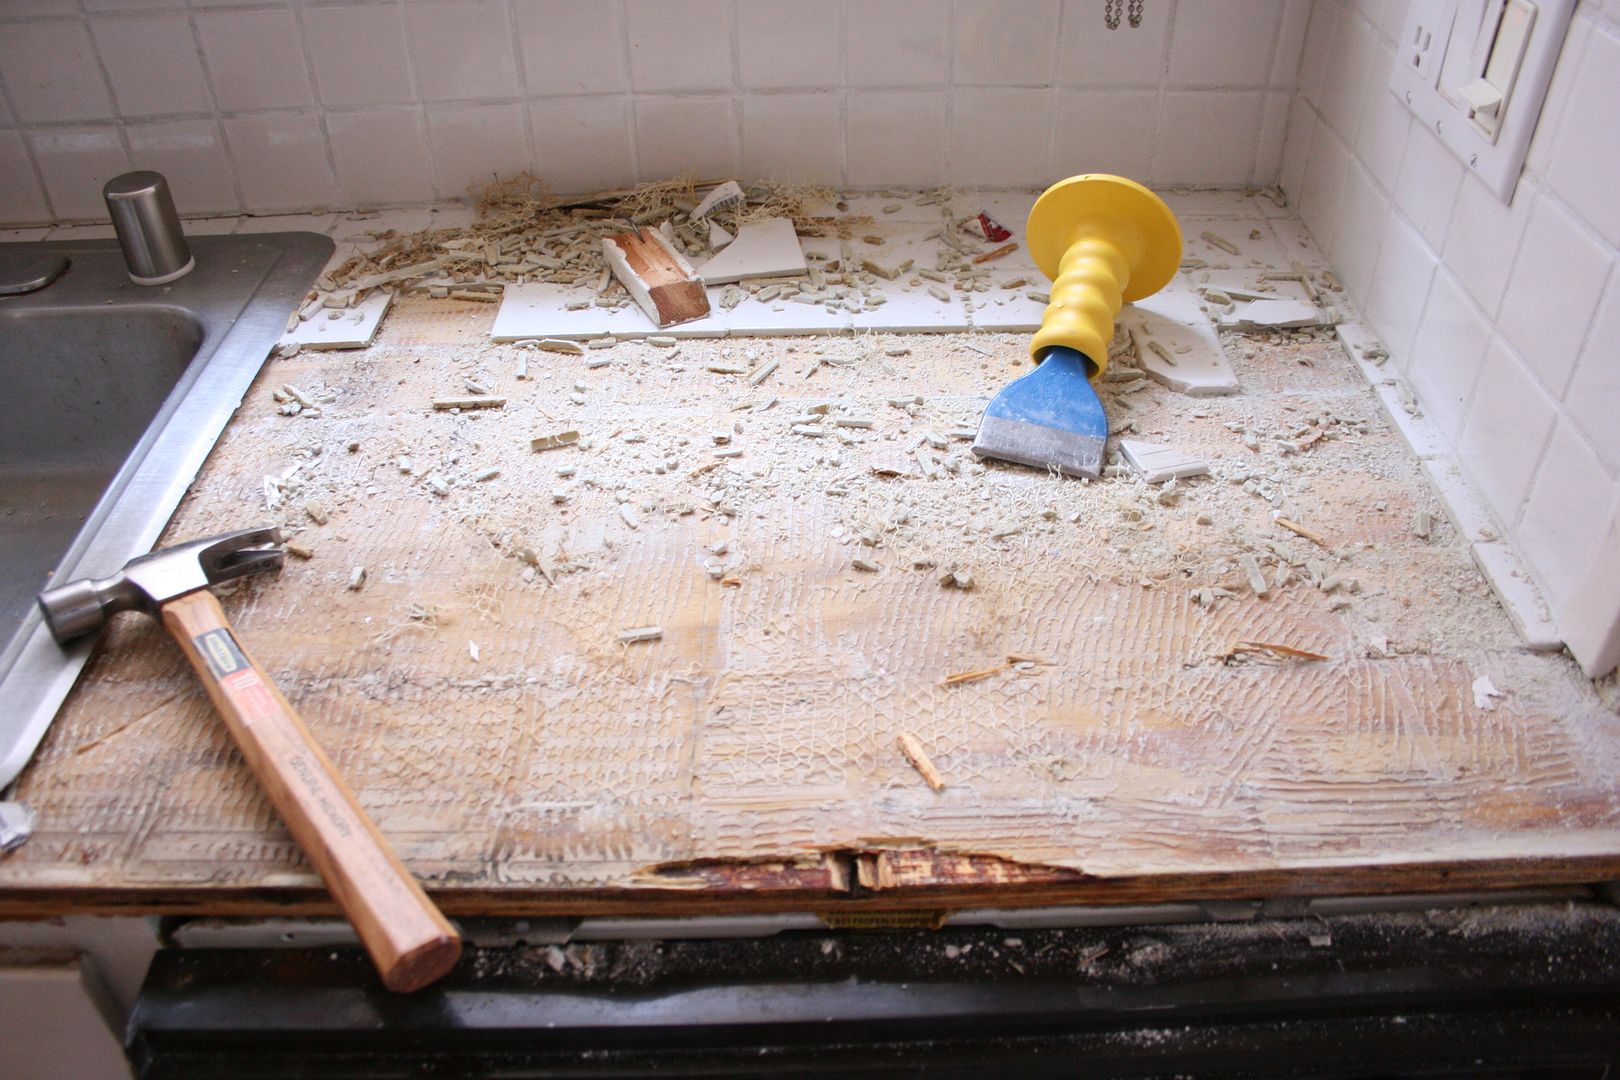 |
| Another hour later. |
Once I finished the back row, I knew I'd need help removing the sink before I could get any further. So naturally, I shift gears completely and started unscrewing the cabinet doors. Only, much like the window sill, caked on paint was everywhere. I had to apply paint remover to the hinges just to get them off the wall.

 |
| I simultaneously marveled at the 90 years of paint history I was unearthing, and wondered if I was getting lead poisoning. |
It was at about this point that B came home. Once he had come to grips with what I had started, his only goal was for us to have a functioning kitchen by the end of the weekend. That meant running water, a usable countertop and a working dishwasher. Any other details could be figured out afterwards (such as painting, cabinet handles, etc.) We spent the rest of the evening busting up tile.
By the end of the day, our kitchen looked like this:
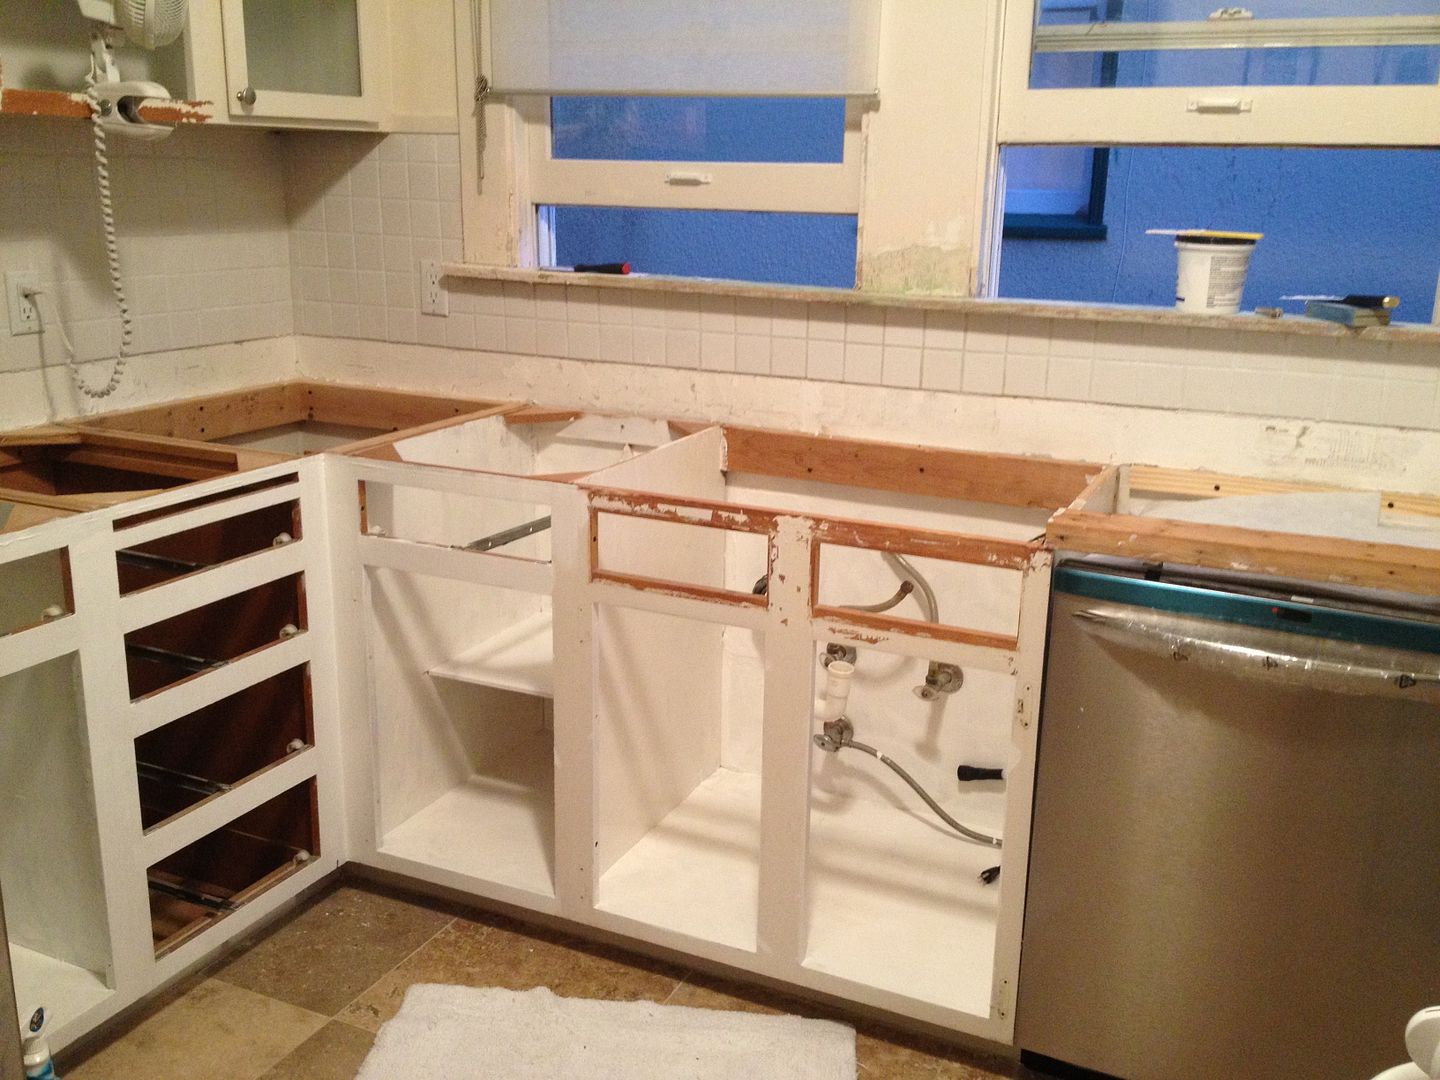
And by day 2, it looked like this:
We removed the plywood countertops and the bottom row of tile on the wall (to leave room for a thicker new countertop), installed the new dishwasher (!), and painted the interiors of the cabinets.
On day 3, we had to get the new counters and sink in. B made cuts while I continued removing paint in places and adding a fresh coat of paint in others.
We spent while a lot of time figuring out how to install an Ikea sink into an existing cabinet system, since the instructions are intended for people installing the sink into Ikea cabinets (which have totally different dimensions than ours did).
But by the end of day 3, our kitchen looked like this:
I know it doesn't look like a finished kitchen yet, but we accomplished our goal of making it usable by the end of the weekend. Now we've got a ton of painting, a bit of tiling, and some final touches to work on before we can call it officially done.
I will share some things I learned along the way soon. But first, have you ever jumped into a project like this without really thinking it through?


